


13.
Place the pouring can on the chiller and fill the tank with the liquid.
14.
Close the lid, press it firmly.
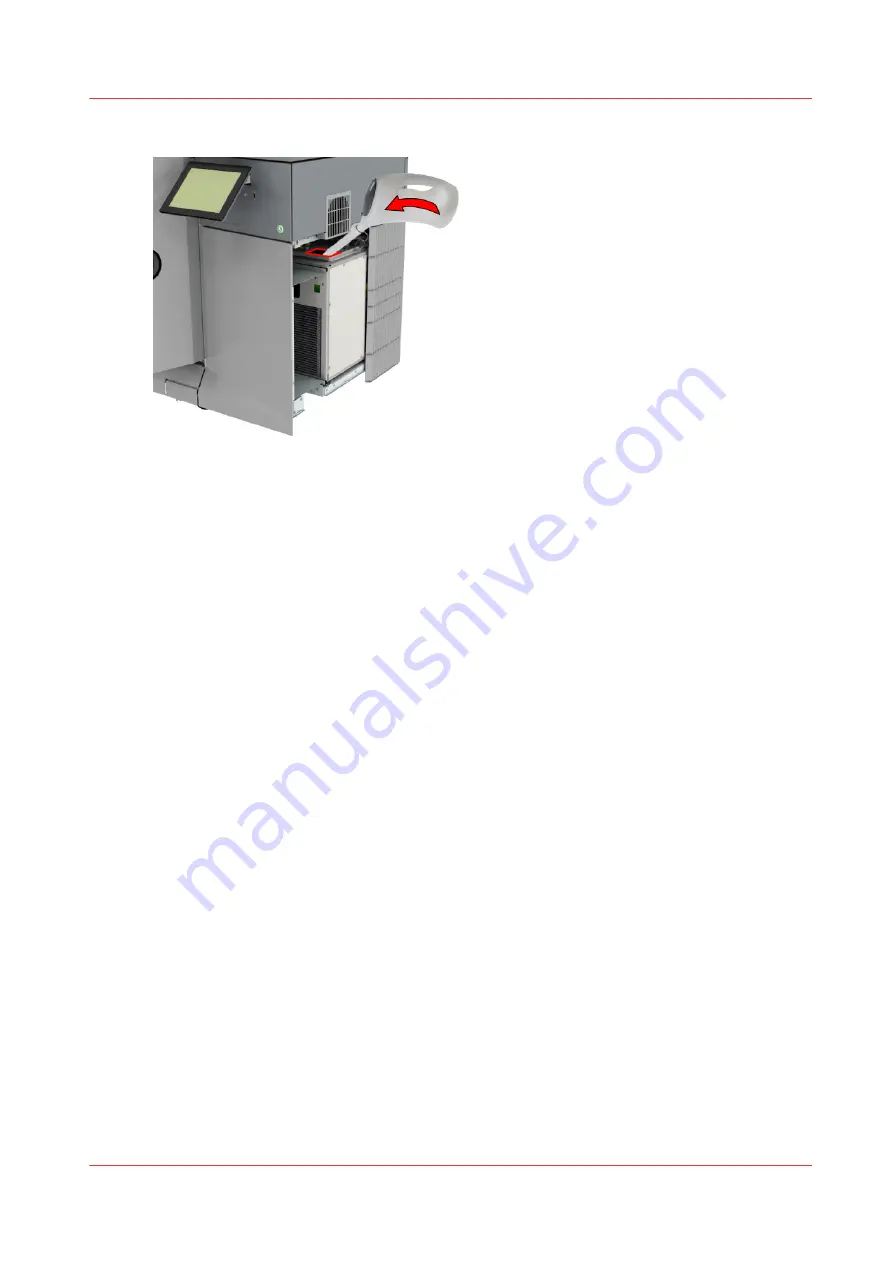
15.
Place the cover back into position.
16.
Fasten the left and right screws on top of the cover.
17.
Plug the two power supply plugs back into the sockets.
18.
Switch the power switch back to the 'on' position, and close the cover.
Refill the chiller (first design)
Chapter 6 - Maintain the system
241
Summary of Contents for Colorado 1630
Page 1: ...Colorado 1630 Extended operation guide 2021 2022 Canon Production Printing ...
Page 9: ...Chapter 1 Introduction ...
Page 18: ...Optional features 18 Chapter 1 Introduction ...
Page 19: ...Chapter 2 Safety information ...
Page 30: ...Safety System 30 Chapter 2 Safety information ...
Page 31: ...Chapter 3 Explore the system ...
Page 38: ...The components of the printer top cover open 38 Chapter 3 Explore the system ...
Page 39: ...Chapter 4 Handle the media ...
Page 81: ...FLXfinish in the RIP Chapter 4 Handle the media 81 ...
Page 157: ...Chapter 5 Print a job ...
Page 166: ...Use the PRISMAsync Remote Control app 166 Chapter 5 Print a job ...
Page 167: ...Chapter 6 Maintain the system ...
Page 257: ...Chapter 7 Improve quality ...
Page 267: ...Chapter 8 Configure the network and security settings ...
Page 298: ...Enable system installation from USB 298 Chapter 8 Configure the network and security settings ...
Page 299: ...Chapter 9 Troubleshooting and support ...
Page 318: ...Install a license via ORS 318 Chapter 9 Troubleshooting and support ...
Page 372: ...Error codes overview 372 Chapter 9 Troubleshooting and support ...
Page 373: ...Appendix A Regulation Notices ...
Page 387: ......


