30
|
Chapter 3
Screen Layout
Content Librarian
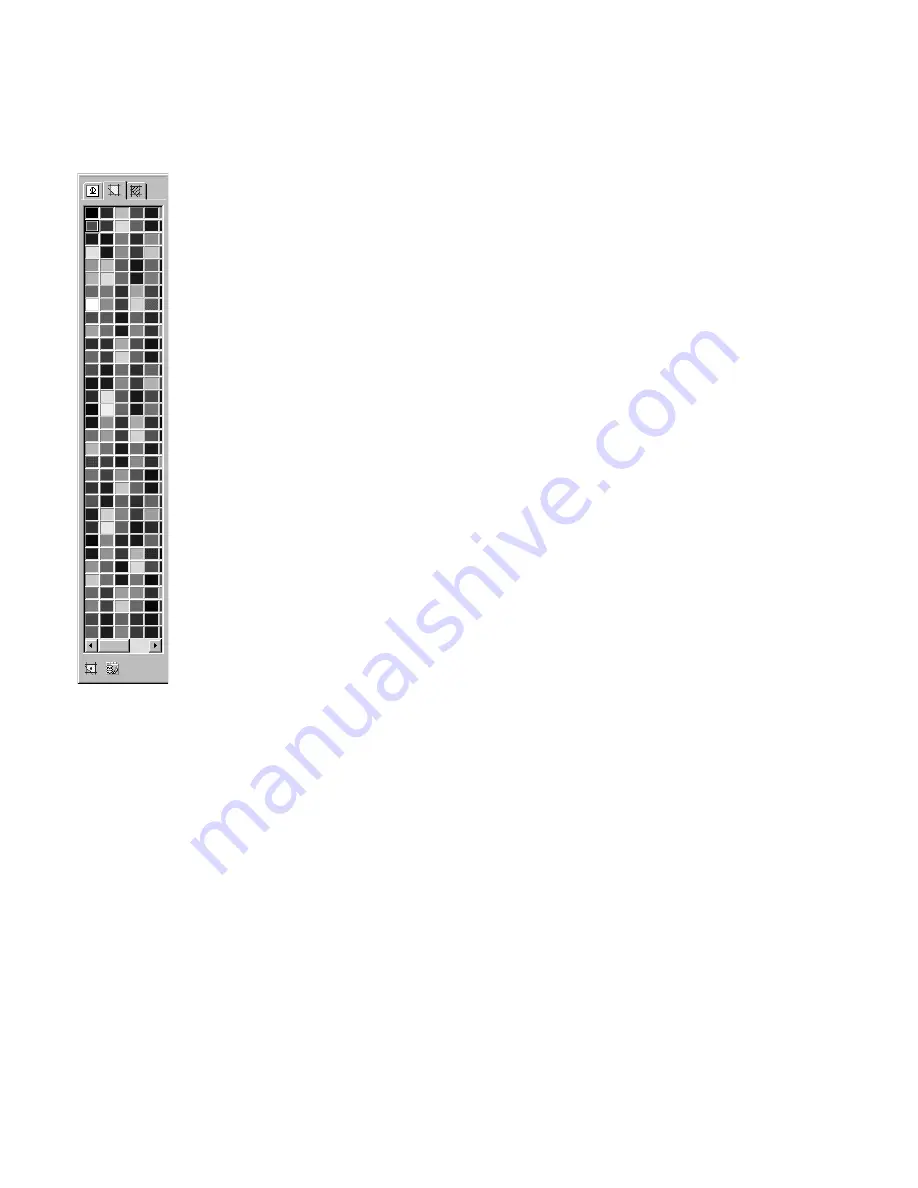
The Content Librarian is an easy-to-use bar for displaying and placing
symbols, solid colors, hatch patterns, and bitmap fills. When you start
AutoSketch, the Content Librarian is visible on the right side of the applica-
tion window. It consists of three tabbed pages and a display window.
Depending on which page is displayed, the Content Librarian may also have
additional tools displayed along the bottom.
When you click one of the three tabbed pages, the appropriate content
appears in the display window. You can then drag-and-drop content from the
Content Librarian to your drawing.
The Content Librarian allows you to place symbols in your drawing several
different ways. At the bottom of the Content Librarian, click the appropriate
tool for placing symbols by their basepoint, inserting them in lines, or
creating arrays.
The Content Librarian also allows you to fill a bounded area with a solid
color, hatch, or bitmap fill. Simply click the solid color, hatch, or bitmap fill
on the Content Librarian, drag it into the drawing, and drop it in an area that
is bounded on all sides. AutoSketch creates a special hidden-line polygon
that automatically conforms to the shape of the area. This polygon displays
the fill property you selected on the Content Librarian.
You can move the Content Librarian to almost any location in the
AutoSketch window by clicking near its top edge then dragging it to its new
location.
The visibility of the Content Librarian can be controlled from the Toolbars
dialog box. If a check appears in the check box next to Content Librarian, it
is visible onscreen.
Summary of Contents for AUTOSKETCH 8
Page 1: ...October 2001 AutoSketch User s Guide RELEASE 8...
Page 12: ...2...
Page 20: ...10 Chapter 1 Welcome...
Page 28: ...18 Chapter 2 Important Concepts...
Page 42: ...32 Chapter 3 Screen Layout...
Page 44: ...34...
Page 68: ...58 Chapter 5 Setting Up a New Drawing...
Page 84: ...74 Chapter 6 Customizing the Grid...
Page 136: ...126 Chapter 10 Entering Lengths Angles...
Page 138: ...128...
Page 164: ...154 Chapter 12 Polylines Polygons Curves...
Page 176: ...166 Chapter 13 Arcs Circles...
Page 194: ...184 Chapter 14 Symbols...
Page 206: ...196 Chapter 15 3D Effects...
Page 220: ...210...
Page 256: ...246 Chapter 19 Markers...
Page 258: ...248...
Page 270: ...260 Chapter 20 Selecting Deleting Entities...
Page 274: ...264 Chapter 21 Undoing Redoing Repeating Actions...
Page 308: ...298 Chapter 23 Trimming Entities...
Page 340: ...330 Chapter 26 Making Inquiries...
Page 342: ...332...
Page 350: ...340 Chapter 27 Storing Data in a Drawing...
Page 360: ...350 Chapter 28 Retrieving Data From a Drawing...
Page 366: ...356 Chapter 29 Using Web Tools...
Page 388: ...378 Glossary...
Page 400: ...390 Index...


