


90
|
Chapter 8
Controlling Views
Using Preset Views
AutoSketch provides several common views. These preset views can be a use-
ful starting point before zooming in on a specific region. The page view
shows your drawing as it appears when printed, in most cases. The extent
view displays all entities in the drawing. The selection view shows the extent
of the currently selected entities. For each of these preset views, AutoSketch
provides a corresponding command on the window Control menu that sets
the view for all panes of a split window.
To view the page
■
On the View menu, click Page, or click the View Page button on the All-
In-One toolbar. To view the page in all panes of a single window, on the
drawing window Control menu, click View All, Page.
To view all entities in a drawing
■
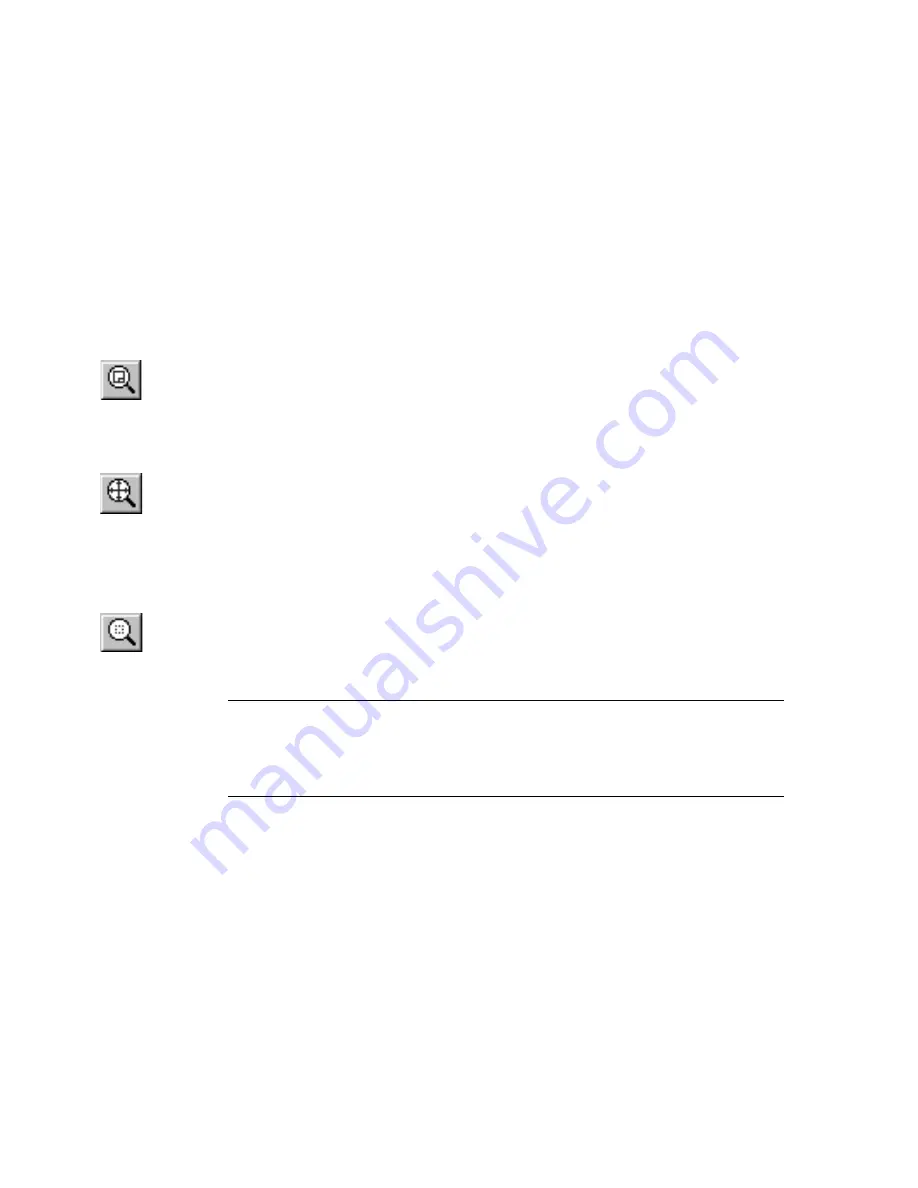
On the View menu, click Extent, or click the View Extent button on the
All-In-One toolbar. To view all entities in all panes of a single window, on
the drawing window Control menu, click View All, Extent.
To view the selection set
1
Select an entity or group of entities.
2
On the View menu, click Selection, or click the View Selection button on
the All-In-One toolbar. To view all entities in all panes of a single window,
on the drawing window Control menu, click View All, Selection.
NOTE
You can also view the selection set by clicking View Selection on the
pop-up menu for the selection set. To display the menu, position the pointer
inside the selection handles, but not on the about point, of a selection set,
and right-click.
Zooming In and Out
You can get a closer look at an area or see a larger portion of the drawing by
zooming in or out. You can use the mouse or the keyboard to change the
view magnification. The mouse offers more control over the view, while the
keyboard allows you to quickly change the magnification by a preset
amount.
Summary of Contents for AUTOSKETCH 8
Page 1: ...October 2001 AutoSketch User s Guide RELEASE 8...
Page 12: ...2...
Page 20: ...10 Chapter 1 Welcome...
Page 28: ...18 Chapter 2 Important Concepts...
Page 42: ...32 Chapter 3 Screen Layout...
Page 44: ...34...
Page 68: ...58 Chapter 5 Setting Up a New Drawing...
Page 84: ...74 Chapter 6 Customizing the Grid...
Page 136: ...126 Chapter 10 Entering Lengths Angles...
Page 138: ...128...
Page 164: ...154 Chapter 12 Polylines Polygons Curves...
Page 176: ...166 Chapter 13 Arcs Circles...
Page 194: ...184 Chapter 14 Symbols...
Page 206: ...196 Chapter 15 3D Effects...
Page 220: ...210...
Page 256: ...246 Chapter 19 Markers...
Page 258: ...248...
Page 270: ...260 Chapter 20 Selecting Deleting Entities...
Page 274: ...264 Chapter 21 Undoing Redoing Repeating Actions...
Page 308: ...298 Chapter 23 Trimming Entities...
Page 340: ...330 Chapter 26 Making Inquiries...
Page 342: ...332...
Page 350: ...340 Chapter 27 Storing Data in a Drawing...
Page 360: ...350 Chapter 28 Retrieving Data From a Drawing...
Page 366: ...356 Chapter 29 Using Web Tools...
Page 388: ...378 Glossary...
Page 400: ...390 Index...


