


Drawing Regular Polygons
|
147
Drawing Regular Polygons
A regular polygon has segments of equal length. A regular polygon can be an
equilateral triangle, or have many segments. You might use a regular polygon
to draw the head of a hex bolt, or to draw the outline of a stop sign.
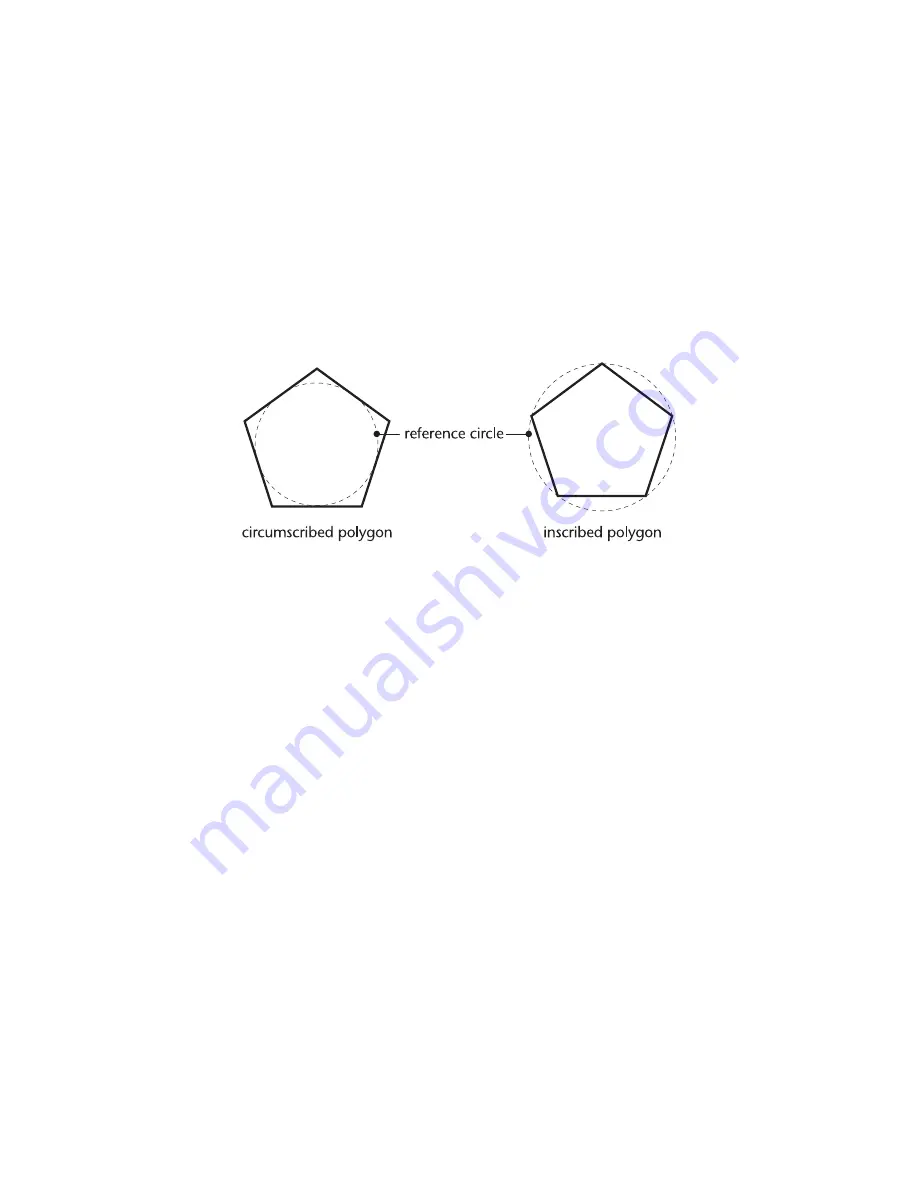
AutoSketch draws a regular polygon in relation to an invisible reference
circle. It is either inscribed inside the circle or circumscribed around it. The one
you choose depends on whether you need to specify the corners of the poly-
gon or the sides. To specify the corners of a polygon, click inscribed.
To specify the sides, click circumscribed.
AutoSketch provides four ways to draw regular polygons by specifying:
■
a centerpoint and either a vertex point or a side midpoint
■
opposite corners or sides
■
two adjacent corners or sides
■
a center and the radius of the reference circle
As you draw a regular polygon, a text box for the width of the segments, a
drop-down list box specifying inscribed or circumscribed polygon, and
another specifying the number of segments appear on the edit bar. If you use
the Regular: Center, Radius command to draw a polygon, a text box appears
on the edit bar so you can enter the radius.
When you select an existing regular polygon, AutoSketch displays controls
on the edit bar that allow you to change the width of all the segments of the
polygon, the x- and y- coordinates of the centerpoint, the reference circle
radius, whether it is inscribed or circumscribed, the number of segments, and
the rotation angle. For information on changing the start width, end width,
or bulge factor of a polygon segment, see “Editing the Properties of a Polyline
or Polygon Segment” on page 305.
Summary of Contents for AUTOSKETCH 8
Page 1: ...October 2001 AutoSketch User s Guide RELEASE 8...
Page 12: ...2...
Page 20: ...10 Chapter 1 Welcome...
Page 28: ...18 Chapter 2 Important Concepts...
Page 42: ...32 Chapter 3 Screen Layout...
Page 44: ...34...
Page 68: ...58 Chapter 5 Setting Up a New Drawing...
Page 84: ...74 Chapter 6 Customizing the Grid...
Page 136: ...126 Chapter 10 Entering Lengths Angles...
Page 138: ...128...
Page 164: ...154 Chapter 12 Polylines Polygons Curves...
Page 176: ...166 Chapter 13 Arcs Circles...
Page 194: ...184 Chapter 14 Symbols...
Page 206: ...196 Chapter 15 3D Effects...
Page 220: ...210...
Page 256: ...246 Chapter 19 Markers...
Page 258: ...248...
Page 270: ...260 Chapter 20 Selecting Deleting Entities...
Page 274: ...264 Chapter 21 Undoing Redoing Repeating Actions...
Page 308: ...298 Chapter 23 Trimming Entities...
Page 340: ...330 Chapter 26 Making Inquiries...
Page 342: ...332...
Page 350: ...340 Chapter 27 Storing Data in a Drawing...
Page 360: ...350 Chapter 28 Retrieving Data From a Drawing...
Page 366: ...356 Chapter 29 Using Web Tools...
Page 388: ...378 Glossary...
Page 400: ...390 Index...


