68
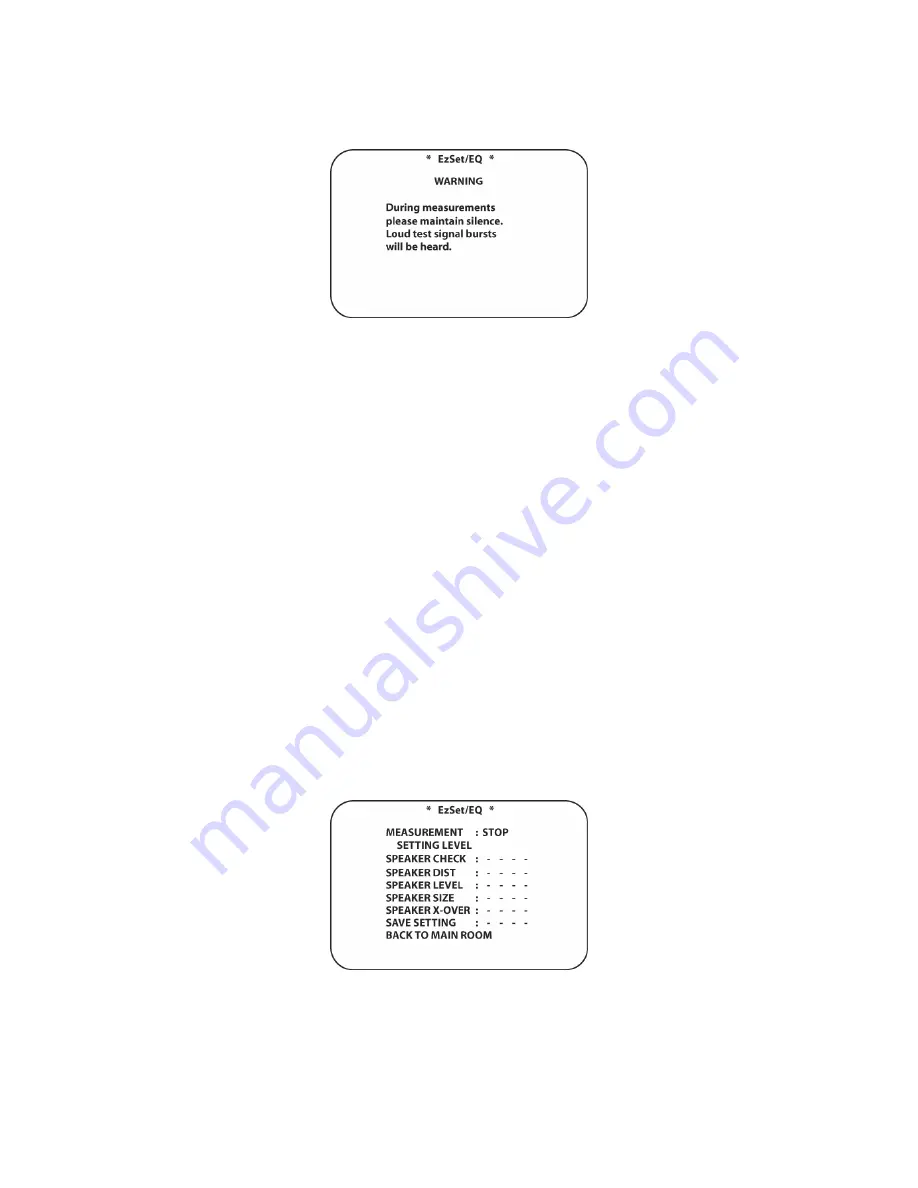
Figure 24 EzSet/EQ Warning
IMPORTANT NOTE: Anyone with hearing that is sensitive to loud noises should leave the room
at this point, or use ear protection sufficient to reduce the noise level. Inexpensive foam-style ear
plugs, available at most drug stores, may be used to reduce the sound level to a tolerable level. If
you are uncomfortable with, or cannot tolerate, loud sounds and do not use some sort of ear
protection, we strongly recommend that you leave the room and ask someone else to run the
EzSet/EQ process, or that you do not use EzSet/EQ and enter the configuration settings
manually, as described in:
Main Room Operation/Output Level Trim Adjustment
.
Step 7:
While the main EzSet/EQ menu is visible, you may start and stop the calibration process,
or monitor the progress of the measurements and view the results. When the screen first appears,
you will see
MEASUREMENT: STOP
on the first line of the menu list. To start the EzSet/EQ test
process, you must first tell the system how many speakers are in your system. To do that, choose
one of these two options:
• If your system includes a full complement of seven main speakers (front left, center, front right,
surround right, surround back right, surround back left, surround left) and a subwoofer, and 7.1
has been set in
SYSTEM CONFIGURATION
press the
◄
/
►
Navigation Buttons [oval 16]
so
that
7.1
appears to the right of
MEASUREMENT
, and then press the
Set Button
[oval 18]
to
start EzSet/EQ.
• If your system includes a traditional surround speaker complement of five main speakers (front
left, center, front right, surround right, surround left) and a subwoofer, and 5.1 has been set in
SYSTEM CONFIGURATION
press the
◄
/
►
Navigation
Buttons [oval 16]
so that
5.1
appears
to the right of
MEASUREMENT
and then press the
Set Button [oval 18]
to start EzSet/EQ. To
stop the calibration process at any time, press the
▼
/
▲
Navigation Buttons [oval 16]
to
move the on-screen cursor to the MEASUREMENT
line; press the
◄
/
►
Navigation Buttons
[oval 16]
so that
STOP
appears and then press the
Set Button [oval 18]
.
Figure 25 EzSet/EQ Settings
Summary of Contents for AVR21EN
Page 1: ...1 INSTALLATION INSTRUCTIONS...
Page 41: ...41 AVR21ENR1 FUNCTION LIST Figure 8 AVR21ENR1 Button Locations...
Page 156: ...156 KP21R ZONE REMOTE FUNCTION LIST Figure 84 KP21R Button Locations...
Page 159: ...159 Figure 86 Typical Three Zone System...
Page 161: ...161 Figure 87 Typical Hub System...
Page 164: ...164 Figure 90 Multiple Hub Power Connections...


