67
Step 2:
The EzSet/EQ microphone should be placed in either your usual listening position or, if
there is a large seating area, the center of the room, at the listeners’ ear level. You may find it
convenient to use a camera tripod for stable placement of the EzSet/EQ microphone at the
correct height. The microphone includes a threaded insert on the bottom for tripod mounting.
Step 3
: Plug the EzSet/EQ microphone into the AVR21EN’s
Optimizer MIC Jack [square 12]
,
making certain that the microphone is firmly connected. The microphone cable is approximately
20 feet long, which should accommodate most listening room situations. If required, you may use
an optional extension cable, available at most electronics stores, for use in larger rooms.
However, we recommend that you avoid using extension cords for the microphone cable, as they
may adversely affect the test results.
Step 4:
Once the microphone is properly positioned and plugged in, proceed to the EzSet/EQ
menus by first pressing the
Menu Button [oval 44]
to bring the
MASTER MENU
to the screen.
Next, press the
▼
/
▲
Navigation Buttons [oval 16]
to move the on-screen cursor to the
EzSet/EQ
menu line. Press the
Set Button [oval 18]
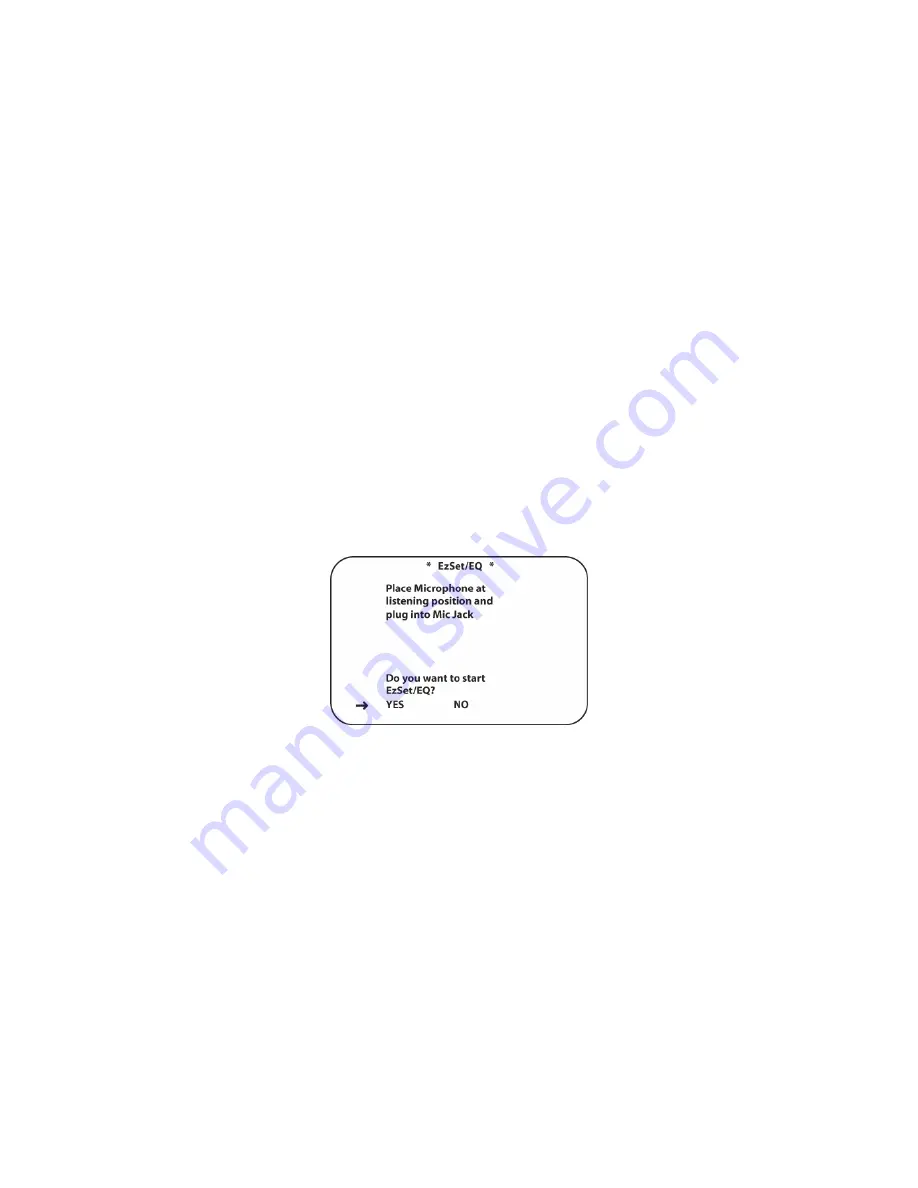
to move to the next screen (
Figure 23
).
Step 5:
The first screen of the EzSet/EQ system will now appear to remind you to plug in the
microphone. If you have not already done so, plug the microphone into the
Optimizer MIC Jack
[square 12]
as described in steps 2 and 3. When you are ready to proceed, make certain that the
cursor is pointing to
YES
and press the
Set Button [oval 18]
. If you do not wish to continue with
the EzSet/EQ process, press the
◄
/
►
Navigation Buttons [oval 16]
so that the cursor points to
NO
,
and then press the
Set Button [oval 18]
to return to the
MASTER MENU
.
Note that if you
attempt to move to the next menu without plugging in the microphone, a reminder message will
flash at the bottom of the screen.
Figure 23 EzSet/EQ Start Menu
Step 6:
After entering YES
to start the EzSet/EQ system, you will next see a warning message
(
Figure 24
), and the screen will then change to the main EzSet/EQ menu. The WARNING
screen
is a reminder that in order for the system to perform accurate measurements, it is important that
the listening room be as quiet as possible. After 5 seconds, the screen will change again to
display the main EzSet/EQ menu.
Summary of Contents for AVR21EN
Page 1: ...1 INSTALLATION INSTRUCTIONS...
Page 41: ...41 AVR21ENR1 FUNCTION LIST Figure 8 AVR21ENR1 Button Locations...
Page 156: ...156 KP21R ZONE REMOTE FUNCTION LIST Figure 84 KP21R Button Locations...
Page 159: ...159 Figure 86 Typical Three Zone System...
Page 161: ...161 Figure 87 Typical Hub System...
Page 164: ...164 Figure 90 Multiple Hub Power Connections...


