200
2. Press and hold the
REM MENU Button [triangle 33]
for about three seconds while the
message: HOLD BUTTON FOR 3 SECONDS
appears in the remote’s LCD
Information
Display [triangle 3]
. Release the button when the red light under the
Set Button [triangle
15]
turns on.
3. The remote’s
MAIN MENU
message
will appear in the LCD display and the
Set Button
[triangle 15]
will remain illuminated in red. Press the
Set Button [triangle 15]
to begin the
process of selecting a device and locating the proper remote codes.
4. Press the
▼
/
▲
Navigation Button [triangle 13]
to scroll through the list of device categories
and press the
Set Button [triangle 15]
when the device for which you wish to set the codes
appears. For this example, we will select “TV” to enter the codes needed to operate your TV.
When
TV/COMBO
appears, Press the
Set Button [triangle 15]
. With TV in the lower line of
the information display, press the
Set Button [triangle 15]
again to program codes for TV.
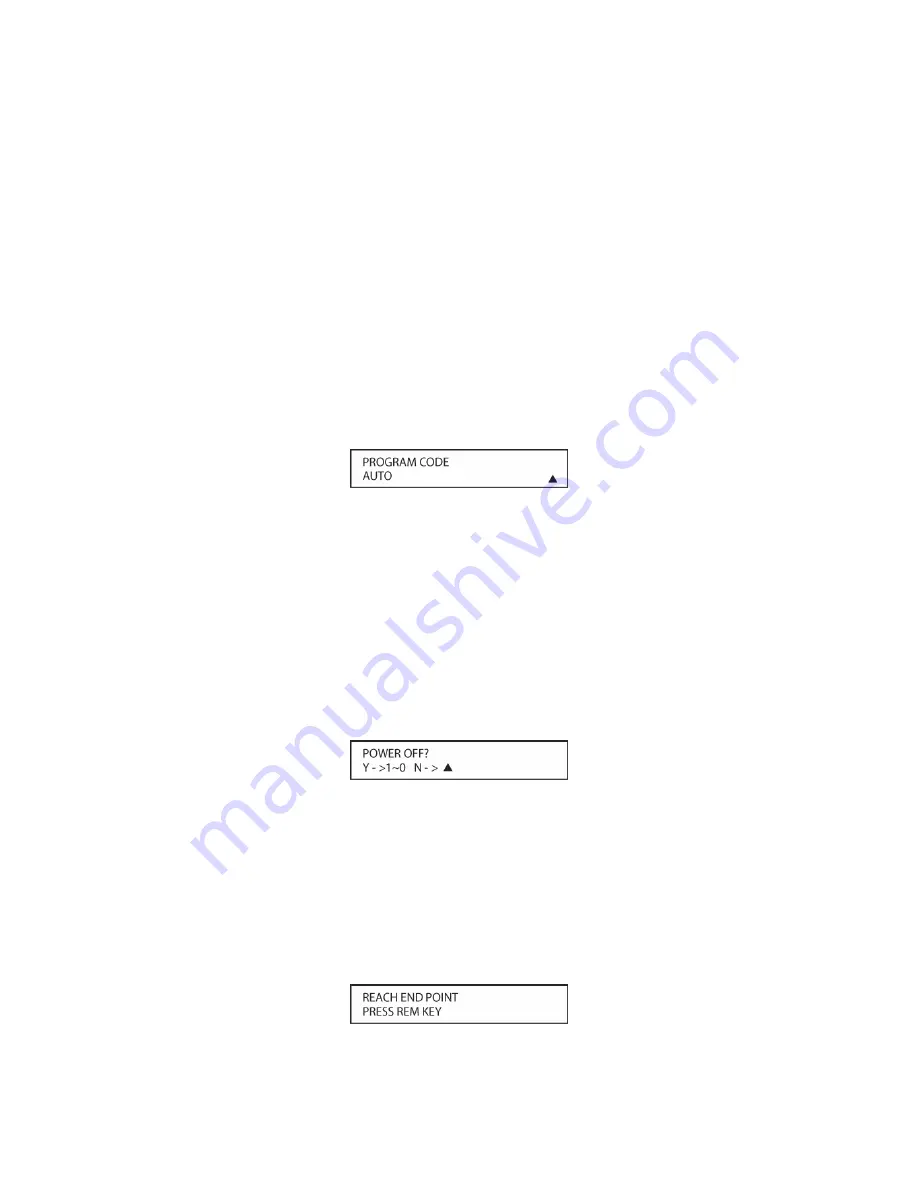
5. At the next menu screen on the remote, press the
▲
Navigation Button [triangle 13]
so that
the bottom line of the LCD display reads
AUTO
(
Figure 131
) and then press the
Set Button
[triangle 15]
to enter the Automatic Programming Mode.
Figure 131
6. As instructed on the next menu screen, press the
▲
Navigation Button [triangle 13]
to
begin the automatic code search process. Your confirmation that the remote is sending out
commands is the movement of a square block across the top line of the LCD display screen
while the bottom line reads
PLEASE WAIT….
You will also see the transmit icon in the upper
right corner of the LCD display’s top line to remind you that the remote is working even
though you may not see anything happening to the device being programmed.
7. It will take a few seconds for the remote to send out the first group of commands, after which
you will see a new display in the LCD screen, as shown in
Figure 132
. Following the
instructions, if the device being programmed has not turned off, press the
▲
Navigation
Button [triangle 13]
again to send another group of codes. If the device being programmed
has turned off, skip to Step 9.
Figure 132
8. By pressing the
▲
Navigation Button [triangle 13]
again, the remote will send out a new set
of commands. When it pauses, follow the instructions shown in Step 7. Depending on how
many codes are stored for a specific device type, you may have to repeat this process as
many as fifteen times. Remember, if the device turns off, skip to Step 9. When all the codes
for the device being programmed have been tried, the instruction shown in
Figure 133
will
appear. This means that the codes for the product you are trying to program are not in the
KP21R remote library and you will have to “learn” them into the remote following the
instructions shown in the next section. Press the
REM MENU Button [triangle 33]
as
instructed to exit the programming process.
Summary of Contents for AVR21EN
Page 1: ...1 INSTALLATION INSTRUCTIONS...
Page 41: ...41 AVR21ENR1 FUNCTION LIST Figure 8 AVR21ENR1 Button Locations...
Page 156: ...156 KP21R ZONE REMOTE FUNCTION LIST Figure 84 KP21R Button Locations...
Page 159: ...159 Figure 86 Typical Three Zone System...
Page 161: ...161 Figure 87 Typical Hub System...
Page 164: ...164 Figure 90 Multiple Hub Power Connections...


