Chapter 5 Initial Setup Example
GS1920v2 Series User’s Guide
57
2
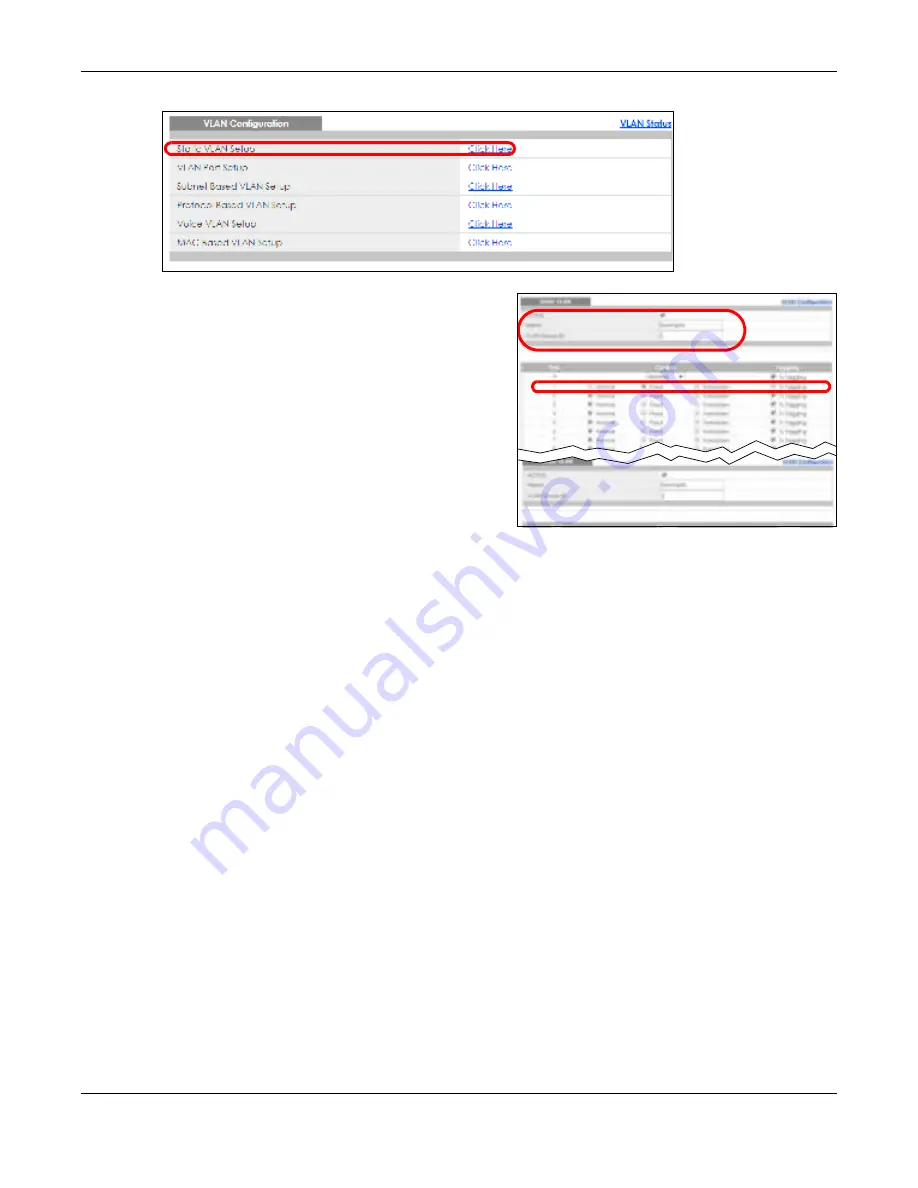
In the
Sta tic VLAN
screen, select
AC TIVE
, enter a
descriptive name in the
Na m e
field and enter 2 in the
VLAN G ro up ID
field for the
VLAN2
network.
Note: The
VLAN G ro up ID
field in this screen and the
VID
field in the
IP Se tup
screen refer to the
same VLAN ID.
3
Since the
VLAN2
network is connected to port 1 on the Switch, select
Fixe d
to configure port 1 to be a
permanent member of the VLAN only.
4
To ensure that VLAN-unaware devices (such as computers and hubs) can receive frames properly, clear
the
TX Ta g g ing
check box to set the Switch to remove VLAN tags before sending.
5
Click
Add
to save the settings to the run-time memory. Settings in the run-time memory are lost when the
Switch’s power is turned off.
5.1.2 Se tting Po rt VID
Use PVID to add a tag to incoming untagged frames received on that port so that the frames are
forwarded to the VLAN group that the tag defines.
In the example network, configure 2 as the port VID on port 1 so that any untagged frames received on
that port get sent to VLAN 2.
Содержание GS1920-48HPv2
Страница 19: ...19 PA RT I Use r s Guide...
Страница 43: ...43 PA RT II T e c hnic al Re fe re nc e...
Страница 124: ...Chapter 9 VLAN GS1920v2 Series User s Guide 124 Figure 97 Advanced Application VLAN Port Based VLAN Setup Port Isolation...
Страница 155: ...Chapter 13 Spanning Tree Protocol GS1920v2 Series User s Guide 155 Figure 118 MSTP and Legacy RSTP Network Example...
Страница 193: ...GS1920v2 Series User s Guide 193 Figure 140 Classifier Example...
Страница 224: ...Chapter 24 Multicast GS1920v2 Series User s Guide 224 Figure 162 MVR Group Configuration Example 2 EXAMPLE...
Страница 367: ...Chapter 40 Access Control GS1920v2 Series User s Guide 367 Figure 271 Example Lock Denoting a Secure Connection EXAMPLE...
Страница 388: ...Chapter 48 Configure Clone GS1920v2 Series User s Guide 388 Figure 284 Management Configure Clone...


