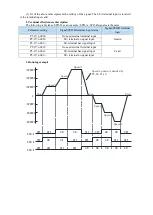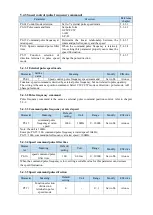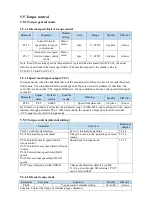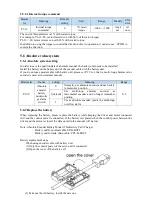
n.xx□x
Description
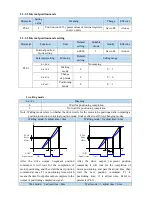
1: Change
the step at
the rising
edge of the
signal,
single-step
execution
P
/CHGSTP
Signal status
ON
OFF
t1
t
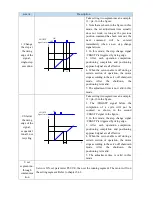
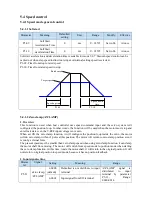
Take setting two segments as an example,
t1 = p4-16 in the figure.
1. Note that as shown in the figure, in this
mode, the set adjustment time actually
does not work. As long as the previous
position command has been sent out, the
next
command
will
be
entered
immediately when a new step change
signal arrives.
2. In this mode, the step change signal
/CHGSTP is triggered by rising edge.
3. After each operation completion,
positioning completion and positioning
approach signal are all effective.
4. When the servo enable is off during a
certain section of operation, the motor
stops according to the servo off shutdown
mode.
After
the
shutdown,
the
positioning is invalid.
5. The adjustment time is not valid in this
mode.
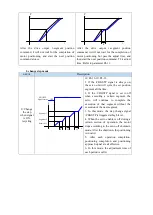
2: Start at
the rising
edge of the
signal,
sequential
run all, not
recycling
P
/CHGSTP
Signal status
ON
OFF
t1
t
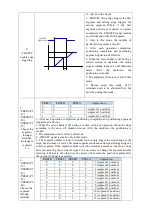
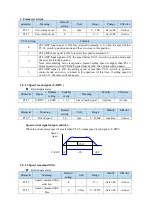
Take setting two segments as an example,
t1 = p4-16 in the figure.
1. The /CHGSTP signal before the
completion of a cycle will not be
counted, as shown in the second
/CHGSTP signal in the figure.
2. In this mode, the step change signal
/CHGSTP is triggered by rising edge.
3. After each operation completion,
positioning completion and positioning
approach signal are all effective.
4. When the servo enable is off during a
certain section of operation, the motor
stops according to the servo off shutdown
mode.
After
the
shutdown,
the
positioning is invalid.
5. The adjustment time is valid in this
mode.
3: set
segment no.
through
communica
tion
Servo is ON, set parameter P2-09=0, then set the running segment. The motor will run
the setting segment. Refer to chapter 5.4.8.
Содержание DS5L1 Series
Страница 1: ...DS5L1 series servo driver User manual WUXI XINJE ELECTRIC CO LTD Data No SC5 05 20200929 1 0 ...
Страница 2: ......
Страница 6: ......
Страница 33: ...Voltage DC 30V maximum Current SO1 DC 500mA maximum 400W and below servo can support SO others DC 50mA maximum ...
Страница 100: ...3 Set the auto tuning interface 4 Click ok to start inertia identification ...
Страница 106: ...3 set the auto tuning interface ...
Страница 112: ...with higher rigidity 6 Start auto tune 7 Open the servo enable then click ok ...
Страница 169: ...Appendix 9 Torque speed characteristic curve ...
Страница 170: ......


