USO
RESTRITO
518
Macro Attachment Assigning
Ch
a
p
te
r 16
M
a
c
ro
s
You can enable and disable macro attachments for the
PGM/PST bank and M/E banks individually.
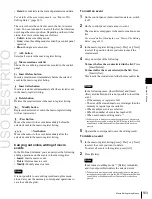
Setting a macro attachment to a fader lever
You can set a macro attachment to any particular position
of a fader lever in the transition control block.
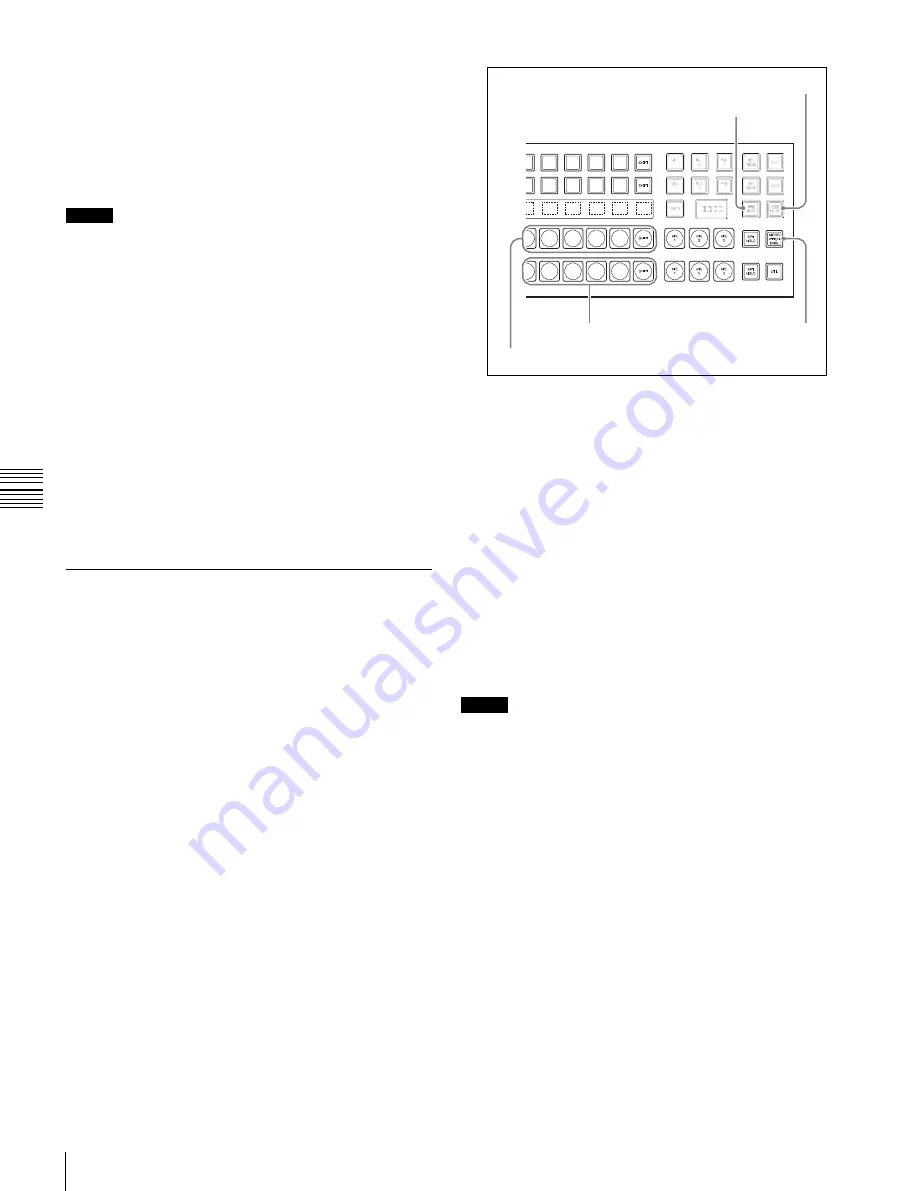
POST MCRO button
PRE MCRO button
Notes
•
In macro-only mode it is not possible to set a macro
attachment.
•
It is not possible to set a macro attachment to a fader
lever in the keyframe control block or downstream key
control block.
•
For a split fader, you can set a macro attachment to the
Background B row
MCRO ATTCH ENBL
main split fader.
Background A row
button
Clearing the macro attachments
You can clear all of the macro attachments in a single
operation.
Displaying the macro attachment list
You can display the macro attachment settings in the form
of a list in the menu display to check them.
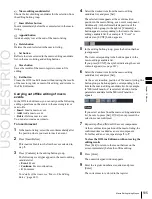
The cross-point button you pressed flashes amber, and
the register you recalled in step
1
is assigned to the
button.
If you make both pre macro and post macro
settings for the same button
The later setting is valid.
To set a macro attachment without changing
cross-points
When you set a macro attachment to a cross-point button,
Setting and Canceling a Macro
Attachment
Setting a macro attachment to a button
This section describes the example of setting a macro
attachment for the background A row cross-points.
For details, see “Setting a macro attachment to a button”
(page 516) for the buttons for which a macro attachment
can be set.
1
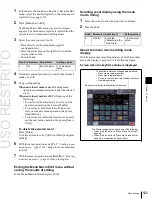
Recall the macro register (1 to 250) that you want to
assign to the button
2
To set in pre macro mode, hold down the [PRE
MCRO] button in the cross-point control block, and to
set in post macro mode, hold down the [POST MCRO]
button, and then press the desired button in the
background A row.
you can make the setting without changing the bus cross-
points. Carry out this selection in the Engineering Setup
>Panel >Operation menu
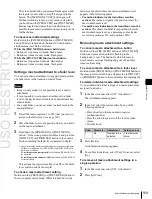
To make a macro attachment setting in macro
only mode
Notes
To carry out this operation, it is first necessary to assign the
“Macro Only Set” function to the user preference buttons
in the menu control block or the utility/shotbox control
operation. Carry out this assignment in the Engineering
Setup >Panel >Prefs/Utility menu
To make a macro attachment in macro only mode, use the
following procedure.
1
Recall the macro register (1 to 250) that you want to
assign to the button
2
Press the button to which [MCRO ONLY SET] is
assigned, turning it on.
3
Hold down the cross-point control block [PRE
MCRO] button or [POST MCRO] button, and press
the desired button in the background A row.
Содержание MVS-8000X SystemMVS-7000X System
Страница 358: ...USO RESTRITO 358 Wipe Pattern List Appendix Volume 1 Enhanced Wipes Rotary Wipes ...
Страница 360: ...USO RESTRITO Random Diamond DustWipes 360 1 w pe PaternLO ...
Страница 362: ...USO RESTRITO 362 DME Wipe Pattern List Appendix Volume 1 Door 2D trans 3D trans ...
Страница 363: ...USO RESTRITO DME Wipe Pattern List 363 Appendix Volume 1 Flip tumble Frame in out Picture in picture ...
Страница 364: ...USO RESTRITO 364 DME Wipe Pattern List Appendix Volume 1 Page turn Page roll ...
Страница 365: ...USO RESTRITO DME Wipe Pattern List 365 Appendix Volume 1 Mirror Sphere Character trail Wave Ripple Split slide ...
Страница 367: ...USO RESTRITO DME Wipe Pattern List 367 Appendix Volume 1 Squeeze 3D trans Picture in picture Page turn ...
Страница 376: ...USO RESTRITO 376 Menu Tree Appendix Volume 1 Frame Memory Menu FRAME MEM button Color Bkgd Menu COLOR BKGD button ...
Страница 377: ...USO RESTRITO Menu Tree 377 Appendix Volume 1 AUX Menu AUX button CCR Menu CCR button ...
Страница 379: ...USO RESTRITO Menu Tree 379 Appendix Volume 1 DME Menu DME button ...
Страница 380: ...USO RESTRITO 380 Menu Tree Appendix Volume 1 Global Effect Menu GLB EFF button Router Menu Device Menu DEV button ...
Страница 381: ...USO RESTRITO Menu Tree 381 Appendix Volume 1 Macro Menu MCRO button ...
Страница 382: ...USO RESTRITO 382 Menu Tree Appendix Volume 1 Key Frame Menu KEY FRAME button ...
Страница 383: ...USO RESTRITO Menu Tree 383 Appendix Volume 1 Effect Menu EFF button ...
Страница 384: ...USO RESTRITO 384 Menu Tree Appendix Volume 1 Snapshot Menu SNAPSHOT button ...
Страница 385: ...USO RESTRITO Menu Tree 385 Appendix Volume 1 Shotbox Menu SHOTBOX button ...
Страница 386: ...USO RESTRITO 386 Menu Tree Appendix Volume 1 File Menu FILE button ...
Страница 388: ...USO RESTRITO 388 Menu Tree Appendix Volume 1 ENG SETUP button to previous page topages after 390 to next page ...
Страница 389: ...USO RESTRITO Menu Tree 389 Appendix Volume 1 ENG SETUP button to page 387 to previous pages to following pages ...
Страница 390: ...USO RESTRITO 390 Menu Tree Appendix Volume 1 ENG SETUP button to previous pages to next page a MVS 7000X only ...
Страница 391: ...USO RESTRITO Menu Tree 391 Appendix Volume 1 ENG SETUP button to previous pages ...
Страница 392: ...USO RESTRITO 392 Menu Tree Appendix Volume 1 User Setup Menu USER SETUP button Diagnostic Menu DIAG button ...
Страница 413: ...USO RESTRITO MVS 8000X System MVS 7000X System SY 4 470 637 01 1 Sony Corporation 2013 ...
Страница 706: ...USO RESTRITO MVS 8000X System MVS 7000X System SY 4 470 637 01 1 Sony Corporation 2013 ...


