USO
RESTRITO
560
Installation and Device Setup (Install/Unit Config Menu)
Knob
Parameter
Adjustment
Setting values
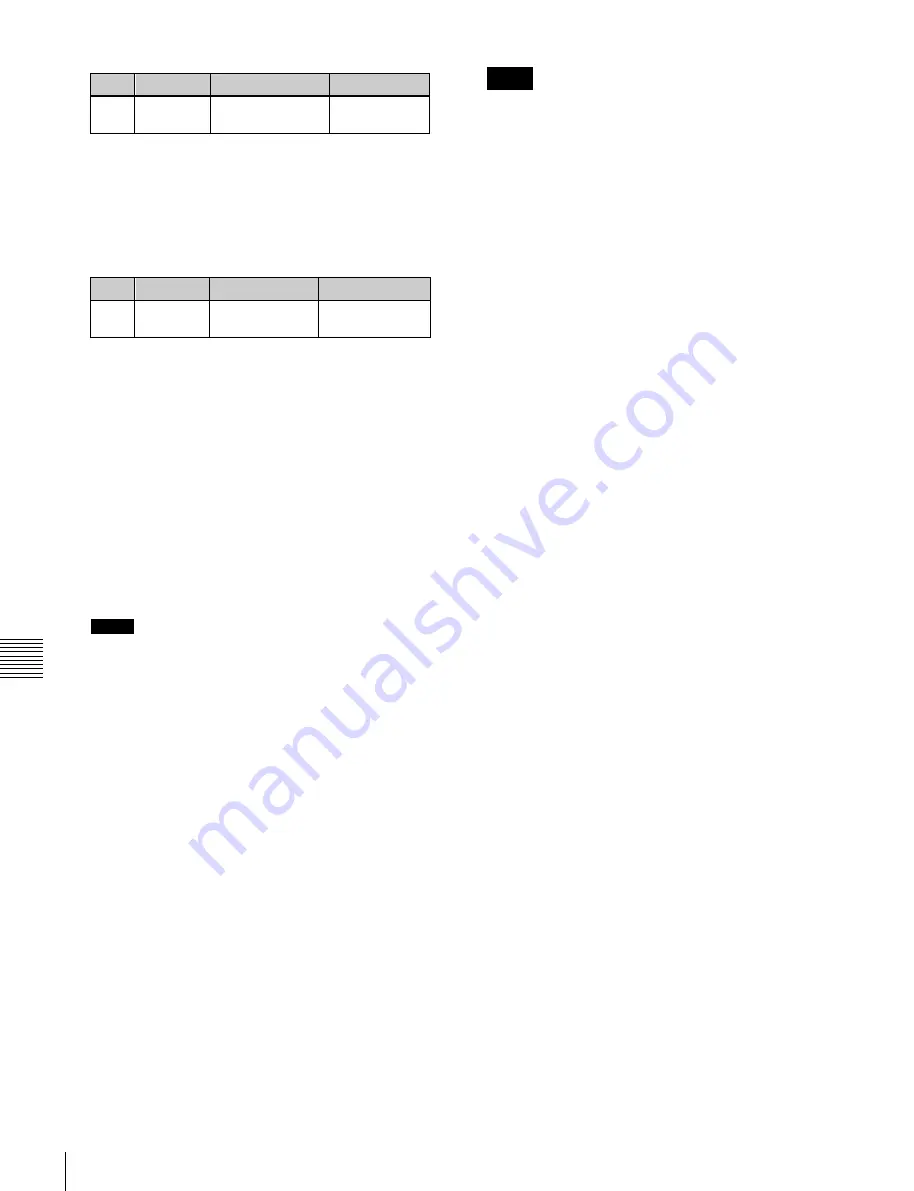
1
Texture No Texture number
selection
101 to 164
Knob
Parameter
Adjustment
Setting values
2
No
Texture file
selection
1 to maximum
value
a)
Ch
a
p
te
r 18
S
y
s
te
m
S
e
tu
p
(S
y
s
te
m
)
6
In the texture file list, select the texture file by any of
the following methods.
•
Press directly on the list in the status area.
•
Press the arrow keys to scroll the reverse video
cursor.
•
Turn the knob.
a) The range of the setting values depends on the number of saved files
on a memory card.
7
In the <Texture Pattern> group, press [Select].
This assigns the texture file selected in step
6
to the
number selected in step
5
, and updates the texture
number list.
The grid display of memory capacity shows the
location where the texture files are stored in memory
by bold frames. The grid portion for the texture file
selected in the texture number list is shown in amber.
8
Repeat steps
5
to
7
, to assign all of the texture files to
texture packages.
Notes
•
If you assign a texture file that is already in the
texture number list to a different texture number,
then the previous assignment is deleted. It is not
possible to assign the same texture file to two or
more different texture numbers.
•
In the following cases, texture file assignment is not
possible.
-
If there is no available memory space (“The rest of
the capacity:0” appears)
-
If the selected texture file is too large to fit in the
available memory space
To delete a texture file assignment
Select the texture file (multiple selections are not
possible) you want to delete in the texture number list,
and in the <Texture Pattern> group press [Delete].
9
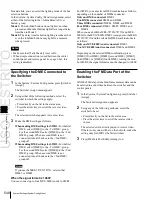
To create the texture package, press [Make Package].
A confirmation message appears.
10
Select [OK].
The texture package is created in the same location
that the texture file is stored on the memory card
(extension: zsp, file name generated automatically).
Notes
•
If you remove the memory card on which the texture
file is stored, it is not possible to create the texture
package.
•
If a texture package is already present on the
memory card, it is overwritten by a new texture
package.
•
If you carry out steps
9
and
10
without having
assigned even one texture file, it is not possible to
create a texture package.
•
If there is insufficient space on the memory card to
store the texture package, an error message appears,
and the process is aborted. If this happens, delete
unwanted files from the memory card using your
computer, so that there is enough free space on the
memory card, and repeat the process. As a guide, the
space required is approximately equal to total
number of bytes of the texture files assigned in steps
5
to
8
.
Installing the texture package
1
Insert the memory card holding the texture package
into the memory card slot.
2
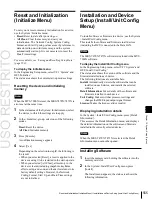
In the Engineering Setup menu, select VF1 ‘System’
and HF6 ‘Install/Unit Config.’
The Install/Unit Config menu appears; the status area
shows the version information for the software
installed on the various devices.
3
Press [Install].
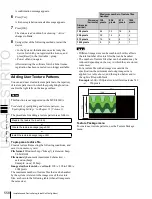
The System >Install/Unit Config >Install menu
appears; the status area shows the following
information.
Upper list:
For each connected device, this shows the
device name, current software version (Current),
and the information about the texture package that
can be installed (Install, Title).
-
OK:
Installation already completed.
-
On:
For installation, but not completed.
-
Error:
An error occurred during installation.
-
Cancel:
Installation canceled.
Lower list:
For the device selected in the upper list,
this shows an automatically detected list of
software that can be installed on the particular
device. Also, software selected as a candidate for
installation in the upper list is marked in the lower
list with an asterisk.
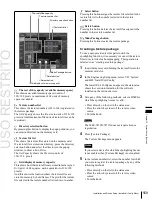
4
Using any of the following methods, select in the
upper list a DME for which the spotlighting license is
valid.
•
Press directly on the list in the status area.
Содержание MVS-8000X SystemMVS-7000X System
Страница 358: ...USO RESTRITO 358 Wipe Pattern List Appendix Volume 1 Enhanced Wipes Rotary Wipes ...
Страница 360: ...USO RESTRITO Random Diamond DustWipes 360 1 w pe PaternLO ...
Страница 362: ...USO RESTRITO 362 DME Wipe Pattern List Appendix Volume 1 Door 2D trans 3D trans ...
Страница 363: ...USO RESTRITO DME Wipe Pattern List 363 Appendix Volume 1 Flip tumble Frame in out Picture in picture ...
Страница 364: ...USO RESTRITO 364 DME Wipe Pattern List Appendix Volume 1 Page turn Page roll ...
Страница 365: ...USO RESTRITO DME Wipe Pattern List 365 Appendix Volume 1 Mirror Sphere Character trail Wave Ripple Split slide ...
Страница 367: ...USO RESTRITO DME Wipe Pattern List 367 Appendix Volume 1 Squeeze 3D trans Picture in picture Page turn ...
Страница 376: ...USO RESTRITO 376 Menu Tree Appendix Volume 1 Frame Memory Menu FRAME MEM button Color Bkgd Menu COLOR BKGD button ...
Страница 377: ...USO RESTRITO Menu Tree 377 Appendix Volume 1 AUX Menu AUX button CCR Menu CCR button ...
Страница 379: ...USO RESTRITO Menu Tree 379 Appendix Volume 1 DME Menu DME button ...
Страница 380: ...USO RESTRITO 380 Menu Tree Appendix Volume 1 Global Effect Menu GLB EFF button Router Menu Device Menu DEV button ...
Страница 381: ...USO RESTRITO Menu Tree 381 Appendix Volume 1 Macro Menu MCRO button ...
Страница 382: ...USO RESTRITO 382 Menu Tree Appendix Volume 1 Key Frame Menu KEY FRAME button ...
Страница 383: ...USO RESTRITO Menu Tree 383 Appendix Volume 1 Effect Menu EFF button ...
Страница 384: ...USO RESTRITO 384 Menu Tree Appendix Volume 1 Snapshot Menu SNAPSHOT button ...
Страница 385: ...USO RESTRITO Menu Tree 385 Appendix Volume 1 Shotbox Menu SHOTBOX button ...
Страница 386: ...USO RESTRITO 386 Menu Tree Appendix Volume 1 File Menu FILE button ...
Страница 388: ...USO RESTRITO 388 Menu Tree Appendix Volume 1 ENG SETUP button to previous page topages after 390 to next page ...
Страница 389: ...USO RESTRITO Menu Tree 389 Appendix Volume 1 ENG SETUP button to page 387 to previous pages to following pages ...
Страница 390: ...USO RESTRITO 390 Menu Tree Appendix Volume 1 ENG SETUP button to previous pages to next page a MVS 7000X only ...
Страница 391: ...USO RESTRITO Menu Tree 391 Appendix Volume 1 ENG SETUP button to previous pages ...
Страница 392: ...USO RESTRITO 392 Menu Tree Appendix Volume 1 User Setup Menu USER SETUP button Diagnostic Menu DIAG button ...
Страница 413: ...USO RESTRITO MVS 8000X System MVS 7000X System SY 4 470 637 01 1 Sony Corporation 2013 ...
Страница 706: ...USO RESTRITO MVS 8000X System MVS 7000X System SY 4 470 637 01 1 Sony Corporation 2013 ...


