USO
RESTRITO
500
Macro Operations in the Numeric Keypad Control Block and the Keyframe Control Block
Ch
a
p
te
r 16
M
a
c
ro
s
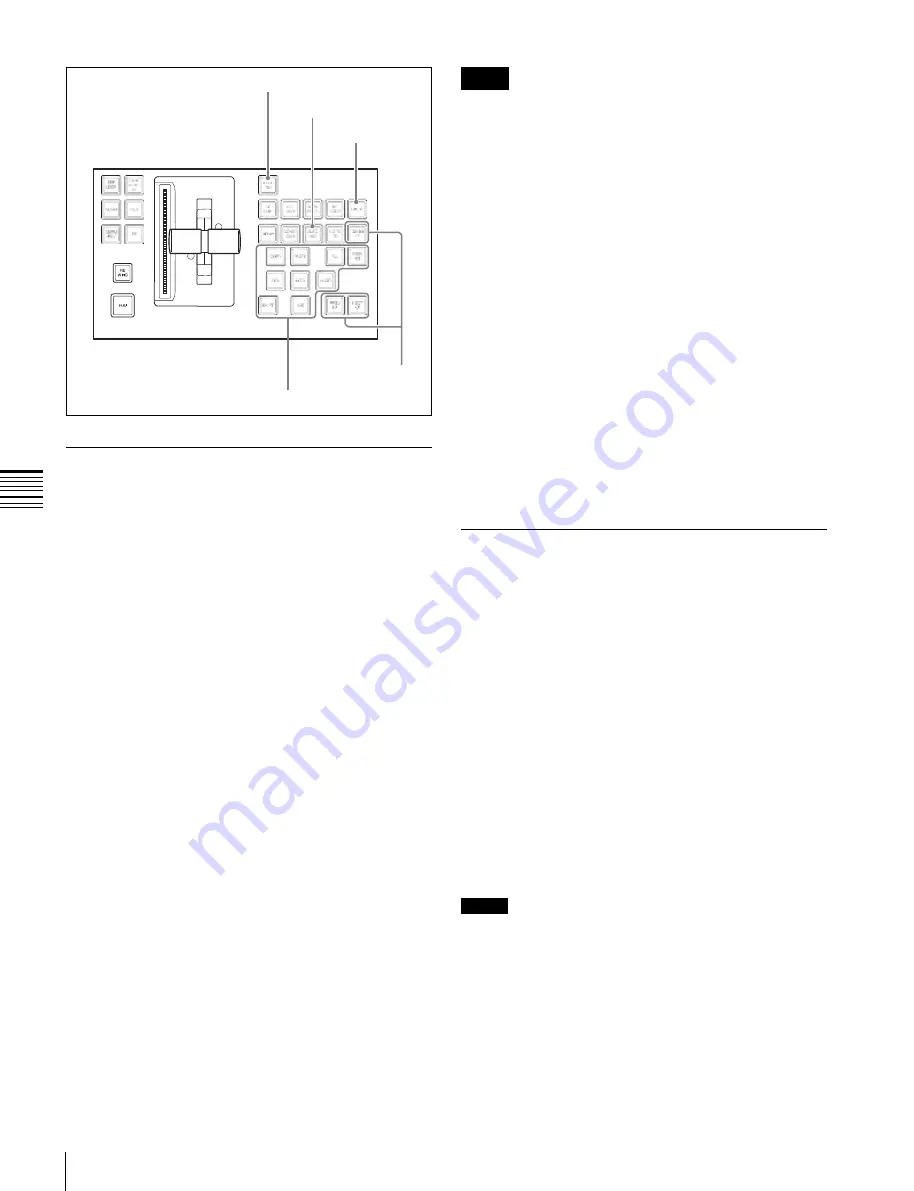
EDIT ENBL button
AUTO INS button
PAUSE button
Edit point specification
buttons
Editing buttons
Recalling a Macro Register and
Executing a Macro
Notes
•
It is not possible to execute more than one macro at a
time.
•
If the same register is recalled again during macro
execution or when the macro is paused, the following
operation depends on a setting in setup.
For details of the settings, see “Setting the Macro
Execution Mode” (page 606).
•
Individual events stored in a macro are executed
according to the settings in setup. If you change the
settings in setup, a saved macro may not have the
expected effect.
•
During macro execution, if you switch the control panel
to macro editing mode, the macro being executed stops.
•
During macro editing it is not possible to execute a
macro.
•
While executing a macro with the Flexi Pad control
block, or with a button with a macro attachment set, if
you recall another macro with the numeric keypad
control block, the following operation depends on a
setting in setup.
For details of the settings, see “Setting the Macro
Execution Mode” (page 606).
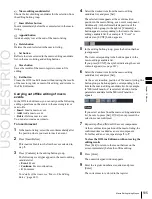
To carry out a macro operation, recall a macro register.
Recalling an empty register allows you to carry out macro
editing operations. Recalling a register holding a macro
executes the macro immediately.
To recall a macro register, use the following procedure.
1
In the numeric keypad control block, press the
[MCRO] button, turning it on.
This assigns the numeric keypad control block to
macro operations, and the [RCALL] button lights.
2
Enter the number of the register (1 to 250) to be
recalled with the numeric keypad buttons.
To search for an empty register, instead of entering a
number, press the [.] (period) button.
The display shows the corresponding register number.
A letter “E” after the number indicates that the
corresponding register is empty.
3
Press the [ENTER] button.
When you recall an empty register
This assigns the numeric keypad control block and
keyframe control block to macro editing.
For details of macro editing, see “Creating and Editing a
Macro” (see below).
When you recall a register holding a macro
This immediately executes the macro. While the macro is
executed, the [RCALL] button flashes.
Creating and Editing a Macro
Use the numeric keypad control block and keyframe
control block to create and edit a macro.
After carrying out creation and editing, be sure to carry out
a save operation
, using the numeric keypad
control block.
Switching auto insert mode on or off for
macro creation/editing
In the auto insert mode, when creating or editing a macro,
an operation carried out on the control panel is
automatically registered as an event.
When this mode is off, it is necessary to press the [INS]
button in the keyframe control block for each operation to
register the event.
To switch auto insert mode on or off, press the [AUTO
INS] button in the keyframe control block.
Notes
When you start macro editing using the numeric keypad
control block with the macro execution mode set to
“Normal”
, the auto insert mode is
automatically on. When “Step” is selected as the macro
execution mode, the auto insert mode is automatically off.
Creating a new macro
1
Содержание MVS-8000X SystemMVS-7000X System
Страница 358: ...USO RESTRITO 358 Wipe Pattern List Appendix Volume 1 Enhanced Wipes Rotary Wipes ...
Страница 360: ...USO RESTRITO Random Diamond DustWipes 360 1 w pe PaternLO ...
Страница 362: ...USO RESTRITO 362 DME Wipe Pattern List Appendix Volume 1 Door 2D trans 3D trans ...
Страница 363: ...USO RESTRITO DME Wipe Pattern List 363 Appendix Volume 1 Flip tumble Frame in out Picture in picture ...
Страница 364: ...USO RESTRITO 364 DME Wipe Pattern List Appendix Volume 1 Page turn Page roll ...
Страница 365: ...USO RESTRITO DME Wipe Pattern List 365 Appendix Volume 1 Mirror Sphere Character trail Wave Ripple Split slide ...
Страница 367: ...USO RESTRITO DME Wipe Pattern List 367 Appendix Volume 1 Squeeze 3D trans Picture in picture Page turn ...
Страница 376: ...USO RESTRITO 376 Menu Tree Appendix Volume 1 Frame Memory Menu FRAME MEM button Color Bkgd Menu COLOR BKGD button ...
Страница 377: ...USO RESTRITO Menu Tree 377 Appendix Volume 1 AUX Menu AUX button CCR Menu CCR button ...
Страница 379: ...USO RESTRITO Menu Tree 379 Appendix Volume 1 DME Menu DME button ...
Страница 380: ...USO RESTRITO 380 Menu Tree Appendix Volume 1 Global Effect Menu GLB EFF button Router Menu Device Menu DEV button ...
Страница 381: ...USO RESTRITO Menu Tree 381 Appendix Volume 1 Macro Menu MCRO button ...
Страница 382: ...USO RESTRITO 382 Menu Tree Appendix Volume 1 Key Frame Menu KEY FRAME button ...
Страница 383: ...USO RESTRITO Menu Tree 383 Appendix Volume 1 Effect Menu EFF button ...
Страница 384: ...USO RESTRITO 384 Menu Tree Appendix Volume 1 Snapshot Menu SNAPSHOT button ...
Страница 385: ...USO RESTRITO Menu Tree 385 Appendix Volume 1 Shotbox Menu SHOTBOX button ...
Страница 386: ...USO RESTRITO 386 Menu Tree Appendix Volume 1 File Menu FILE button ...
Страница 388: ...USO RESTRITO 388 Menu Tree Appendix Volume 1 ENG SETUP button to previous page topages after 390 to next page ...
Страница 389: ...USO RESTRITO Menu Tree 389 Appendix Volume 1 ENG SETUP button to page 387 to previous pages to following pages ...
Страница 390: ...USO RESTRITO 390 Menu Tree Appendix Volume 1 ENG SETUP button to previous pages to next page a MVS 7000X only ...
Страница 391: ...USO RESTRITO Menu Tree 391 Appendix Volume 1 ENG SETUP button to previous pages ...
Страница 392: ...USO RESTRITO 392 Menu Tree Appendix Volume 1 User Setup Menu USER SETUP button Diagnostic Menu DIAG button ...
Страница 413: ...USO RESTRITO MVS 8000X System MVS 7000X System SY 4 470 637 01 1 Sony Corporation 2013 ...
Страница 706: ...USO RESTRITO MVS 8000X System MVS 7000X System SY 4 470 637 01 1 Sony Corporation 2013 ...


