190
Macro Attachment Assigning
Chap
te
r 1
4
Ma
cr
os
•
Event:
Event
•
Continue:
Event continuation
•
#:
Comment
For details about the items,
.
3
Select the desired item from the macro editing
candidate list, and press [Set].
The selected item appears at the event insertion
position in the macro listing, as an event component.
Additionally, in the leftmost blank position of the
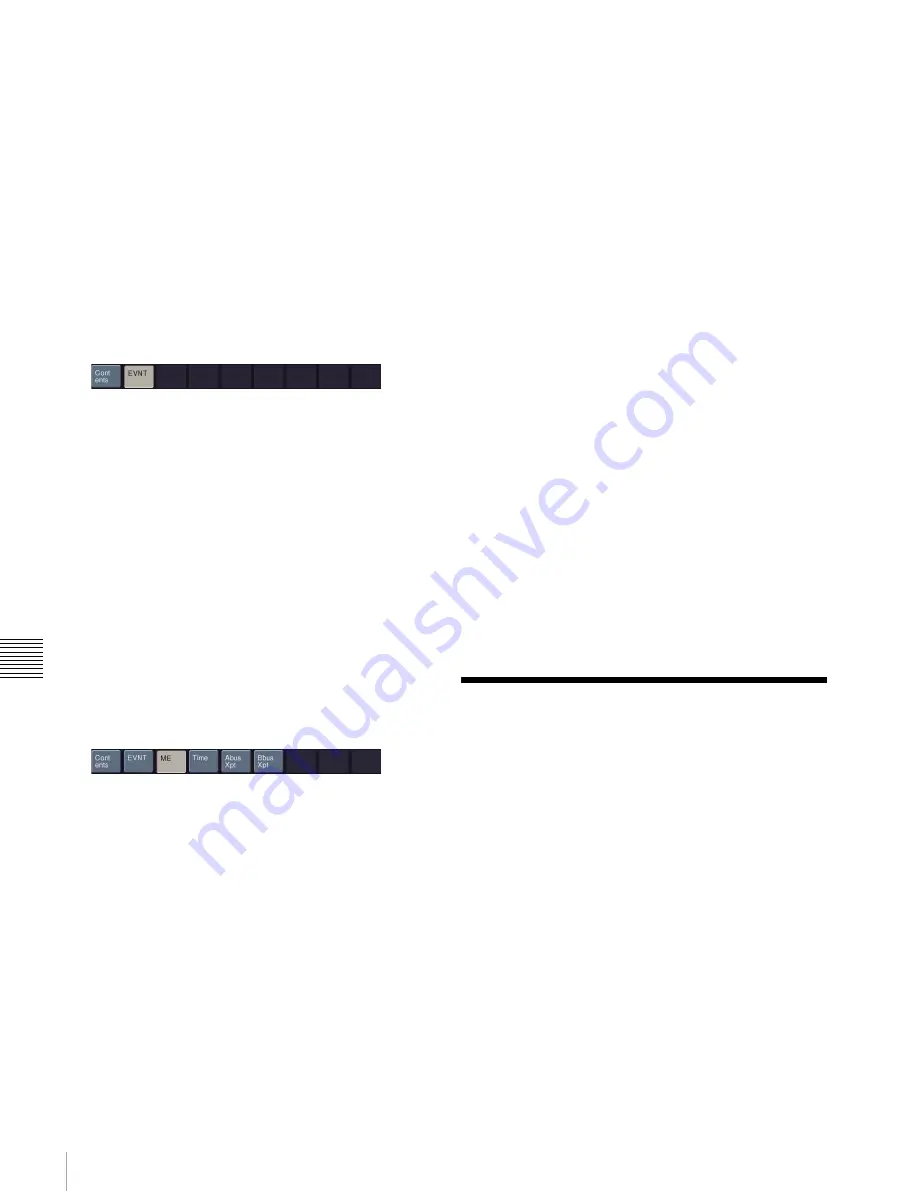
editing button group (to the right of [Contents]), a
button appears, corresponding to the item in the macro
editing candidate list. For example, if “Event” is
selected, an [EVNT] button appears.
4
In the editing button group, press the button that has
just appeared.
The item corresponding to the button appears in the
macro editing candidate list.
If you press the [EVNT] button, the symbol indicating
the event contents appears
5
Select the desired item from the macro editing
candidate list, and press [Set].
At the event insertion position of the macro listing, the
selected item is added as an event component.
Additionally, in the next blank position of the editing
button group, a button appears, corresponding to the
item in the macro editing candidate list. For example,
if “MEAutoTransition” is selected, a button for the
parameters and data for the MEAutoTransition
appears.
6
Repeat steps
4
and
5
, to edit the event components.
At the event insertion position of the macro listing, the
item is added as an event component.
To add further events, repeat steps
1
to
6
.
7
Press [Store].
8
Enter the register number as required, and press
[Enter].
The current macro is stored in the register.
The menu screen switches to the menu that was on the
screen immediately before the offline editing.
To delete an event
1
In the macro listing, select the event you want to
delete.
2
Press [Delete].
This deletes the selected event.
If a deleted Event statement is followed by a Continue
statement, the Continue statement is converted to an
Event statement.
3
Press [Store].
To create a new macro
1
From the list in any of the following menus, select an
empty register or file, and press [Off Line Edit].
• Macro >Register >Lock menu (5412)
• Macro >Register >Delete menu (5416)
• Macro >Register >Rename menu (5417)
• File >Shotbox, Macro >Macro >File Edit menu
(7142.1)
The Off Line Edit menu (7142.3) appears.
2
Carry out steps
2
to
7
of the procedure in
to create an event.
To close the Off Line Edit menu without saving
the editing results
Press [Exit].
Macro Attachment
Assigning
Macro attachment is a function whereby a macro register
is assigned to a control panel button or a particular position
of a fader lever, linking the execution of the button
function or a fader lever operation with a macro execution.
Setting a macro attachment to a button
Select one of the following three linking modes to make
the macro attachment.
Pre-macro:
Mode in which the button function is
executed after macro execution has completed
Post-macro:
Mode in which the macro is executed after
carrying out the button function
Macro only:
Mode in which the button function is not
executed, and the macro only is executed
The linking mode selection is performed in the cross-point
control block of the PGM/PST bank or M/E bank. For pre-


