44
Laser Scanners
RF627, RF627Smart [Revision 2.1.2] 20.09.2021
22.4.2. Viewing accumulated profiles
To view the accumulated profiles, open the
Dump
tab by clicking the corresponding
button on the left panel:
To view the accumulated profiles, it is necessary to select the
Dump
source in the
data source area.
In
Profile
mode, the selected profile from those accumulated in the internal memory
will be displayed.
In
3D
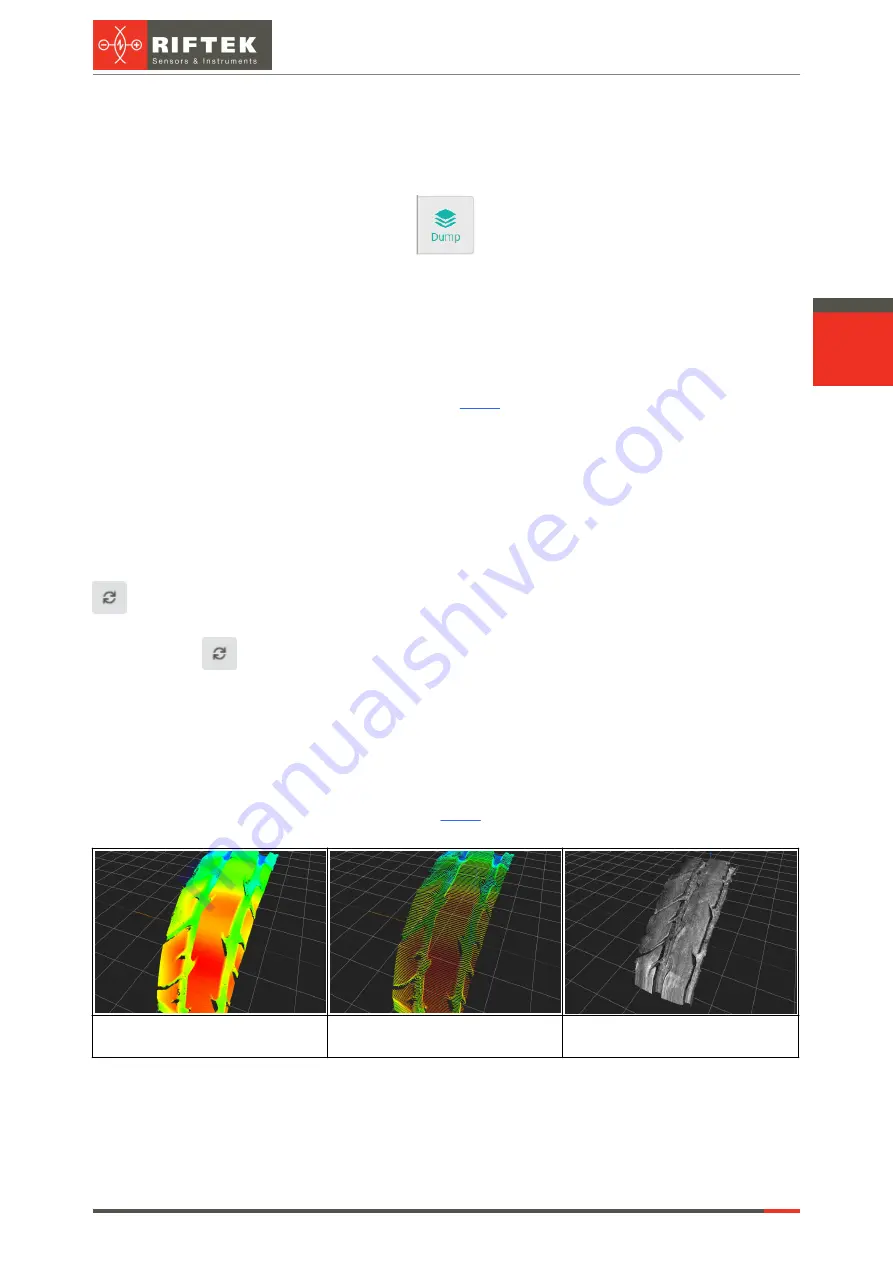
mode, the accumulated profiles in the form of a three-dimensional point cloud
will be displayed on the three-dimensional scene. You must first configure the display
settings in the
Dump control
section (see par.
):
Select the type of displacement system when receiving a point cloud (
Movement
type
).
Specify the step between measurements (linear in mm for the
Linear
type, and
angular in degrees for the
Radial
type).
Choose the selector, which is used to build a point cloud (the
Measurement
and
Step
counters, or the
System time
profile time stamp). The step value is
multiplied by the value of the parameter selected by the selector.
After configuring the display parameters, it is necessary to click the refresh button
. After that, the data will be downloaded from the scanner and a point cloud will appear.
After changing any parameters in the
Dump control
section, you must click the
refresh button
to redraw a point cloud with new parameters.
NOTE:
To view a three-dimensional point cloud, the PC must have an appropriate
video card. To view a point cloud on weak computers, adjust the decimation of the point
cloud. To do this, select the appropriate coefficient in the
Decimation
drop-down list.
To view a point cloud with coloring by intensity, you must select the
Intensity
mode
for the
Coloring
parameter.
NOTE:
Coloring by intensity is possible only if, during recording, the intensity values
were included in the profile packet (see par.
). Otherwise, the intensity of all points will
be zero (black color).
Point cloud without decimation and
with coloring by height
Point cloud (decimation coefficient
is set to 5)
Point cloud with coloring by
intensity
Use the left mouse button to rotate the camera in the 3D scene, and the right mouse
button to move the scene in the horizontal plane. Zooming is done with the mouse wheel.
Содержание RF627 Series
Страница 1: ...Certified according to ISO 9001 2015 LASER SCANNERS User s manual RF627 Series RF627Smart Series...
Страница 9: ...RF627 RF627Smart Revision 2 1 2 20 09 2021 Laser Scanners 9 Figure 2 Figure 3...
Страница 50: ...50 Laser Scanners RF627 RF627Smart Revision 2 1 2 20 09 2021...
Страница 97: ...RF627 RF627Smart Revision 2 1 2 20 09 2021 Laser Scanners 97...


