


6-28
D i g i t a l 8 • B u s
Starting a New Session
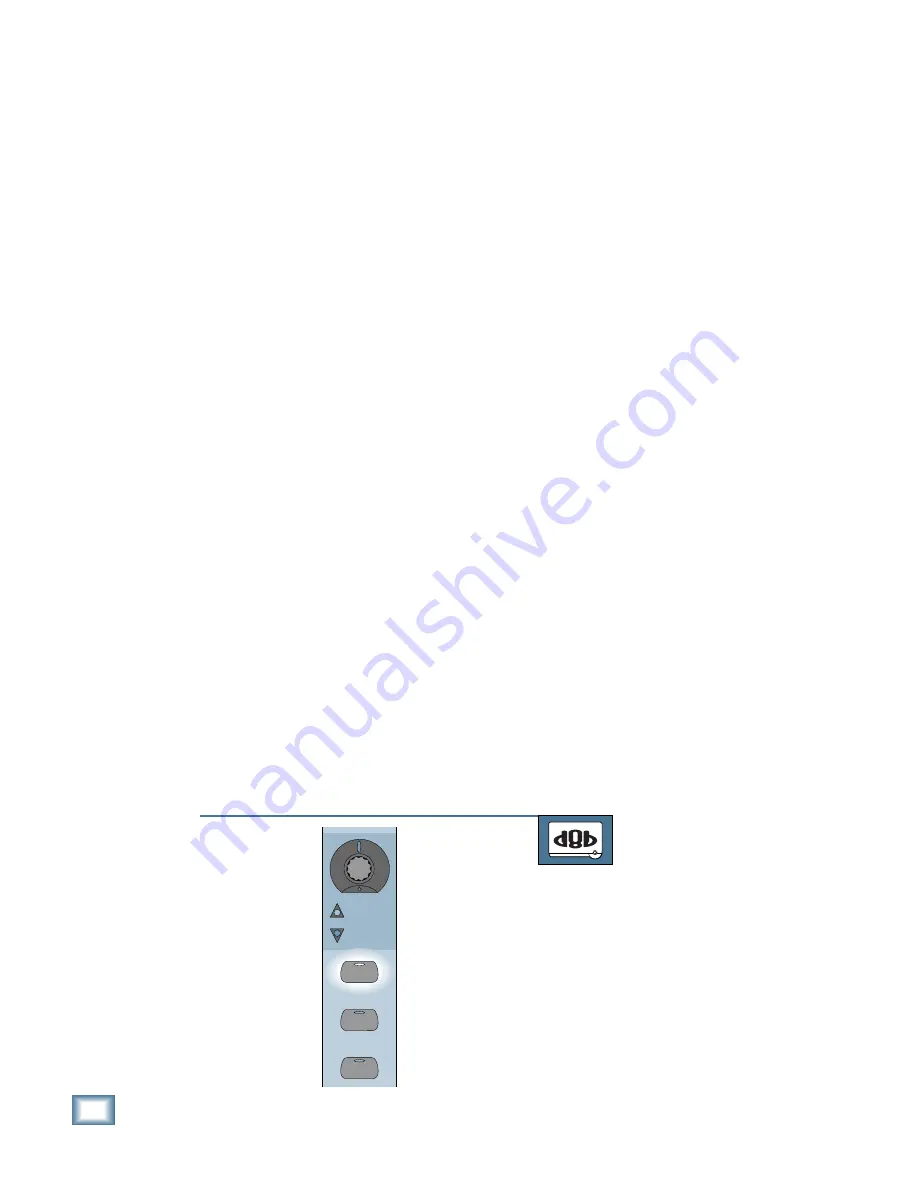
Muting Channels
The MUTE button mutes the corresponding
channel, and affects the output at the L-R bus,
Bus 1–8, and aux sends (when the aux send is set
for AFL). Press this button to mute the signal af-
ter the fader and prior to the output buses,
including the aux sends. The MUTE button LED
lights when the MUTE button is manually en-
gaged or while playing back previous automation
tracks with mute data. Press the button again to
turn it off.
For channels 1–48, mute is post-DSP, post-
fader, and pre-bus assign. Mute does not affect
the tape outputs, the Solo bus, or the aux sends
(if the aux send is set for PFL).
Mute is active in all four fader banks. In Fader
Bank 4, if MUTE is engaged on a Virtual Group, all
channels assigned to the group are muted. If MUTE
is engaged on a MIDI Controller, a control change
message is transmitted at the MIDI OUT port.
Adding EQ, Dynamics, and Effects to Tape
Returns
If you’re like most people, you record your
tracks with minimal EQ and effects. You just
want to get the track down on tape in a pure and
unadulterated form, with the intention of sweet-
ening it in the mix later.
The best way to add EQ, dynamics, and effects is
to solo each channel individually, add EQ or an ef-
fect, then switch it out of solo and hear how the
adjustment sounds in the mix. You may need to dy-
namically adjust the EQ or an effect during the mix.
This, too, can be automated. And that’s just another
way the Digital 8•Bus can make your life easier.
Consider Compression
You can mix an entire project without a lick of
compression; many engineers do. The dynamic
range of a CD can certainly handle it. But con-
sider: most people listen to what you mix under
less than ideal conditions. Typically their listening
environment features background or road noise,
and most of the time they don’t listen as loud as
you mix. A little gentle compression, whether on
individual tracks or on the entire mix, can reduce
the dynamic range a bit and pull your mix to-
gether. Also, if you want to simulate what your
mix will sound like over the airwaves, you can
compress the heck out of it. This is good for
checking things out, but not for your final mix.
Okay, roll the tape!
The Fat Channel Display
When a channel is selected, the channel num-
ber appears in the CHANNEL SELECT window
and the DSP parameters for that channel appear
in the Fat Channel Display. Up to four param-
eters can appear in the display at one time, and
each parameter corresponds to a V-Pot and Se-
lect button located just below it. If there are
more than four parameters associated with a par-
ticular menu, use the NEXT arrow button to see
the rest of the parameters.
The Select button is used to choose an indi-
vidual parameter, and the V-Pot is used to adjust
the value of its corresponding parameter.
Using EQ
Each of the first 48 channels has a four-
band parametric equalizer, with the
capability of storing two separate EQ
curves per channel.
Selecting the EQ
TO SELECT THE EQ
From the console:
1. Select the channel you want to EQ by
pressing its SELECT button.
12
36
SELECT
MUTE
SOLO
Содержание 8-BUS Series
Страница 49: ...3 16 D i g i t a l 8 B u s Start Up ...
Страница 57: ...4 8 D i g i t a l 8 B u s Connections ...
Страница 77: ...5 20 D i g i t a l 8 B u s Preparing for a Session ...
Страница 177: ...7 20 D i g i t a l 8 B u s Automation ...
Страница 207: ...D 2 D i g i t a l 8 B u s Apogee UV22 ...
Страница 219: ...F 4 D i g i t a l 8 B u s Optional I O Cards ...
Страница 227: ...H 2 D i g i t a l 8 B u s Upgrading ...
Страница 232: ...J 3 O w n e r s M a n u a l Screen Shots Surround Sound Matrix Mackie FX Control Panel IVL Vocal Studio Control Panel ...
Страница 233: ...J 4 D i g i t a l 8 B u s Screen Shots Disk Manager File Menu Channel Menu Automation Menu Edit Menu Windows Menu ...
Страница 235: ...K 2 D i g i t a l 8 B u s ...
Страница 237: ...D i g i t a l 8 B u s ...
Страница 239: ...D i g i t a l 8 B u s ...


