


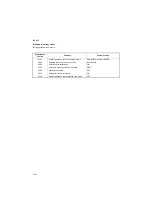


2KR/2KS
1-2-8
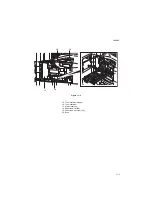
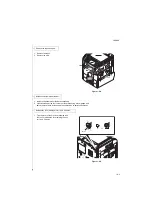
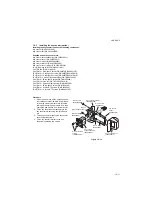
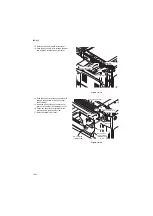
4. Gently push the toner container into the
machine along the rails.
Push the container all the way into the
machine until it locks in place.
Figure 1-2-12
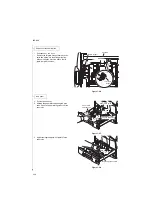
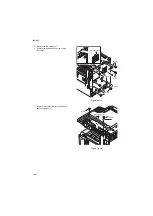
1. Install the waste toner box in the machine.
2. Close the front cover.
Figure 1-2-13
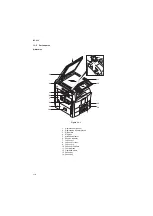
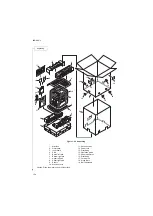
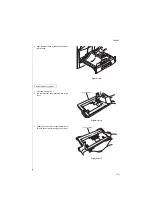
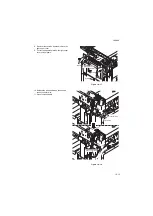
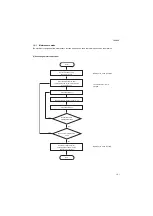
1. Install the optional original cover or DP.
1. Install the optional devices (job separator,
built-in finisher, document finisher and/or fax
kit etc.) as necessary.
1. Connect the power cord to the connector on the machine.
2. Insert the power plug into the wall outlet.
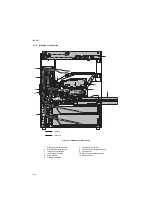
Toner container
Install the waste toner box.
Waste toner box
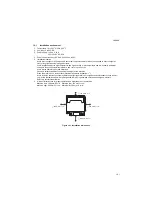
Install the optional original cover or the DP.
Install other optional devices.
Connect the power cord.
Содержание TASKalfa 420i
Страница 1: ...SERVICE MANUAL Published in May 2010 842KS113 2KSSM063 Rev 3 TASKalfa 420i TASKalfa 520i ...
Страница 4: ...This page is intentionally left blank ...
Страница 10: ...This page is intentionally left blank ...
Страница 14: ...2KR 2KS This page is intentionally left blank ...
Страница 224: ...2KR 2KS 1 4 66 This page is intentionally left blank ...
Страница 328: ...2KR 2KS 2 3 30 This page is intentionally left blank ...
Страница 371: ...INSTALLATION GUIDE FOR PAPER FEEDER ...
Страница 381: ...INSTALLATION GUIDE FOR 3000 SHEETS PAPER FEEDER ...
Страница 436: ...INSTALLATION GUIDE FOR CENTER FOLDING UNIT ...
Страница 450: ...INSTALLATION GUIDE FOR MAILBOX ...
Страница 458: ...INSTALLATION GUIDE FOR HOLE PUNCH UNIT ...
Страница 470: ...INSTALLATION GUIDE FOR BUILT IN FINISHER ...
Страница 483: ...INSTALLATION GUIDE FOR JOB SEPARATOR ...
Страница 491: ...INSTALLATION GUIDE FOR FAX System ...
Страница 507: ......
Страница 508: ......