2KR/2KS
1-5-30
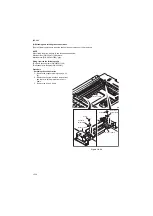
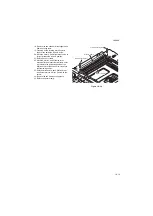
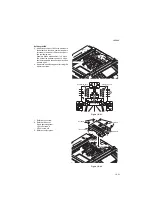
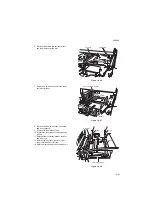
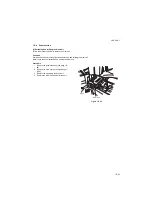
1-5-7 Fuser section
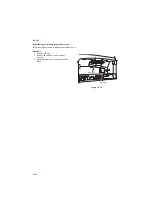
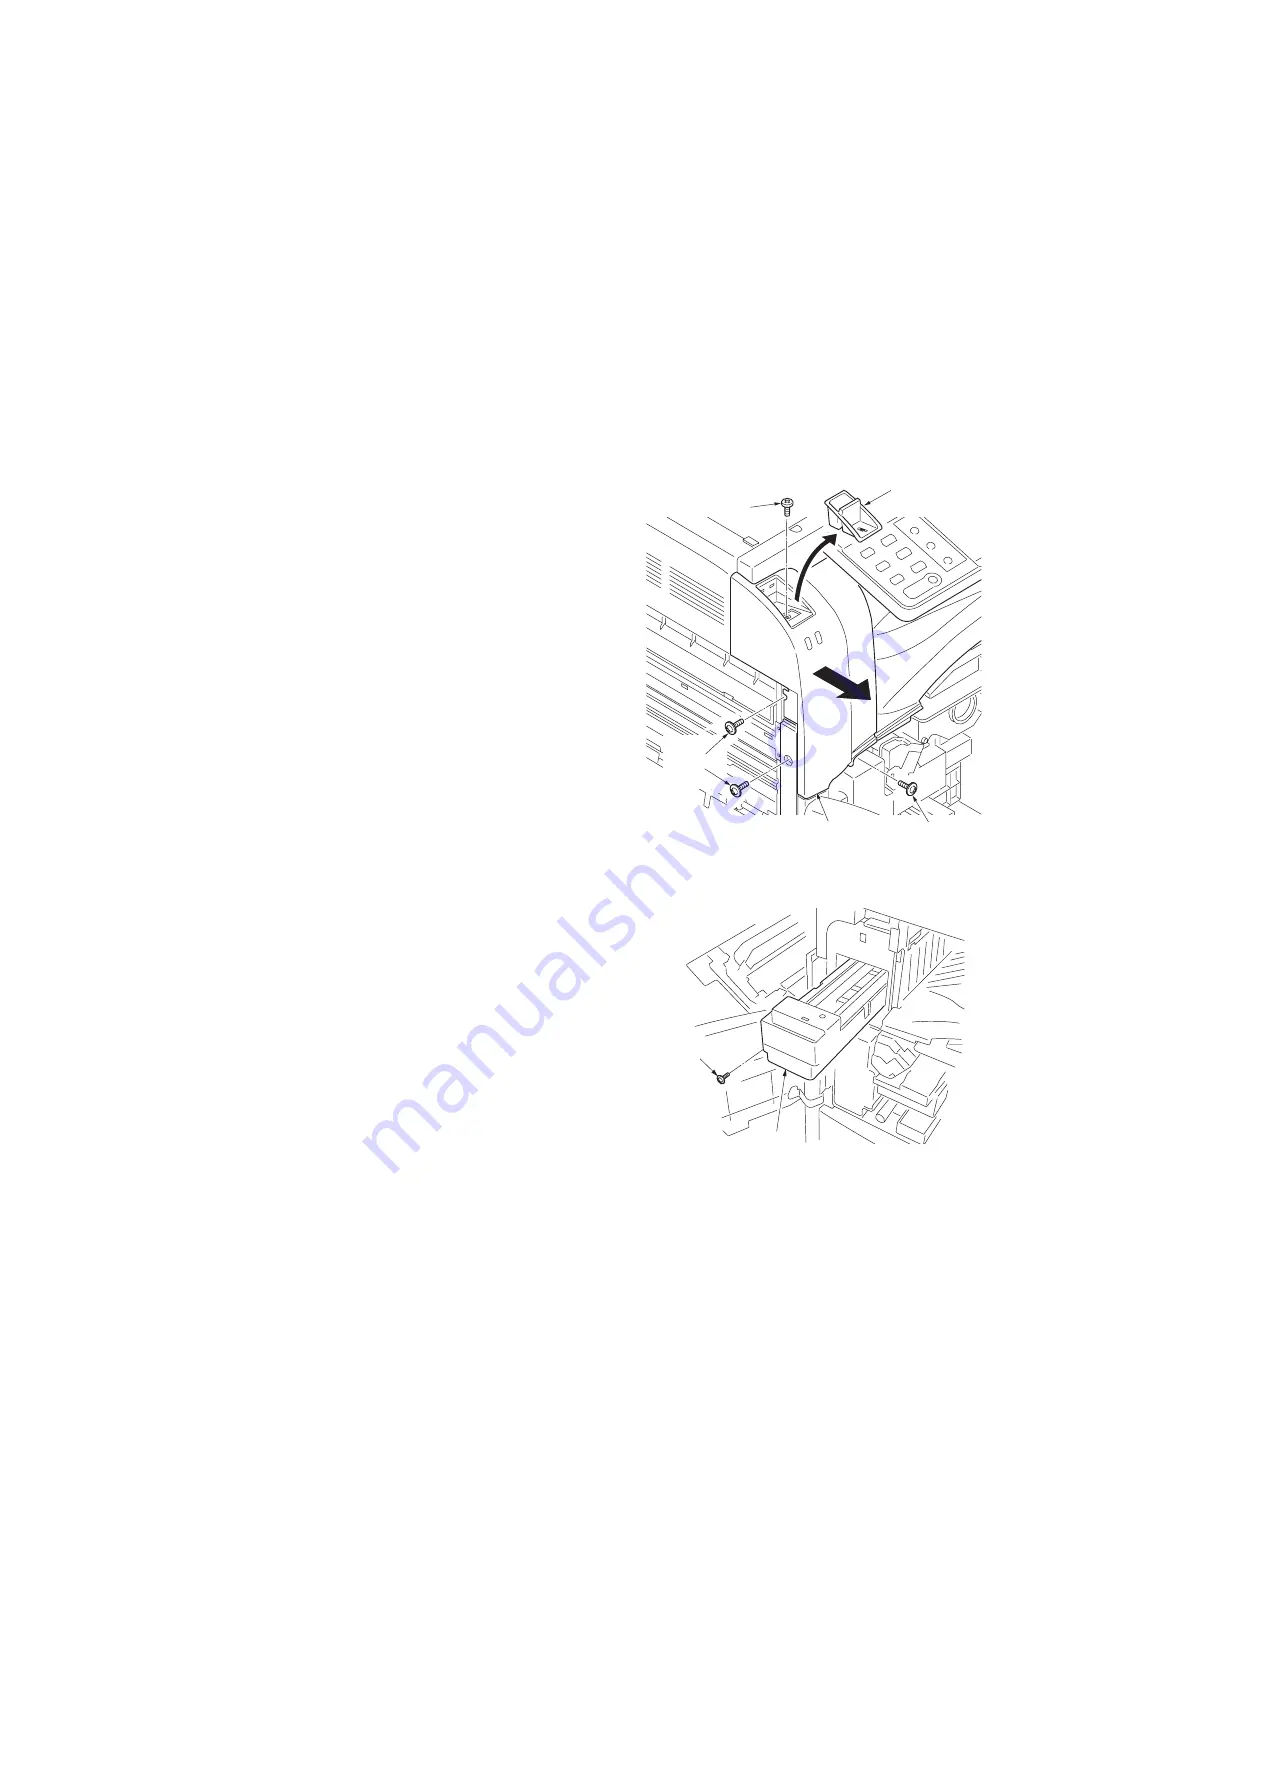
(1) Detaching and refitting the fuser unit
Follow the procedure below to check or replace the fuser unit.
Procedure
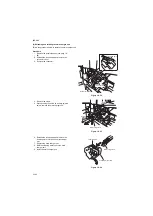
1. Remove the clip holder.
2. Open the front cover and left cover 1.
3. Remove four screws and remove front left
cover.
Figure 1-5-60
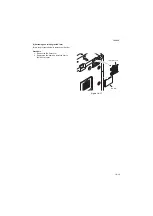
4. Remove the screw and remove the fuser
unit.
5. Check or replace the fuser unit and install
the unit.
6. Perform maintenance mode U167 to clear
the counter value (see page 1-3-52).
Figure 1-5-61
Front left cover
Clip holder
Screw
Screws
Screw
Screw
Fuser unit
Содержание TASKalfa 420i
Страница 1: ...SERVICE MANUAL Published in May 2010 842KS113 2KSSM063 Rev 3 TASKalfa 420i TASKalfa 520i ...
Страница 4: ...This page is intentionally left blank ...
Страница 10: ...This page is intentionally left blank ...
Страница 14: ...2KR 2KS This page is intentionally left blank ...
Страница 224: ...2KR 2KS 1 4 66 This page is intentionally left blank ...
Страница 328: ...2KR 2KS 2 3 30 This page is intentionally left blank ...
Страница 371: ...INSTALLATION GUIDE FOR PAPER FEEDER ...
Страница 381: ...INSTALLATION GUIDE FOR 3000 SHEETS PAPER FEEDER ...
Страница 436: ...INSTALLATION GUIDE FOR CENTER FOLDING UNIT ...
Страница 450: ...INSTALLATION GUIDE FOR MAILBOX ...
Страница 458: ...INSTALLATION GUIDE FOR HOLE PUNCH UNIT ...
Страница 470: ...INSTALLATION GUIDE FOR BUILT IN FINISHER ...
Страница 483: ...INSTALLATION GUIDE FOR JOB SEPARATOR ...
Страница 491: ...INSTALLATION GUIDE FOR FAX System ...
Страница 507: ......
Страница 508: ......

