2KR/2KS
1-5-23
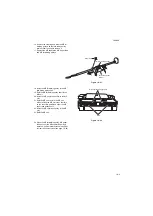
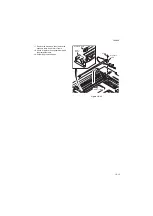
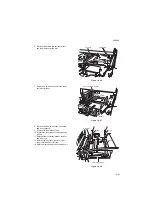
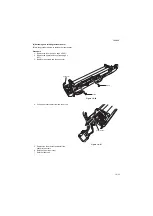
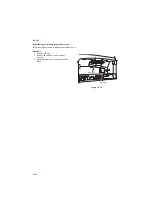
6. Remove two screws and two connectors,
and then remove the fan duct.
Figure 1-5-46
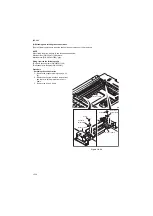
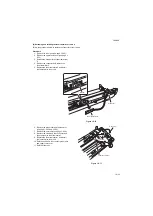
7. Remove six screws and remove the toner
container retainer.
Figure 1-5-47
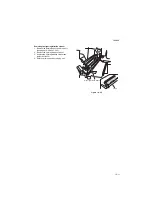
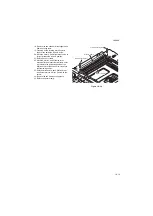
8. Remove two pins, two springs, one screw
and one connector.
9. Remove the laser scanner unit.
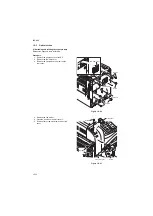
10. Replace the laser scanner unit and install
the unit.
11. Refit the toner container retainer, fan duct
and inner cover.
12. Refit the top tray, front right cover, right
lower cover and front left cover.
13. Refit the drum unit and the developing unit.
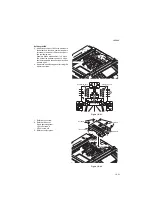
Figure 1-5-48
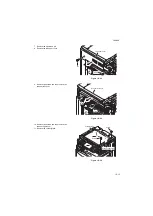
Fan duct
Connectors
Screw
Screw
Toner container retainer
Screw
Screws
Screw
Screw
Screw
Pin
Spring
Pin
Spring
Screw
Connector
Laser scanner unit
Содержание TASKalfa 420i
Страница 1: ...SERVICE MANUAL Published in May 2010 842KS113 2KSSM063 Rev 3 TASKalfa 420i TASKalfa 520i ...
Страница 4: ...This page is intentionally left blank ...
Страница 10: ...This page is intentionally left blank ...
Страница 14: ...2KR 2KS This page is intentionally left blank ...
Страница 224: ...2KR 2KS 1 4 66 This page is intentionally left blank ...
Страница 328: ...2KR 2KS 2 3 30 This page is intentionally left blank ...
Страница 371: ...INSTALLATION GUIDE FOR PAPER FEEDER ...
Страница 381: ...INSTALLATION GUIDE FOR 3000 SHEETS PAPER FEEDER ...
Страница 436: ...INSTALLATION GUIDE FOR CENTER FOLDING UNIT ...
Страница 450: ...INSTALLATION GUIDE FOR MAILBOX ...
Страница 458: ...INSTALLATION GUIDE FOR HOLE PUNCH UNIT ...
Страница 470: ...INSTALLATION GUIDE FOR BUILT IN FINISHER ...
Страница 483: ...INSTALLATION GUIDE FOR JOB SEPARATOR ...
Страница 491: ...INSTALLATION GUIDE FOR FAX System ...
Страница 507: ......
Страница 508: ......

