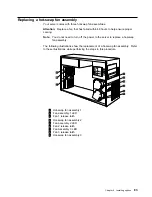
To replace a hot-swap fan assembly:
1. Remove the cover. See “Removing the left-side cover (tower model)” on
page 48 or “Removing the cover (rack model)” on page 49.
Attention: To ensure proper system cooling, do not remove the top cover for
more than 30 minutes during this procedure.
2. Determine which fan assembly (fan 1
1
, fan 2
4
, or fan 3
9
) to replace by
checking the fan LEDs on the diagnostic LED panel (see “Diagnostic LED
panel” on page 153) and the LEDs located on the fan assemblies.
3. Remove the fan assembly from the server by pressing the orange release latch
(
3
,
6
, or
8
) for the fan and pulling the fan away from the server.
4. Slide the replacement fan assembly into the server until it clicks into place.
5. Verify that the FAN LED on the diagnostic panel is not lit. If the FAN LED is lit,
reseat the fan.
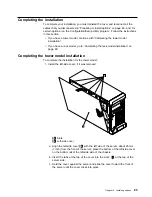
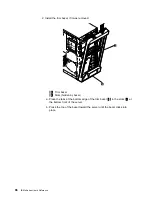
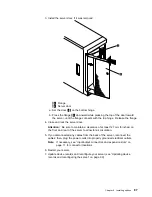
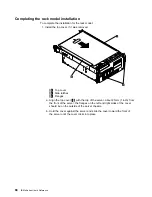
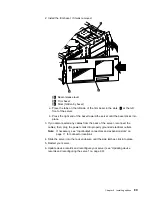
6. Replace the cover. For a tower model, see “Completing the tower model
installation” on page 85. For a rack model, see “Completing the rack model
installation” on page 88.
84
IBM xSeries User's Reference
Содержание eServer 240 xSeries
Страница 1: ...User s Reference xSeries 240...
Страница 26: ...16 IBM xSeries User s Reference...
Страница 50: ...40 IBM xSeries User s Reference...
Страница 116: ...106 IBM xSeries User s Reference...
Страница 170: ...160 IBM xSeries User s Reference...
Страница 180: ...170 IBM xSeries User s Reference...
Страница 219: ...IBM Part Number 21P9014 Printed in the United States of America 21P9 14...

