77
client side that is when the WebCam 2-Way Talk button is activated. (see also
).
i
Make sure that your Webcam Digital Signature is updated yearly; else you won’t be able to access
the DVR server from the DVR WebViewer. To update/download your WebViewer Digital Signature,
click
Update WebViewer Digital Signature
. Make sure your PC is connected to internet.
(8) Voice Phone
The
Talk to Web-Client
is to use the 2-Way Talk feature that allows the client and server to talk via internet
using microphone. Make sure both microphone and speakers work before using this feature. If the
Talk to
Web-Client
is disabled, the person in the DVR server side can only hear the voice from the client side that is
when the WebCam 2-Way Talk button is activated. (see also
).
i
Make sure that your Webcam Digital Signature is updated yearly; else you won’t be able to access
the DVR server from the DVR WebViewer. To update/download your WebViewer Digital Signature,
click
Update WebViewer Digital Signature
. Make sure your PC is connected to internet.
(9) Network Time Synchronization
Adjust the DVR system time same as network time server. Fill in the
Time Server
IP address or domain
name. Select
Automatic Synchronize
time to set automatic synchronize time on a daily basis. Or, user can
click
Synchronize Time Right Now
to adjust time right away.
(10) 3GPP
Enable 3GPP that allows user to use browser on the mobile phone to view recorded video. Just enter the
http:// DVR server IP address/3GPP on the browser of mobile phone, and then, user will receive the
recorded video from DVR server. Fill the RTSP PORT for 3GPP connection. Select the video size for
transmitting to user’s browser on the mobile phone.
(11) Other Configuration
-
Enable Original Security Protocol
Enable DVR system to accept the connection from former version of remote access application. For
example, if user uses CMS version 7.3 and connect to DVR server with version 7.7, and then, user has to
enable this option to make it work. It is due to that DVR system has new security protocol and it’s not
compatible with old remote access software.
-
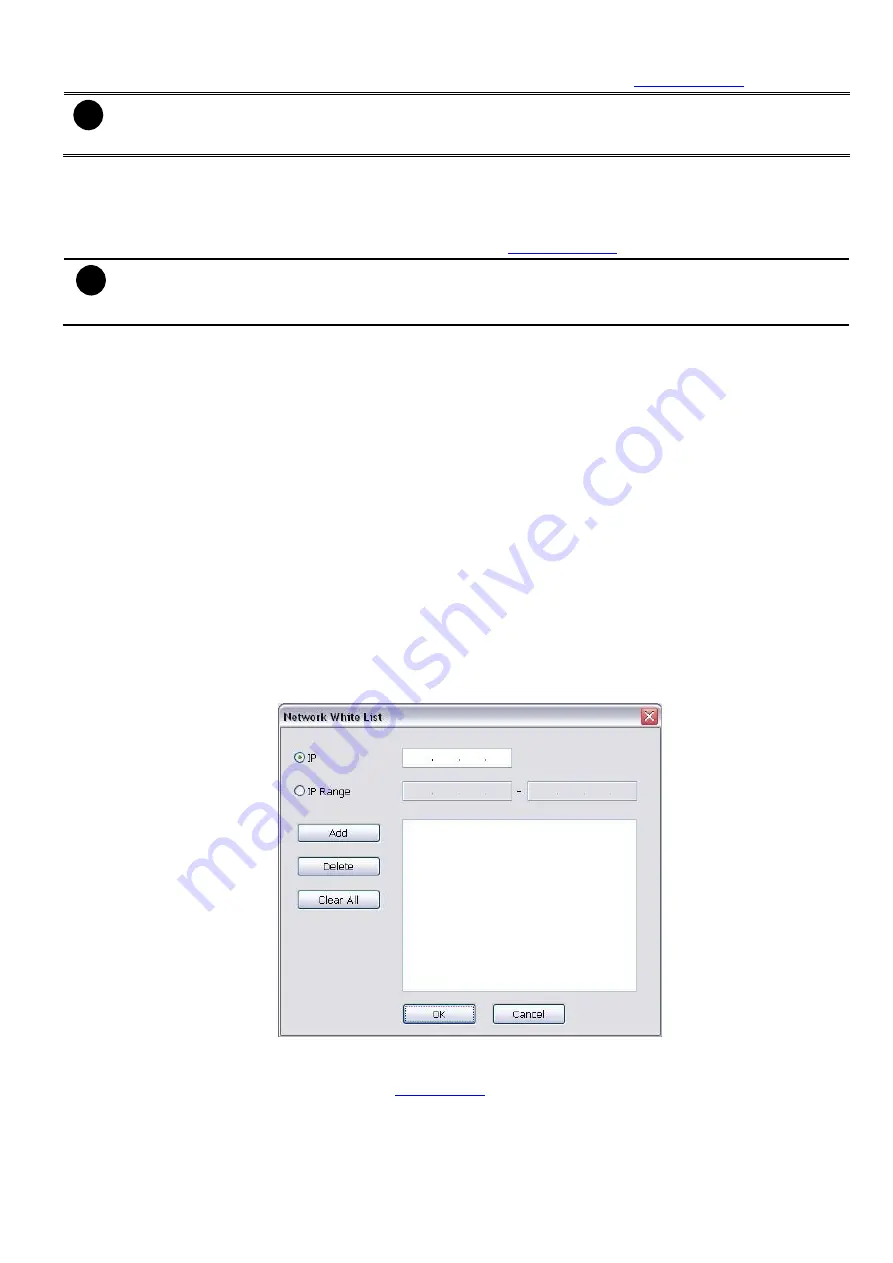
Enable White List
An access permit list for the remote accessing of DVR server. Enter the IP address and click
Add
. Or,
enter a range of IP address and click
Add
. To delete the IP from the list, select the IP and click
Delete
button. To reset the input, click
Clear
button.
-
Enable HandyViewer
Enable remote users to use a PDA or a mobile phone(ex: iPhone, Black Berry) to access DVR server and
Содержание IWH3216 Touch
Страница 1: ...AVerMedia IWH3216 Touch User Manual June 2010...
Страница 51: ...45 Power Management To setup UPS configuration Device Management To manage the DVR system devices...
Страница 153: ...147 10 To switch back to iEnhance interface click iEnhance button...
Страница 176: ...170 11 If user wants to burn the back file into DVD disk click Burn button and select the file to burn...
Страница 180: ...174 4 When the below screen show up press CTRL I 5 Select Create RAID Volume...


