USO
RESTRITO
278
Shotbox Register Creation
Ch
a
p
te
r 14
Ut
ilit
y
/S
h
o
tb
o
x
number is followed by a letter “E,” the register is
empty.
8
Press the [ENTR] button.
This saves the region you turned on in step
6
, and the
register number you recalled for that region as a
snapshot setting in a shotbox register, and the
[STORE] button changes color to orange. At the same
time, the [RCLL] button lights yellow.
9
Press the [EFF] button, turning it on.
10
Specify the register numbers to recall the keyframe
effects for each region that you want to save in the
shotbox register.
For details about the procedure for recalling a
keyframe effect,
“Recalling a register from the
11
Referring to steps
3
to
6
, carry out the procedure to
save the recalled keyframe effect data.
In step
5
, however, press the [EFF] button instead of
[SNAPSHOT] button, lighting it on.
12
Enter the shotbox register number specified in step
7
using the numeric keypad buttons.
13
Press the [ENTR] button.
This saves the snapshot data, followed by the
keyframe effect data, in the specified shotbox register,
and the [STOR] button changes color to orange. At the
same time, the [RCLL] button lights yellow.
To change the contents of a shotbox register
After recalling the shotbox register you want to change,
refer to
“Creating a Shotbox Register in the Flexi Pad”
and change the contents of the shotbox
register, and save.
To check the region saved in a shotbox register
After step
5
“Creating a Shotbox Register in the Flexi
, press the following buttons to continue.
To check the snapshot region:
[SNAPSHOT] button
To check the keyframe effect region:
[EFF] button
The buttons in the memory recall section change as
follows. For buttons corresponding to regions with stored
data, region select buttons are lit amber and memory recall
section buttons are lit yellow.
To recall an assigned effect and simultaneously
execute it
Press the [AUTO RUN] button, lighting it green, then save
the shotbox register.
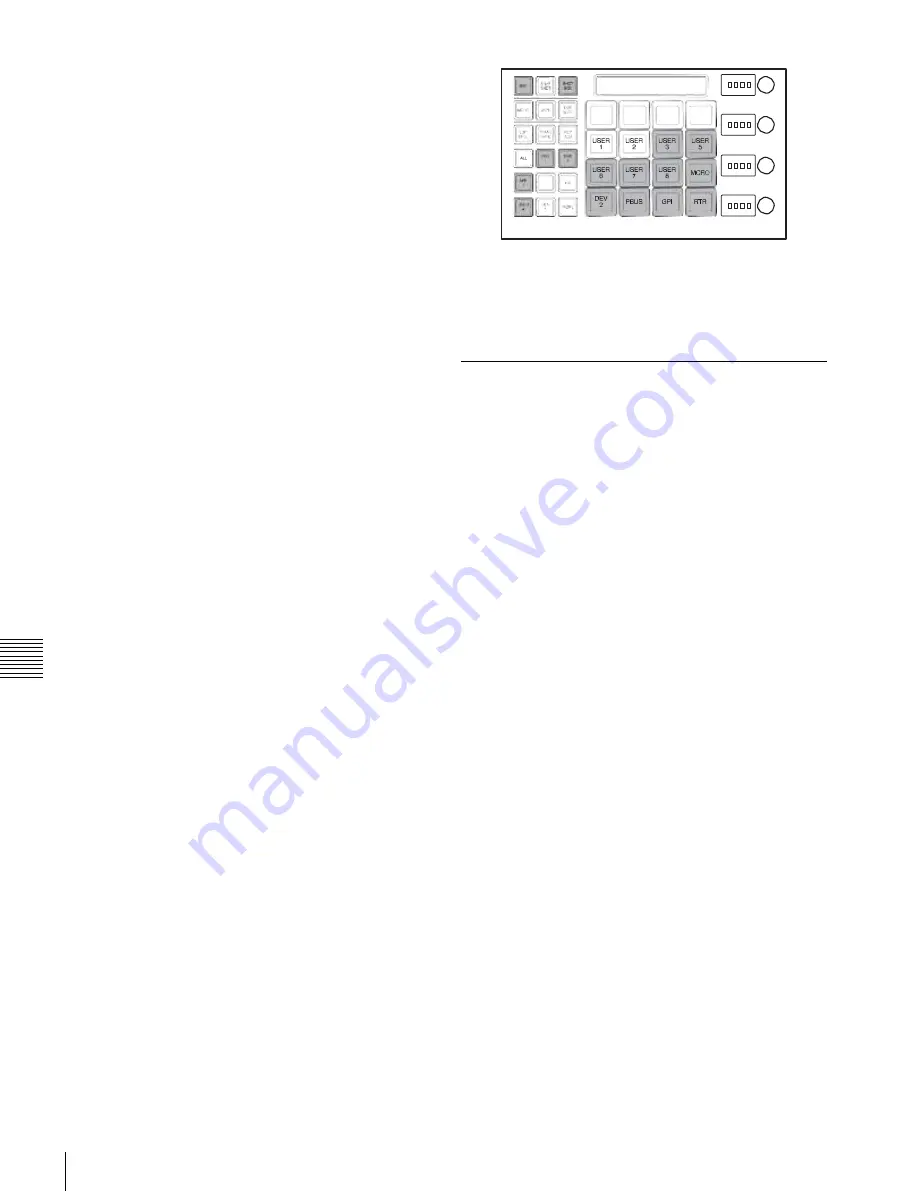
Creating a Shotbox Register using
the Menus
1
Open the Shotbox >Register >Store/Recall menu
(6411).
In the status area, the settings for each register appear
as follows.
Region settings:
Appear as “Sxxx” when a snapshot is
allocated, and as “Exxx” when an effect is
allocated (where “xxx” is the register number).
The register name also appears. If nothing is
allocated, nothing appears in the display.
Register lock setting:
When the register is write-
protected, an “L” (for “lock”) appears.
Empty status:
When the register is empty, an “E” (for
“empty”) appears.
Auto run setting:
When this is enabled, so that an
effect is executed simultaneously with recall,
“AR” appears.
Shotbox register name:
This shows the shotbox
register name.
2
If necessary, press one of the following buttons in the
status area to change the region display.
M/E, P/P:
Indicates assignment of M/E-1 (ME1), P/P
(P/P).
User:
Shows the allocations for User 1 (USR1) to User
8 (USR8).
DME:
Indicates assignment of DME ch1 (DME1),
ch2 (DME2), ch5 (DME5), ch6 (DME6), ch7
(DME7), and ch8 (DME8).
DEV1-8:
Shows the allocations for Device1 (DEV1)
to Device8 (DEV8).
DEV9-12:
Shows the allocations for Device9 (DEV9)
to Device12 (DEV12).
Misc:
Shows the allocations for P-Bus (PBUS), GPI
(GPI), Router (RTR), and Macro (MCRO).


