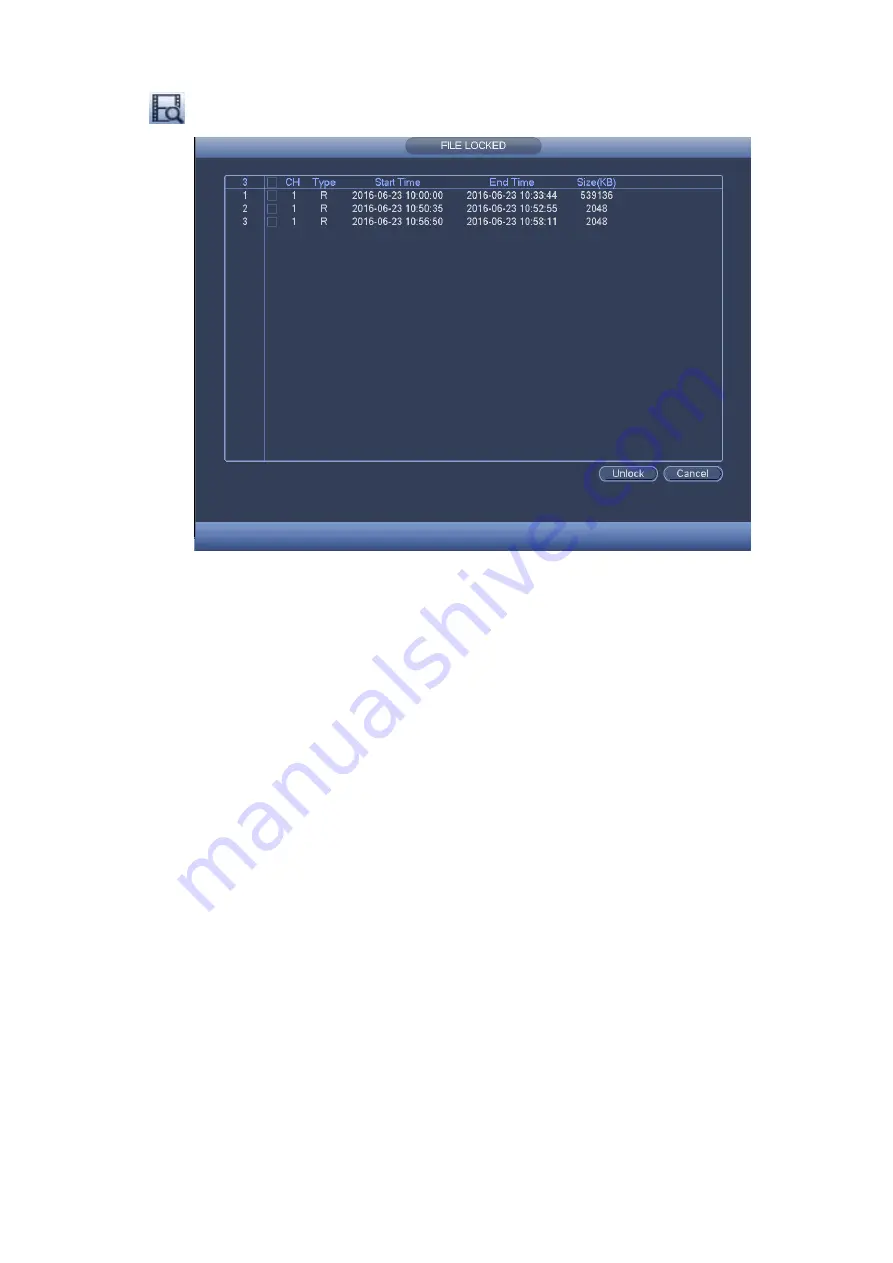
Click
you can view the locked file. See Figure 3-109.
Figure 3-109
Select a file in the above figure and then click Unlock, you can unlock it.
3.9.9
Other Aux Functions
3.9.9.1 Digital Zoom
In 1-window playback mode, left click mouse to select any zone on the screen, you can zoom in
current zone. Right click mouse to exit.
3.9.9.2 Switch Channel
During playback mode, select from the dropdown list to switch playback channel. This function is not
for the channel of no record. The smart search channel does not support this function either.
3.10 Event Manager
3.10.1
Video Detect
The video detect adopts the computer image and graphics process technology. It can analyze the
video and check there is considerable changing degree or not. Once video has changed considerably
(such as there is any moving object, video is distorted), system can trigger the corresponding ala rm
activation operations.
In the main menu, from Setting to Detect, you can see motion detect interface. See Figure
3-110.There are four detection types: motion detection, video loss, tampering and scene changing.
3.10.1.1 Motion Detect
After analysis video, system can generate a motion detect alarm when the detected moving signal
reached the sensitivity you set here.
Detection menu is shown as below. See Figure 3-110.
Event type: From the dropdown list you can select motion detection type.
Summary of Contents for ELITE Network IP Series
Page 1: ...64 Channel 4K Hot Swap NVR NVR ELHS 64 4K DH...
Page 108: ...Figure 3 92 Figure 3 93...
Page 131: ...Figure 3 111 Figure 3 112 Figure 3 113...
Page 144: ...Figure 3 126 Figure 3 127...
Page 146: ...Figure 3 129 Click draw button to draw the zone See Figure 3 130 Figure 3 130...
Page 149: ...Figure 3 133 Click Draw button to draw a zone See Figure 3 134 Figure 3 134...
Page 154: ...Figure 3 139 Click draw button to draw the zone See Figure 3 140...
Page 172: ...Figure 3 157 Figure 3 158...
Page 173: ...Figure 3 159 Figure 3 160...
Page 176: ...Figure 3 164 Figure 3 165...
Page 211: ...Figure 3 199...
Page 234: ...Figure 3 227 Step 2 Click Add group Enter add group interface See Figure 3 228 Figure 3 228...
Page 298: ...Figure 4 56 Figure 4 57...
Page 304: ...Figure 4 62 Figure 4 63...
Page 305: ...Figure 4 64 Figure 4 65...
Page 330: ...Figure 4 101 Figure 4 102...
Page 339: ...Figure 4 115 Figure 4 116...
Page 359: ...Figure 4 144 Note For admin you can change the email information See Figure 4 145...


