the Alarm setup interface.
Important
For multiple-channel monitor mode, system adopts extra stream to monitor by default. You can not
modify manually. All channels are trying to synchronize. Please note the synchronization effect still
depends on your network environments.
For bandwidth consideration, system can not support monitor and playback at the same time. System
auto closes monitor or playback interface when you are searching setup in the configuration interface. It
is to enhance search speed.
4.4 Reset Password
If you forgot
admin
password, you can reset the password by email or by answering the security
questions (local menu only).
When the password reset function is enabled, you can scan the QR code on the Web to reset the
password.
When the password reset function is disabled, you can reset password via the security questions
configured before. If the secury questions are not configured, system displays that Password reset is
closed! You need to contact the customer service for help.
Step 1 Go to the device login interface. See Figure 4-4.
Step 2 Click Forgot password.
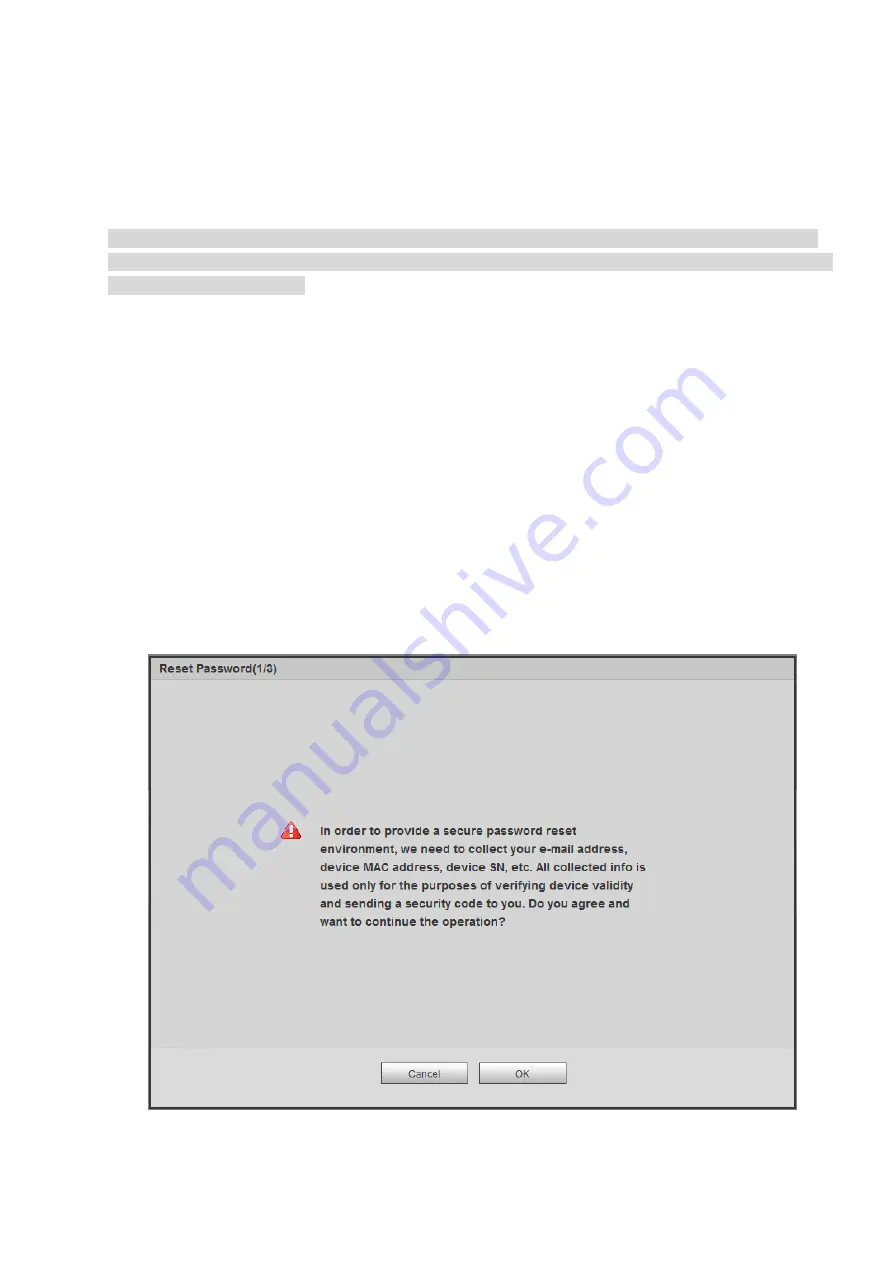
If you have set the reserved email, system displays a notice before the password reset. See
If you have not set the reserved email, a dialogue box pops up that asks you to reset the
password by clicking Forgot password on the local interface.
Figure 4-13
Summary of Contents for ELITE Network IP Series
Page 1: ...64 Channel 4K Hot Swap NVR NVR ELHS 64 4K DH...
Page 108: ...Figure 3 92 Figure 3 93...
Page 131: ...Figure 3 111 Figure 3 112 Figure 3 113...
Page 144: ...Figure 3 126 Figure 3 127...
Page 146: ...Figure 3 129 Click draw button to draw the zone See Figure 3 130 Figure 3 130...
Page 149: ...Figure 3 133 Click Draw button to draw a zone See Figure 3 134 Figure 3 134...
Page 154: ...Figure 3 139 Click draw button to draw the zone See Figure 3 140...
Page 172: ...Figure 3 157 Figure 3 158...
Page 173: ...Figure 3 159 Figure 3 160...
Page 176: ...Figure 3 164 Figure 3 165...
Page 211: ...Figure 3 199...
Page 234: ...Figure 3 227 Step 2 Click Add group Enter add group interface See Figure 3 228 Figure 3 228...
Page 298: ...Figure 4 56 Figure 4 57...
Page 304: ...Figure 4 62 Figure 4 63...
Page 305: ...Figure 4 64 Figure 4 65...
Page 330: ...Figure 4 101 Figure 4 102...
Page 339: ...Figure 4 115 Figure 4 116...
Page 359: ...Figure 4 144 Note For admin you can change the email information See Figure 4 145...


