address, port, remote channel number, manufacturer, username and password.
If file backup encryption is enabled, the extension name of the exported file is .backup. Except the
NVR device, any other software cannot open and edit the file.
If the backup encryption is disabled, the extension name of the exported file is .csv. It might lead to
data leakage.
Import IP
You can import the added device list to add the device conveniently.
Click Import button, and then select the import file.
Note
If the imported IP is already in the added device list, system pops up dialogue box for you to confirm
overwrite or not.
Click OK button, the new IP setup can overwrite the old one.
Click Cancel button, system adds the new IP setup.
Important
You can edit the exported file. Please make sure the file format is the same. Otherwise you cannot
import the file again!
System does not support customized protocol import/export.
The import/export function is for the devices of the same language.
4.6.1.1.2 IPC Upgrade
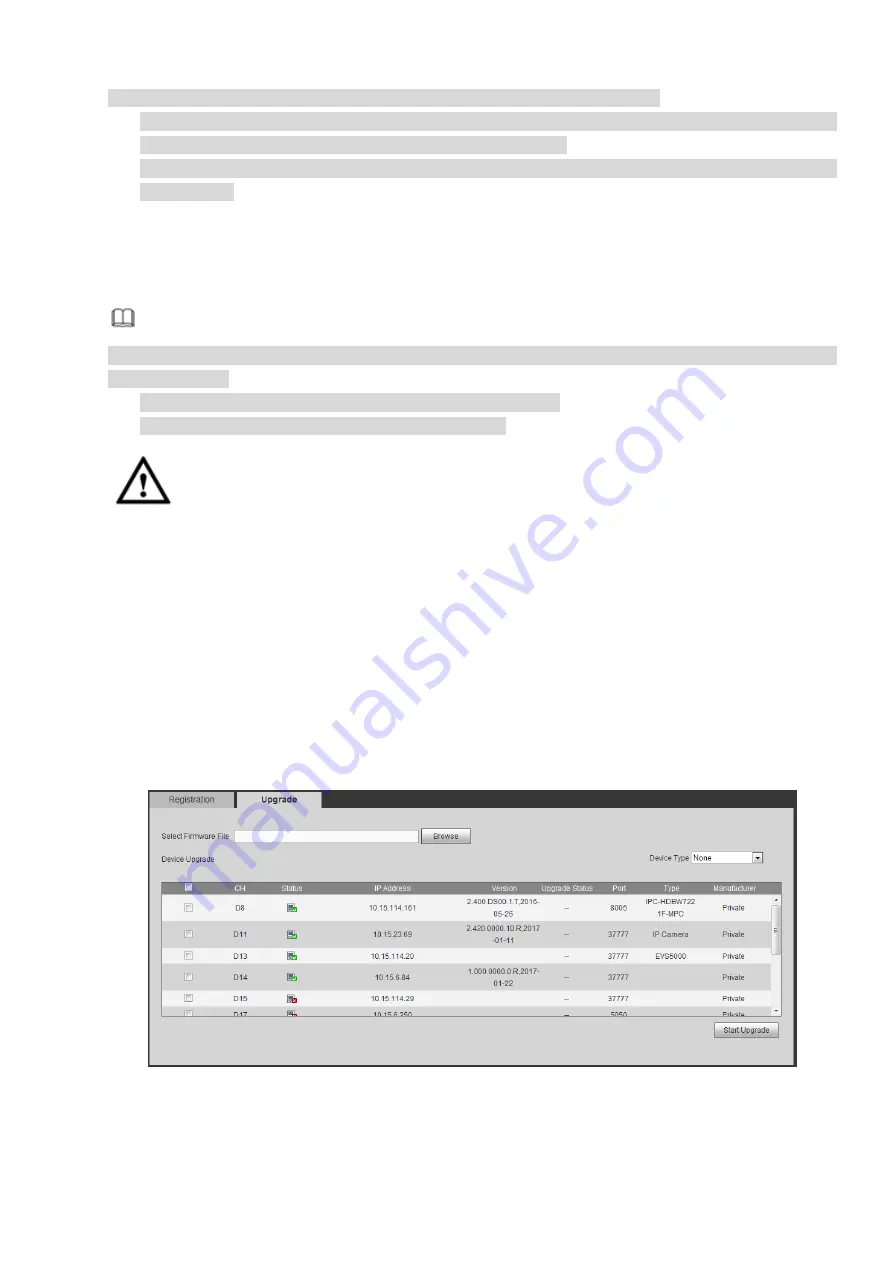
This interface is to upgrade network camera.
From Main menu->Setting->Camera->Registration->IPC upgrade, enter the following interface. See
Click Browse button to select upgrade file. Or you can use filter to select several network cameras at the
same time.
Figure 4-31
4.6.1.2 Image
From main window>Setup>Camera>Image, you can see an interface shown as in Figure 4-32.
Summary of Contents for ELITE Network IP Series
Page 1: ...64 Channel 4K Hot Swap NVR NVR ELHS 64 4K DH...
Page 108: ...Figure 3 92 Figure 3 93...
Page 131: ...Figure 3 111 Figure 3 112 Figure 3 113...
Page 144: ...Figure 3 126 Figure 3 127...
Page 146: ...Figure 3 129 Click draw button to draw the zone See Figure 3 130 Figure 3 130...
Page 149: ...Figure 3 133 Click Draw button to draw a zone See Figure 3 134 Figure 3 134...
Page 154: ...Figure 3 139 Click draw button to draw the zone See Figure 3 140...
Page 172: ...Figure 3 157 Figure 3 158...
Page 173: ...Figure 3 159 Figure 3 160...
Page 176: ...Figure 3 164 Figure 3 165...
Page 211: ...Figure 3 199...
Page 234: ...Figure 3 227 Step 2 Click Add group Enter add group interface See Figure 3 228 Figure 3 228...
Page 298: ...Figure 4 56 Figure 4 57...
Page 304: ...Figure 4 62 Figure 4 63...
Page 305: ...Figure 4 64 Figure 4 65...
Page 330: ...Figure 4 101 Figure 4 102...
Page 339: ...Figure 4 115 Figure 4 116...
Page 359: ...Figure 4 144 Note For admin you can change the email information See Figure 4 145...


