Note
After setting the security questions here, you can use the email you input here or answer the
security questions to reset
admin
password Refer to chapter 4.4 Reset password for detailed
information.
Cancel the email or security questions box and then click Next button to skip this step.
Email: Input an email address for reset password purpose. Scan the QR code to reset the
password, you need to receive the security code by the email. Input the security code to reset
the password of
admin
. In case you have not input email address here or you need to update
the email information, please go to the main Setup->System->Account to set.
Security question: Set security questions and corresponding answers. Properly answer the
questions to reset
admin
password. In case you have not input security question here or you
need
to
update
the
security
question
information,
please
go
to
the
main
menu->Setting->System->Account->Security question to set. Refer to chapter 3.13.1.3 Security
question for detailed information.
Note
If you want to reset password by answering security questions, please go to the local menu
interface.
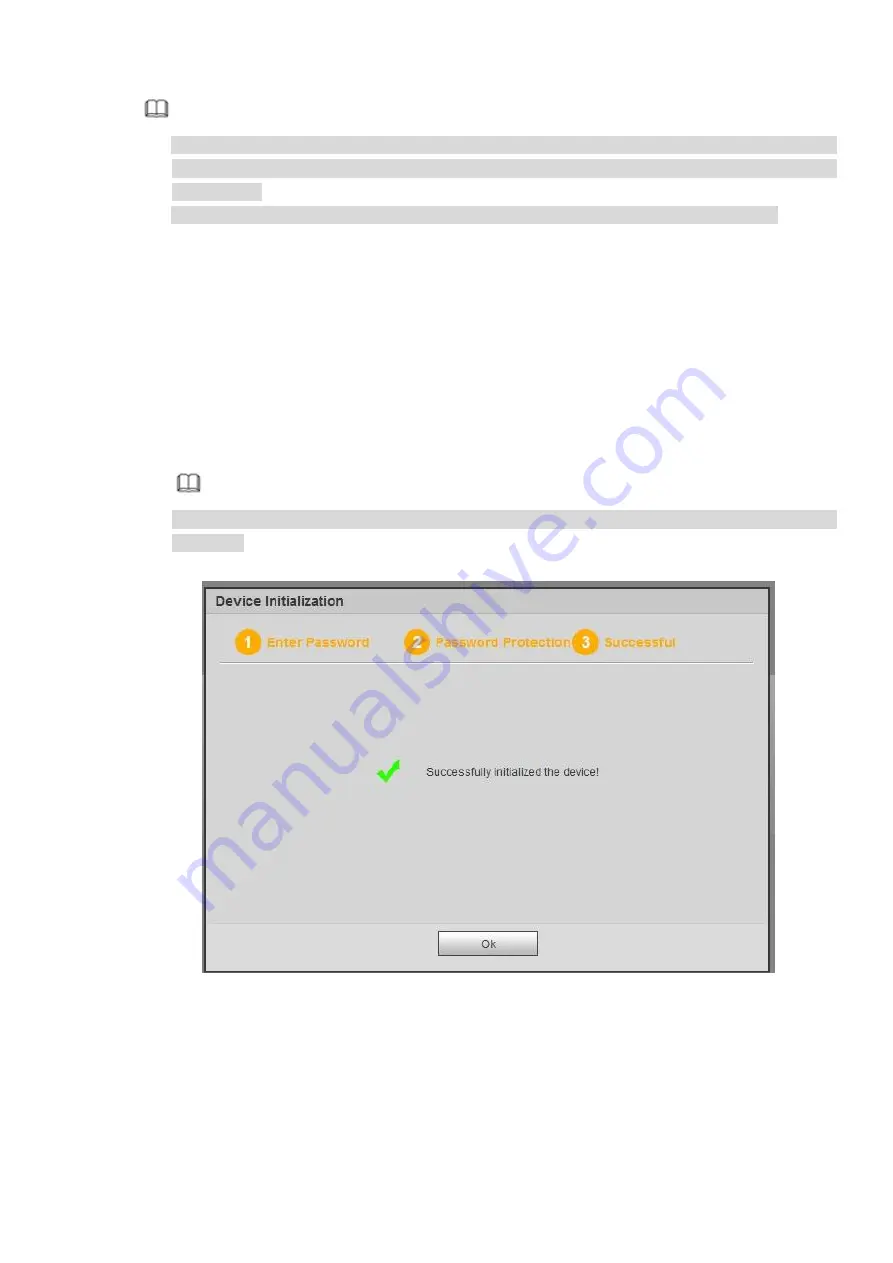
Step 6 Click OK to complete the device initialization setup. See Figure 4-3.
Figure 4-3
4.3
Log in
Open the IE and then input the NVR IP address in the address column.
Step 1 The login interface is displayed. See Figure 4-4.
Summary of Contents for ELITE Network IP Series
Page 1: ...64 Channel 4K Hot Swap NVR NVR ELHS 64 4K DH...
Page 108: ...Figure 3 92 Figure 3 93...
Page 131: ...Figure 3 111 Figure 3 112 Figure 3 113...
Page 144: ...Figure 3 126 Figure 3 127...
Page 146: ...Figure 3 129 Click draw button to draw the zone See Figure 3 130 Figure 3 130...
Page 149: ...Figure 3 133 Click Draw button to draw a zone See Figure 3 134 Figure 3 134...
Page 154: ...Figure 3 139 Click draw button to draw the zone See Figure 3 140...
Page 172: ...Figure 3 157 Figure 3 158...
Page 173: ...Figure 3 159 Figure 3 160...
Page 176: ...Figure 3 164 Figure 3 165...
Page 211: ...Figure 3 199...
Page 234: ...Figure 3 227 Step 2 Click Add group Enter add group interface See Figure 3 228 Figure 3 228...
Page 298: ...Figure 4 56 Figure 4 57...
Page 304: ...Figure 4 62 Figure 4 63...
Page 305: ...Figure 4 64 Figure 4 65...
Page 330: ...Figure 4 101 Figure 4 102...
Page 339: ...Figure 4 115 Figure 4 116...
Page 359: ...Figure 4 144 Note For admin you can change the email information See Figure 4 145...


