Getting Started with OilExpress 4 . 85
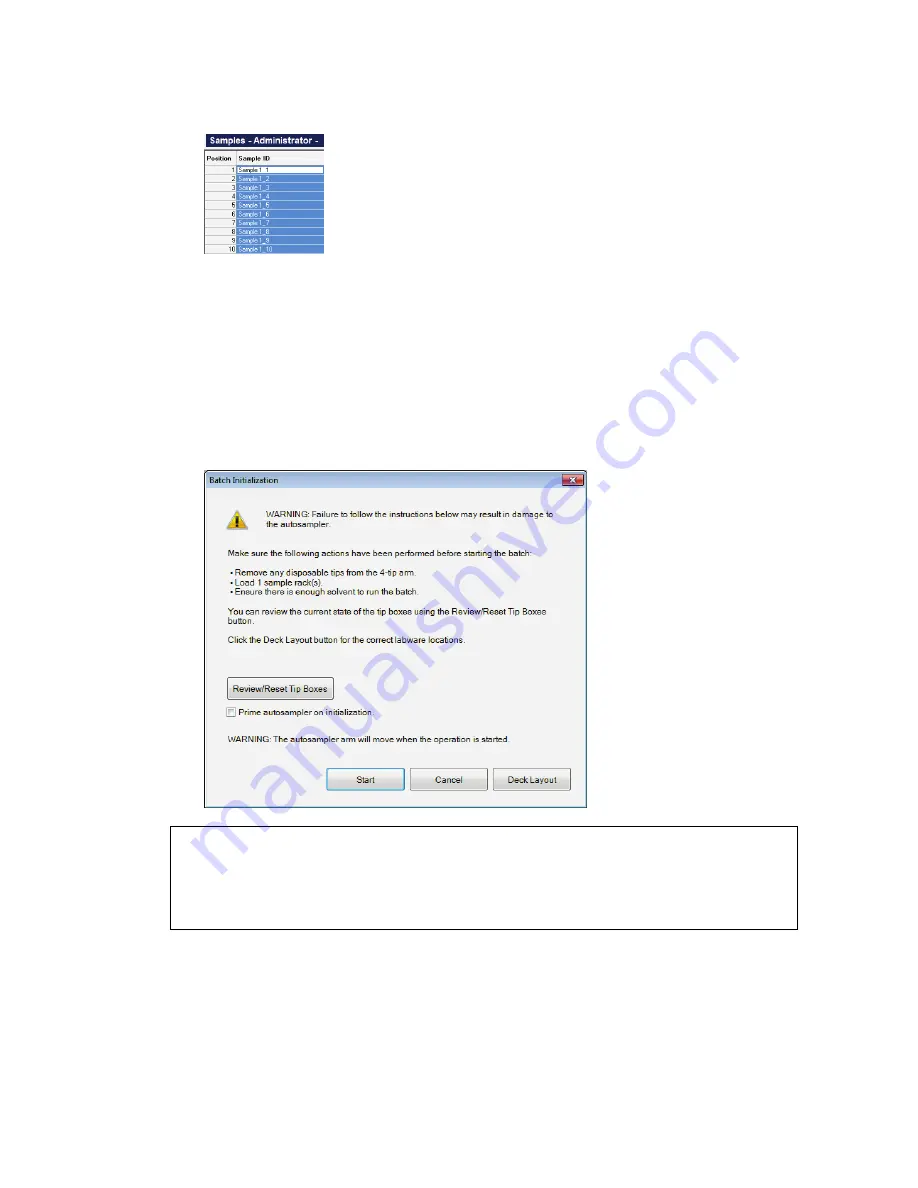
If you use Autofill for the Sample IDs, the first Sample ID must contain a number. After
using Autofill, in each cell you will see that the number is increased by one for each cell
in the column; for example, Sample 1_2, Sample 1_3 ... .
18.
If you want OilExpress 4 to print a report of the results, or to output your spectra to a
folder as *.sp files, then select Reporting Options from the File menu.
Refer to
Saving Spectra, Exporting Spectra and Reporting
on page 78 for more
information.
19.
When you defined your reporting options, click
OK
to exit the dialog.
20.
When you have completed the Samples table, click
Start Analysis
.
The Batch Initialization Dialog is displayed. This dialog contains important information
about preparing the autosampler for your sample analysis.
CAUTION
Failure to follow the instructions on the Batch Initialization dialog may
result in damage to the autosampler.
The dialog lists how many sample racks are required at the start of the analysis. It is
very important that the rack type loaded on the deck corresponds to the rack type
selected on the Autosampler Setup dialog, and that sample racks and tip boxes are
located correctly. Sample racks should be filled from the first position.
Click Deck Layout to display details of the current system layout, and check that your
sample racks and tip boxes are loaded in the correct positions.
Summary of Contents for OilExpress 4
Page 1: ...OilExpress 4 Oil Condition Monitoring System User s Guide MOLECULAR SPECTROSCOPY ...
Page 5: ...Introduction ...
Page 17: ...Warnings and Safety Information ...
Page 27: ...Overview of the OilExpress 4 System ...
Page 67: ...Getting Started with OilExpress 4 ...
Page 95: ...Maintenance and Troubleshooting ...
Page 144: ...144 OilExpress 4 System User s Guide ...
Page 145: ...Appendices ...


