113
Settin
g
Checkers
Cha
p
ter 6
6. Select
"Search
Area".
Follow the steps for area setting. (Default setting is set to full screen)
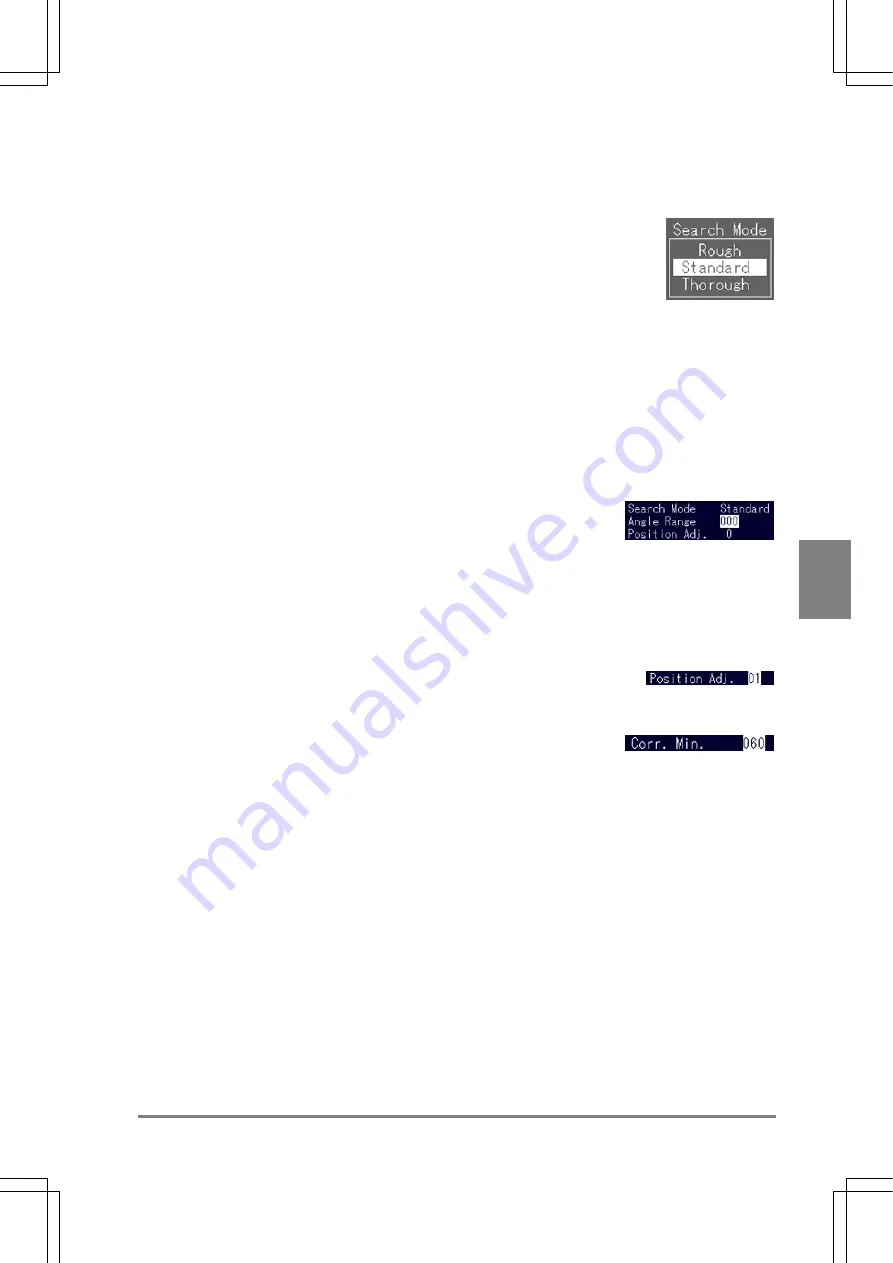
7. Select "Search Mode".
Choose "Rough", "Standard", or "Thorough".
Search Mode:
Type of sequences at the time of searching
The "Contour Matching" function detects outlines based on the information of contour, but the information
is compressed to reduce the searching time. The higher compression ratio the shorter inspection execution
time, because the amount of information decreases. AX40, however, may not detect some template
images and search area images due to the lack of information. On the contrary, if compression ratio is
lowered, it will take more time as the information amount increases, but the accuracy of detection will
increase.
If you have enough time to spend searching, select "Thorough"; otherwise, please check to make sure that
an image is surely detected after executing a test in Rough mode.
8. Select
"Angle
Range".
Select a rotation angle for searching.
Specify an angle from 0 to 180. When you set it to 180, AX40 can search within the range of +/- 180° (=
360°). Note that it takes more time for searching if you set to the wider angles.
9. Select "Position Adj." and press the ENTER key.
A submenu appears. Set the number of position adjustment if you want to make a position adjustment.
(See page 115 for Position Adjustment and 129 for Rotation Adjustment.)
10. Select "Corr. Min." and press the ENTER key.
Specify a value from 0 to 100. AX40 detects only the areas more than "Corr. Min". If the value is set to
"100", only 100% similar areas will be detected. Therefore, the lower value inspects the more roughly, the
higher value the more accurately.
Summary of Contents for Micro-Imagechecker AX40
Page 9: ...1 Names and Functions of Parts Chapter 1 Chapter 1 Names and Functions of Parts ...
Page 15: ...7 Installation and Wiring Chapter 2 Chapter 2 Installation and Wiring ...
Page 25: ...17 Input and Output Interface Ports Chapter 3 Chapter 3 Input and Output Interface Ports ...
Page 42: ......
Page 70: ......
Page 94: ...86 Setting Checkers Chapter 6 6 7 Gray Edge 6 7 1 Menu Options ...
Page 108: ...100 Setting Checkers Chapter 6 6 9 Smart Matching 6 9 1 Menu Options ...
Page 184: ......
Page 185: ...177 TOOL Chapter 8 Chapter 8 TOOL ...
Page 192: ......
Page 193: ...185 Environment Settings Chapter 9 Chapter 9 Environment Settings ...
Page 215: ...207 Chapter 10 Parallel Communication Chapter 10 Parallel Communication ...
Page 225: ...217 Chapter 11 RS232C Communication Chapter 11 RS232C Communication ...
Page 255: ...247 Chapter 12 Ethernet Communication Chapter 12 Ethernet Communication ...
Page 261: ...253 Chapter 13 Using a CF Card Chapter 13 Using a CF Card ...
Page 279: ...271 Chapter 15 Troubleshooting Chapter 15 Troubleshooting ...
Page 292: ...284 Specifications and Product Numbers Chapter 16 Camera Cable Keypad ...
Page 294: ...286 Specifications and Product Numbers Chapter 16 ANM88161 ANM88251 ANB842NL Unit mm ...


