22
Chapter 2 Power
Turn on the system
Turn on the system
Introduction
Task for operators
The system has the following switches and buttons.
■
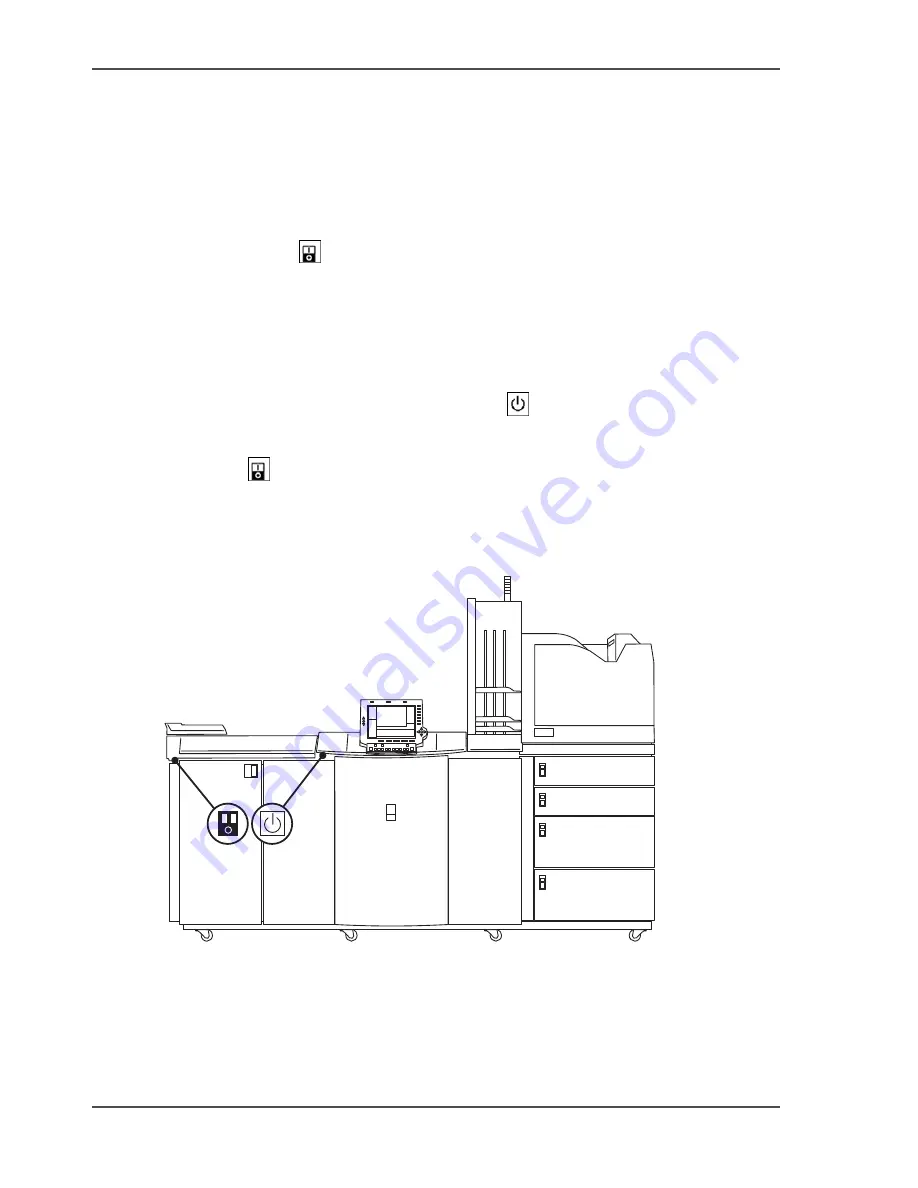
Power switch
The power switch cuts and connects the power to the complete system. The
power switch can be located in 2 different positions. This depends on your
version of the Océ VarioPrint
®
2100/2110. When you have the "Classic" version,
the power switch is located at the left-hand side of the printer. When you have the
"Titanium" version, the power switch is located behind the front door, inside the
printer.
■
On/Off button with amber and green LED
.
The On/Off button allows you to toggle the status of the system between the
stand-by mode and the sleep mode. This action is only possible if the power
switch
is in '1' position and the startup phase was done. After the startup
phase, the operator panel displays 'Print' and 'Copy'. The operator panel also
displays 'Scan' when the optional scan-to-file function is configured on your
system.
[9]
[9] The power switches ("Classic" version)
In the table below you find the state indicators of the LED in the On/Off button and
the state indicators of the LEDs at the right-hand side of the operator panel.
Summary of Contents for VarioPrint 2100
Page 1: ...Oc VarioPrint 2100 2110 Oc User manual User manual...
Page 12: ...12 Contents...
Page 13: ...13 Chapter 1 Introduction...
Page 21: ...21 Chapter 2 Power...
Page 26: ...26 Chapter 2 Power Restart the system...
Page 27: ...27 Chapter 3 Get to know the Oc VarioPrint 2100 2110...
Page 37: ...37 The main screen The sections of the main screen 14 14 The sections of the main screen...
Page 95: ...95 Chapter 4 Adapt the system...
Page 103: ...103 Chapter 5 The print function...
Page 109: ...109 Interactive printing Illustration 42 42 Interactive print job...
Page 143: ...143 Chapter 6 The copy function...
Page 179: ...179 Chapter 7 The scan function optional...
Page 215: ...215 Chapter 8 The accounting function...
Page 238: ...238 Chapter 8 The accounting function Make a copy or print with the copy card...
Page 256: ...256 Chapter 9 Security Job name suppression...
Page 257: ...257 Chapter 10 Add the supplies...
Page 280: ...280 Chapter 10 Add the supplies Replace the stapler cartridge 6 optional stacker stapler...
Page 281: ...281 Chapter 11 Error handling...
Page 289: ...289 Appendix A Overview and tables...
Page 297: ...297 Appendix B Miscellaneous...


