7: OPERATION WITH A PC
LMV1000 (G)(E) AIR-COOLED LASER MARKER
7-80
990-541
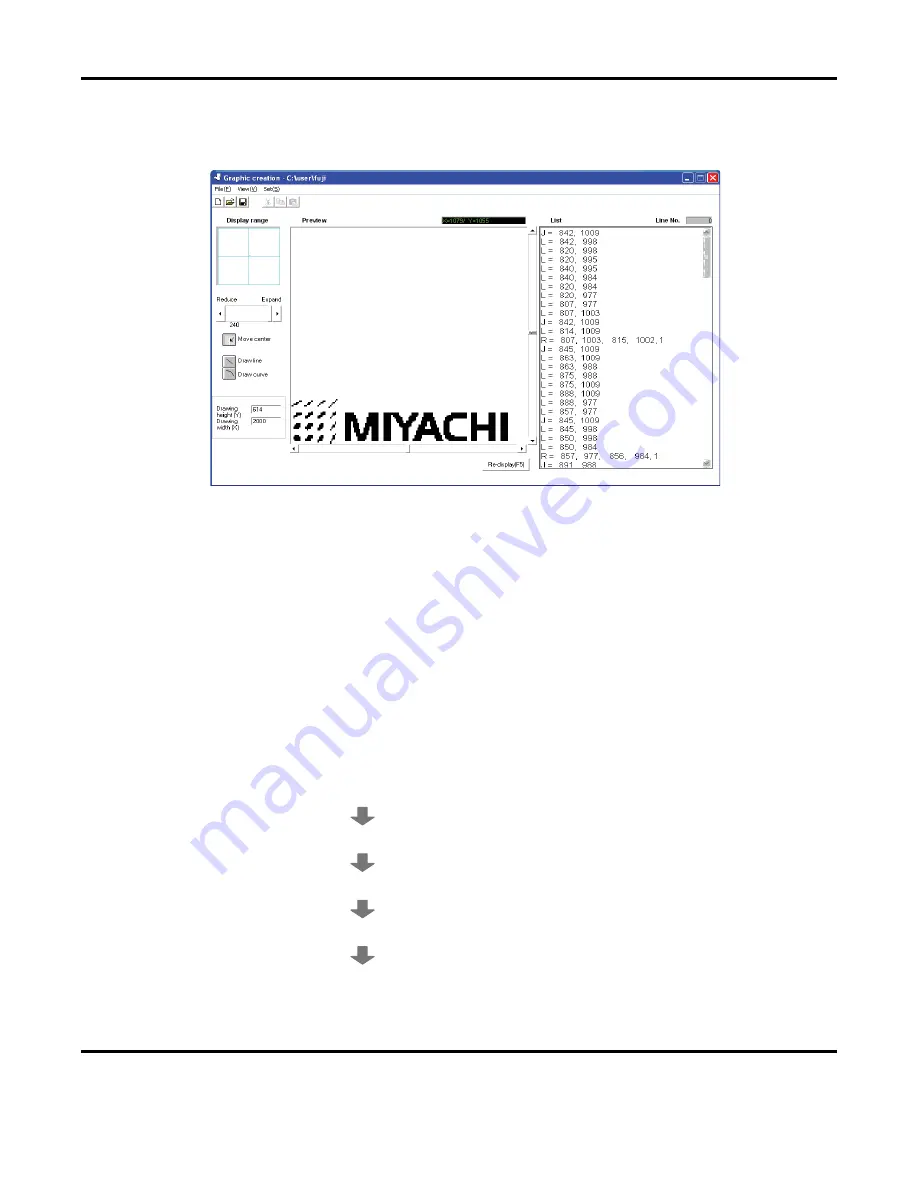
Selecting the Register button will display the converted graphic in the preview area of the
Graphic creation screen. Once the graphic is created, select
Overlay
from the
File
menu to
save it.
NOTE:
The values shown above may differ from those actually displayed.
vi.
How to create a BMP graphic file.
The following example is used to demonstrate a typical creation of a BMP file. Determine
the size of the BMP marking data.
Marking data height: 30mm
Beam spot: 40
ȝ
m (When using f=100mm lens, x6 beam expander)
The formula for calculating size:
3000
ȝ
m (Marking data height) ÷ 40
ȝ
m (Beam spot) = 750
Therefore, resize the data to 750 pixels in height.
Resizing the BMP marking data using a separate graphics program
The example below describes how to resize a bmp file using Paint Shop Pro™
Start the Paint Shop Pro.
Open the BMP data.
Select
Resize
from the
Image
menu.
Set 750 for Height in pixel and click on
OK
.
Select
Save as
and save the BMP file.
Summary of Contents for LMV1000
Page 8: ...LMV1000 G E AIR COOLED LASER MARKER viii 990 541...
Page 9: ...LMV1000 G E AIR COOLED LASER MARKER 990 541 ix...
Page 17: ......
Page 35: ......
Page 47: ......
Page 215: ...8 COMMUNICATION FUNCTION OPTION LMV1000 G E AIR COOLED LASER MARKER 8 14 990 541...
Page 231: ......
Page 237: ......
Page 239: ...11 OUTLINE DIMENSIONS LMV1000 G E AIR COOLED LASER MARKER 11 2 990 541 Oscillator Continued...
Page 241: ...11 OUTLINE DIMENSIONS LMV1000 G E AIR COOLED LASER MARKER 11 4 990 541 Oscillator 1 2 3 4...
Page 243: ......
Page 259: ......


