SETUP
ProMARK X
3-3
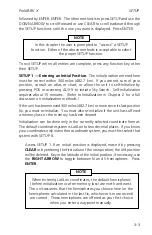
followed by ENTER, ENTER. The other method is to press SETUP and use the
DOWN ARROW to scroll forward or use CLEAR to scroll backward through
the SETUP functions until the one you want is displayed. Press ENTER.
NOTE
In this chapter the user is prompted to "access" a SETUP
function. Either of the above methods is acceptable to select
the proper SETUP function.
To exit SETUP when all entries are complete, press any function key other
then SETUP.
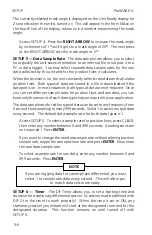
SETUP 1 — Entering an Initial Position
. The initial position entered here
must be correct within 300 miles (482.7 km). If you are not sure of your
position, consult an atlas or chart, or allow the unit to self-initialize by
pressing POS or accessing AUX 9 to initiate Sky Search. Self-initialization
requires about 15 minutes. (Refer to
Initialization
in Chapter 2 for a full
discussion on initialization methods.)
If the unit has been moved 300 miles (482.7 km) or more since its last position
fix, you must re-initialize. You must also re-initialize if the unit has suffered
a memory loss or the memory has been cleared.
Initialization can be done only in the currently selected coordinate format.
The default coordinate system is Lat/Lon to two decimal places. If you know
your coordinates only in another coordinate system, you must first select that
system with SETUP 8.
Access SETUP 1. If an initial position is displayed, erase it by pressing
CLEAR
or by entering the first value of the new position; the old position
will be deleted. Key in the latitude of the initial position; if necessary, use
the
RIGHT ARROW
to toggle between N and S hemispheres. Press
ENTER
.
NOTE
When entering Lat/Lon coordinates, the default hemispheres
(before initialization or after memory loss) are north and west.
The unit assumes that the hemispheres you choose here (or the
hemispheres calculated in the last fix, whichever is more recent)
are current. These hemispheres are offered as your first choice
when you enter a waypoint manually.
Summary of Contents for GPS PROMARK X
Page 4: ......
Page 10: ...vi...
Page 14: ...Introduction ProMARK X 1 4...
Page 92: ...Attributes ProMARK X 6 8...
Page 188: ......

