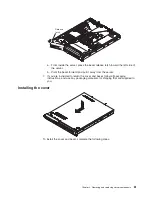


1. Read the safety information that begins on page vii and “Installation guidelines”
on page 57.
2. Make sure that the server cover is in place and fully closed.
3. Turn off the server and peripheral devices, and disconnect the power cord and
all external cables.
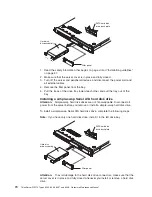
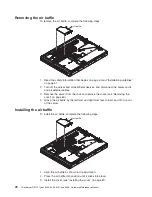
4. Remove the filler panel from the bay.
5. Pull the loops of the drive tray toward each other, and slide the drive into the
server until the drive connects to the back plate.
6. Release the loops of the drive tray.
7. Insert the filler panel into the bay to cover the drive.
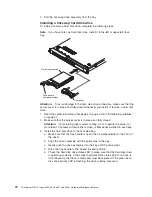
8. Slide the server into the rack.
9. Connect the cables and power cords.
10. Turn on all attached devices and the server.
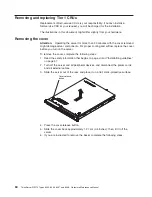
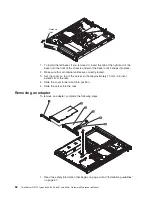
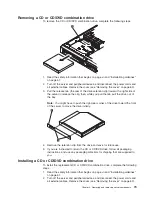
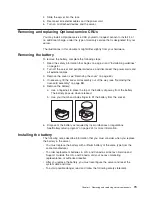
Removing a hot-swap hard disk drive
The 3.5-inch drive hot-swap server models support either two SAS 3.5-inch hard
disk drives or two SATA 3.5-inch hard disk drives. The 2.5-inch drive hot-swap
server models support four 2.5-inch SAS hard disk drives.
The removal and installation procedures are the same for any of these drives. The
illustrations in this procedure show 3.5-inch SAS drives.
To remove a hot-swap hard disk drive, complete the following steps.
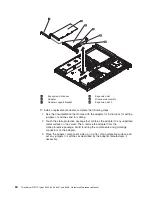
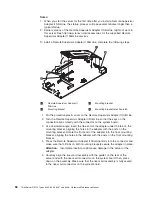
Drive-tray assembly
Drive handle
(in open position)
Attention:
To avoid damage to the hard disk drive connectors, make sure that the
server cover is in place and fully closed whenever you install or remove a hard disk
drive.
1. Move the handle on the drive to the open position (perpendicular to the drive).
Chapter 4. Removing and replacing server components
71
Summary of Contents for ThinkServer RS110
Page 1: ...ThinkServer RS110 Types 6435 6436 6437 and 6438 Hardware Maintenance Manual ...
Page 2: ......
Page 3: ...ThinkServer RS110 Types 6435 6436 6437 and 6438 Hardware Maintenance Manual ...
Page 8: ...vi ThinkServer RS110 Types 6435 6436 6437 and 6438 Hardware Maintenance Manual ...
Page 18: ...xvi ThinkServer RS110 Types 6435 6436 6437 and 6438 Hardware Maintenance Manual ...
Page 74: ...56 ThinkServer RS110 Types 6435 6436 6437 and 6438 Hardware Maintenance Manual ...
Page 238: ...220 ThinkServer RS110 Types 6435 6436 6437 and 6438 Hardware Maintenance Manual ...
Page 251: ......
Page 252: ...Part Number 46U0856 Printed in USA 1P P N 46U0856 ...


