Attention:
v
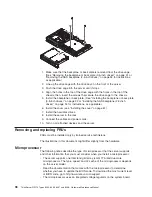
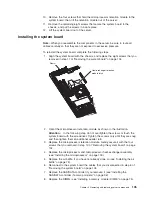
The microprocessor contacts are fragile; handle the microprocessor very
carefully. Do not touch the microprocessor contacts with your skin.
v
The microprocessor fits only one way on the socket.
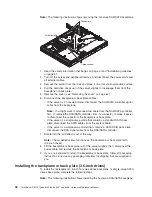
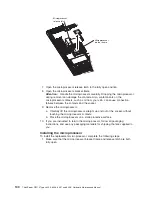
2. Align the microprocessor with the socket (note the alignment mark and the
position of the notches); then, carefully place the microprocessor on the
socket, close the microprocessor bracket frame, and close the microprocessor
release latch.
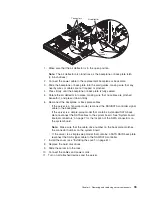
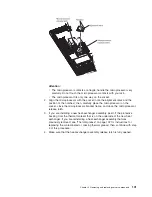
3. If you are installing a new heat-exchanger assembly, peel off the protective
backing from the thermal material that is on the underside of the new heat
exchanger. If you are reinstalling a heat-exchanger assembly that was
previously removed, see “Thermal grease” on page 102 for instructions for
replacing the contaminated or missing thermal grease; then, continue with step
4 of this procedure.
4. Make sure that the heat-exchanger assembly release latch is fully opened.
Chapter 4. Removing and replacing server components
101
Summary of Contents for ThinkServer RS110
Page 1: ...ThinkServer RS110 Types 6435 6436 6437 and 6438 Hardware Maintenance Manual ...
Page 2: ......
Page 3: ...ThinkServer RS110 Types 6435 6436 6437 and 6438 Hardware Maintenance Manual ...
Page 8: ...vi ThinkServer RS110 Types 6435 6436 6437 and 6438 Hardware Maintenance Manual ...
Page 18: ...xvi ThinkServer RS110 Types 6435 6436 6437 and 6438 Hardware Maintenance Manual ...
Page 74: ...56 ThinkServer RS110 Types 6435 6436 6437 and 6438 Hardware Maintenance Manual ...
Page 238: ...220 ThinkServer RS110 Types 6435 6436 6437 and 6438 Hardware Maintenance Manual ...
Page 251: ......
Page 252: ...Part Number 46U0856 Printed in USA 1P P N 46U0856 ...


