2NL/2P8-3
1-3-120
U411
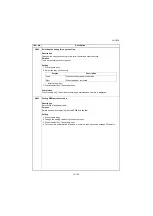
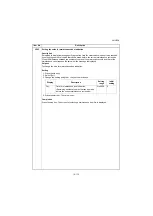
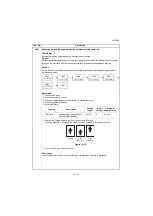
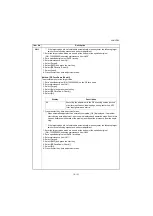
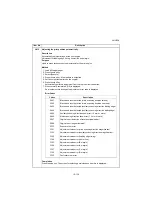
7. Press the start key. Auto adjustment starts.
* : When automatic adjustment has normally completed, [OK] is displayed. If a problem
occurs during auto adjustment, error code is displayed and operation stops. Should this
happen, determine the details of the problem and repeat the procedure from the begin-
ning.
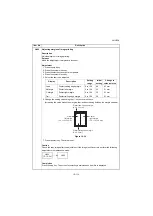
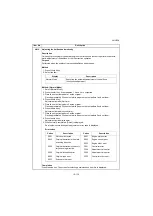
* : If the target values are not obtainable automatically, manually enter the following target
values in the following manner and perform adjustment.
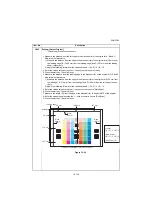
1. Enter the target values which are shown at the bottom of the specified original
(P/N: 7505000005) executing maintenance item U425.
2. Set a specified original on the platen.
3. Enter maintenance item U411.
4. Select [Target].
5. Select [U425] and press the start key.
6. Select [Table (Chart1)].
7. Select the item.
* : Select All for normal use.
8. Press the start key. Auto adjustment starts.
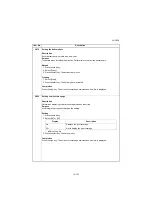
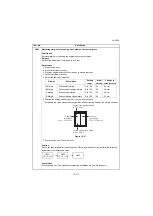
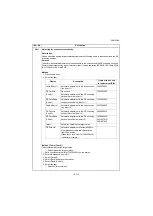
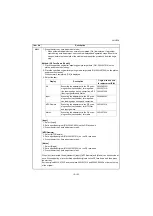
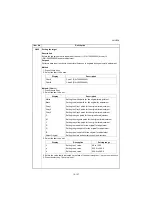
Method: [DP FaceUp (Chart1)]
To automatically enter the target value
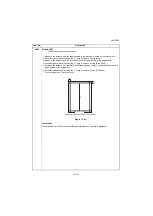
1. Set a specified original (P/N: 7505000005) on the DP face up.
2. Enter maintenance item U411.
3. Select [Target].
4. Select [Auto] and press the start key.
5. Select [DP FaceUp (Chart1)].
6. Select [Input].
7. Press the start key. Auto adjustment starts.
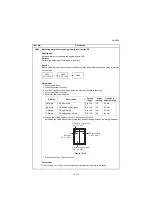
* : When automatic adjustment has normally completed, [OK] is displayed. If a problem
occurs during auto adjustment, error code is displayed and operation stops. Should this
happen, determine the details of the problem and repeat the procedure from the begin-
ning.
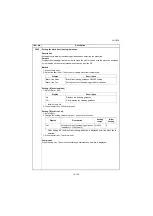
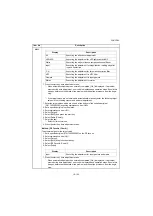
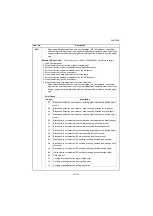
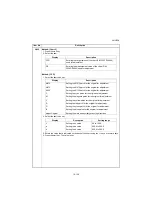
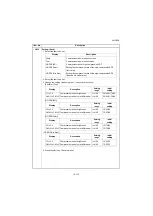
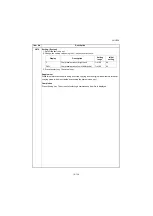
Item No.
Description
Display
Description
All
Executing the all scanner adjustment
LED/AGC
Executing the adjustment for LED light quantity/AGC
White
Executing the white reference compensation coefficient
Input
Executing the adjustment for magnification, leading edge tim-
ing and center line
C.A.
Executing the adjustment for chromatic aberration filter
MTF
Executing the adjustment for MTF filter
Gamma
Executing the adjustment for input gamma
Matrix
Executing the adjustment for matrix
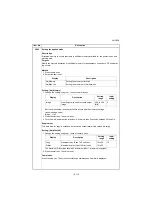
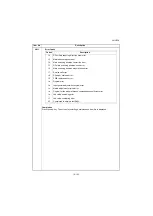
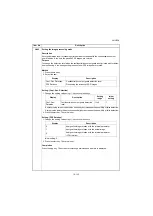
Display
Description
Input
Executing the adjustment for input gamma and matrix
Summary of Contents for TASKalfa 3010i
Page 10: ...This page is intentionally left blank ...
Page 100: ...2NL 2P8 1 2 76 This page is intentionally left blank ...
Page 286: ...2NL 2P8 1 3 186 This page is intentionally left blank ...
Page 443: ...2NL 2P8 1 5 59 This page is intentionally left blank ...
Page 471: ...2NL 2P8 2 2 8 This page is intentionally left blank ...
Page 532: ...Installation Guide DP 770 B Document processor DP 772 Document processor Installation Guide ...
Page 568: ...DP 773 Document processor Installation Guide ...
Page 594: ...PF 791 500 x 2 Paper feeder Installation Guide ...
Page 602: ...PF 810 3000 sheet deck Installation Guide ...
Page 615: ...DF 791 3000 sheet finisher Installation Guide ...
Page 630: ...DF 770 D 1000 sheet finisher Installation Guide ...
Page 648: ...AK 740 Bridge unit Installation Guide ...
Page 650: ...MT 730 B Mailbox Installation Guide ...
Page 665: ...PH 7A C D Punch unit Installation Guide ...
Page 686: ...DT 730 B Document tray Installation Guide ...
Page 731: ...5 2013 5 302LC56750 01 H F G D D 6 4 3 7 E C D D M4 8 M4 8 M4 8 M4 8 ...
Page 732: ...FAX System W B Installation Guide ...

