2NL/2P8
1-3-118
U410
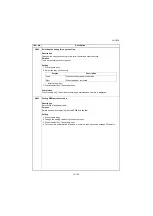
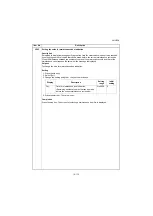
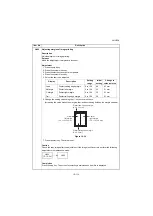
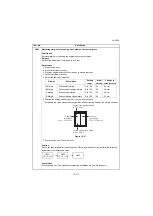
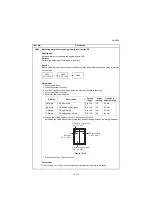
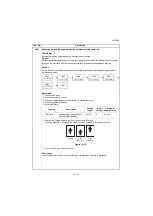
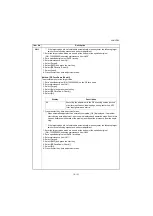
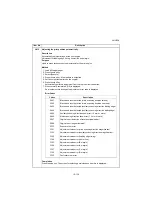
Adjusting the halftone automatically
Description
Carries out processing for the data acquisition that is required in order to perform either auto-
matic adjustment of the halftone or the ID correction operation.
Purpose
Performed when the quality of reproduced halftones has dropped.
Method
1. Press the start key.
2. Select the item.
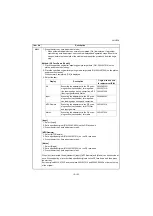
Method: [Normal Mode]
1. Select [Normal Mode].
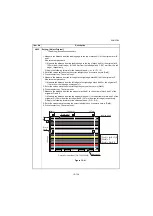
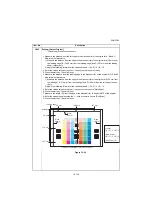
2. Press the start key. A test patterns 1, 2 and 3 are outputted.
3. Place the output test pattern 1 as the original.
Place approximately 20 sheets of white paper on the test pattern 1 and set them.
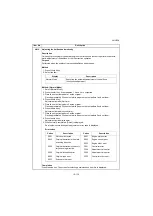
4. Press the start key.
Adjustment is made (first time).
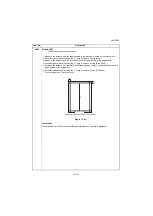
5. Place the output test pattern 2 as the original.
Place approximately 20 sheets of white paper on the test pattern 2 and set them.
6. Press the start key.
Adjustment is made (second time).
7. Place the output test pattern 3 as the original.
Place approximately 20 sheets of white paper on the test pattern 3 and set them.
8. Press the start key.
Adjustment is made (third time).
9. When normally completed, [Finish] is displayed.
If a problem occurs during auto adjustment, error code is displayed.
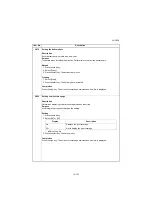
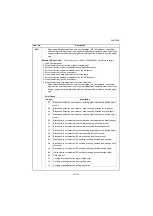
Error codes
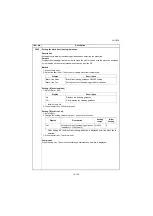
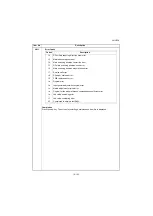
Completion
Press the stop key. The screen for selecting a maintenance item No. is displayed.
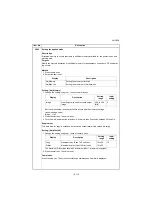
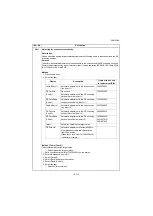
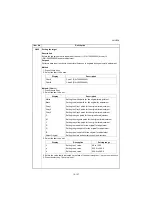
Item No.
Description
Display
Description
Normal Mode
Executing the automatic adjustment of the halftone
(continuous adjustment)
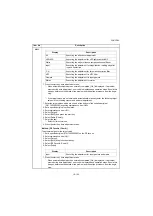
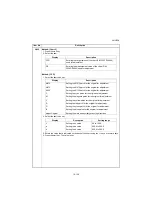
Codes
Description
Codes
Description
S001
Patch not detected
E001
Engine status error
S002
Original deviation in the main
scanning direction
E002
Engine sensor error
EFFF
Engine other error
S003
Original deviation in the auxil-
iary scanning direction
C001
Controller error
C100
Adjustment value error
S004
Original inclination error
C200
Adjustment value error
S005
Original type error
CFFF
Controller other error
SFFF
Scanner other error
Summary of Contents for TASKalfa 3010i
Page 10: ...This page is intentionally left blank ...
Page 100: ...2NL 2P8 1 2 76 This page is intentionally left blank ...
Page 286: ...2NL 2P8 1 3 186 This page is intentionally left blank ...
Page 443: ...2NL 2P8 1 5 59 This page is intentionally left blank ...
Page 471: ...2NL 2P8 2 2 8 This page is intentionally left blank ...
Page 532: ...Installation Guide DP 770 B Document processor DP 772 Document processor Installation Guide ...
Page 568: ...DP 773 Document processor Installation Guide ...
Page 594: ...PF 791 500 x 2 Paper feeder Installation Guide ...
Page 602: ...PF 810 3000 sheet deck Installation Guide ...
Page 615: ...DF 791 3000 sheet finisher Installation Guide ...
Page 630: ...DF 770 D 1000 sheet finisher Installation Guide ...
Page 648: ...AK 740 Bridge unit Installation Guide ...
Page 650: ...MT 730 B Mailbox Installation Guide ...
Page 665: ...PH 7A C D Punch unit Installation Guide ...
Page 686: ...DT 730 B Document tray Installation Guide ...
Page 731: ...5 2013 5 302LC56750 01 H F G D D 6 4 3 7 E C D D M4 8 M4 8 M4 8 M4 8 ...
Page 732: ...FAX System W B Installation Guide ...


