GE
D
IRECTION
5573152-100, R
EV
. 2
LOGIQ E9 S
ERVICE
M
ANUAL
8 - 170
Section 8-6 - Replacing Top Console Parts
8-6-9-3
Lower Operator Panel installation
Table 8-113 Lower Operator Panel installation
Steps
Corresponding Graphic
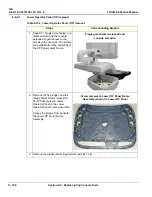
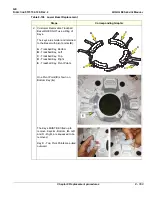
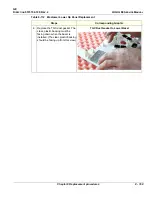
1. While holding the Lower OP Panel,
be sure to maintain control of the
three OP Panel cables so that they
come up and over the top of the
Lower OP Panel.
Cables over top of Lower OP Panel
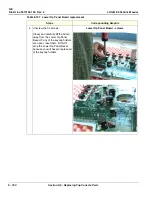
2.
NOTE: Edge tips described are
fragile. DO NOT lift or bend the
Lower OP Panel Assembly sharply,
or the edge tips may break.
Slide the left and right Lower OP
Panel edge tips carefully between
the Upper OP Panel
Frame (
1
- white) and the Lower OP
Panel Frame (
2
- blue).
Begin to slide the Lower OP Panel
into its compartment while making
sure the Trackball Assembly just
clears the Lower OP Panel Frame
Assembly handle.
Left edge tip of Lower OP Panel Assembly
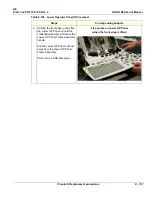
3. Place the Lower OP Panel into its compartment.
Install the Upper OP Panel/Touch Panel assembly.
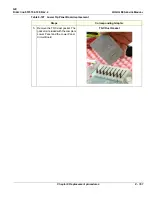
Install the eight screws that affix the Lower OP Panel assembly to the Lower OP Panel Frame
Assembly.
Be sure the three shorter screws are installed at the front (see:
Summary of Contents for LOGIQ E9
Page 2: ......
Page 11: ...GE DIRECTION 5573152 100 REV 2 LOGIQ E9 SERVICE MANUAL xi ZH CN KO ...
Page 753: ......
Page 754: ......

