GE
D
IRECTION
5573152-100, R
EV
. 2
LOGIQ E9 S
ERVICE
M
ANUAL
8 - 282
Section 8-11 - Peripherals replacement
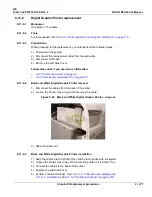
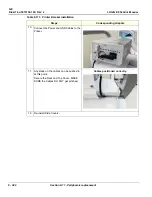
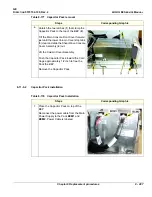
10. Connect the Power and USB Cables to the
Printer.
11. Any slack on the cables can be pushed in
at this point.
Secure the Rear and Top Cover. MAKE
SURE the Cables DO NOT get pinched.
Cables positioned correctly.
12. Re-install Side Covers.
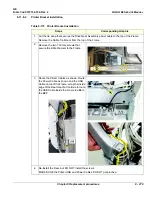
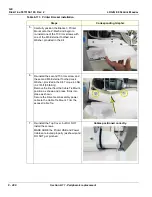
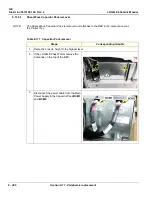
Table 8-173 Printer Bracket installation
Steps
Corresponding Graphic
Summary of Contents for LOGIQ E9
Page 2: ......
Page 11: ...GE DIRECTION 5573152 100 REV 2 LOGIQ E9 SERVICE MANUAL xi ZH CN KO ...
Page 753: ......
Page 754: ......


