GE
D
IRECTION
5573152-100, R
EV
. 2
LOGIQ E9 S
ERVICE
M
ANUAL
8 - 228
Section 8-9 - BEP (Back End Processor) parts replacement
8-9-5-2
HDD - BEP6.x installation
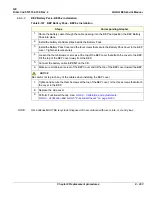
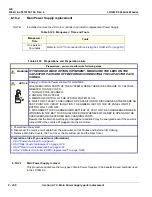
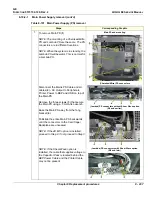
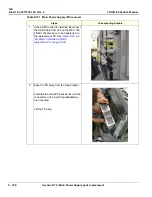
Table 8-142 HDD - BEP6.x installation
Steps
Corresponding Graphic
1.
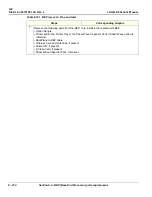
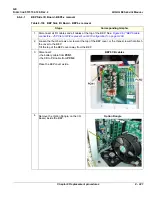
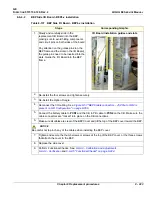
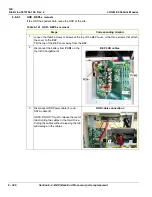
Slide the replacement HDD and bracket into the guides. Continue to install the HDD and bracket
into the BEP until it seats into the motherboard.
2.
Re-installed the two Phillips screws to secure the HDD and bracket to the BEP frame. Hand
Tighten.
3.
Connect the power and SATA cables to the HDD.
4.
Connect the battery cable to
PCN1
on the CB.
5.
Make sure all cables are clear of the BEP Cover and tilt the top of the BEP cover toward the BEP.
NOTICE
Be careful not to pinch any of the cables when installing the BEP cover.
6.
Tighten and secure the thumb screws or screws at the top of the BEP cover, or the three screws
that attach the cover to the BEP.
7.
Replace the side cover.
8.
Power up the system.
9.
Re-install the Base Load and Application Software.
10. Enter the TCPIP settings and Option strings for the LOGIQ E9.
11. Restore the Patient Archive images, Report Archive, User-Defined Configuration (Customer
Presets), and Service settings.
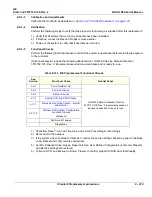
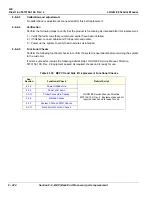
12. Perform Functional Checks. See:
8-9-5-3 - Calibration and adjustments
,
and
Summary of Contents for LOGIQ E9
Page 2: ......
Page 11: ...GE DIRECTION 5573152 100 REV 2 LOGIQ E9 SERVICE MANUAL xi ZH CN KO ...
Page 753: ......
Page 754: ......

