187
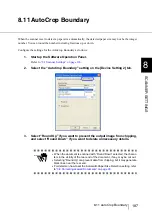
8.11 AutoCrop Boundary
8
SCANNER SETTINGS
8.11 AutoCrop Boundary
When the scanner is set to detect a paper size automatically, the detected paper size may not be the integer
number. You can round the number including fractions up or down.
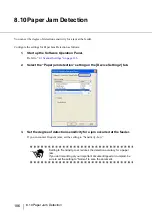
Configure the settings for the AutoCrop Boundary as follows:
1.
Start up the Software Operation Panel.
“8.1 Scanner Settings” on page 166
2.
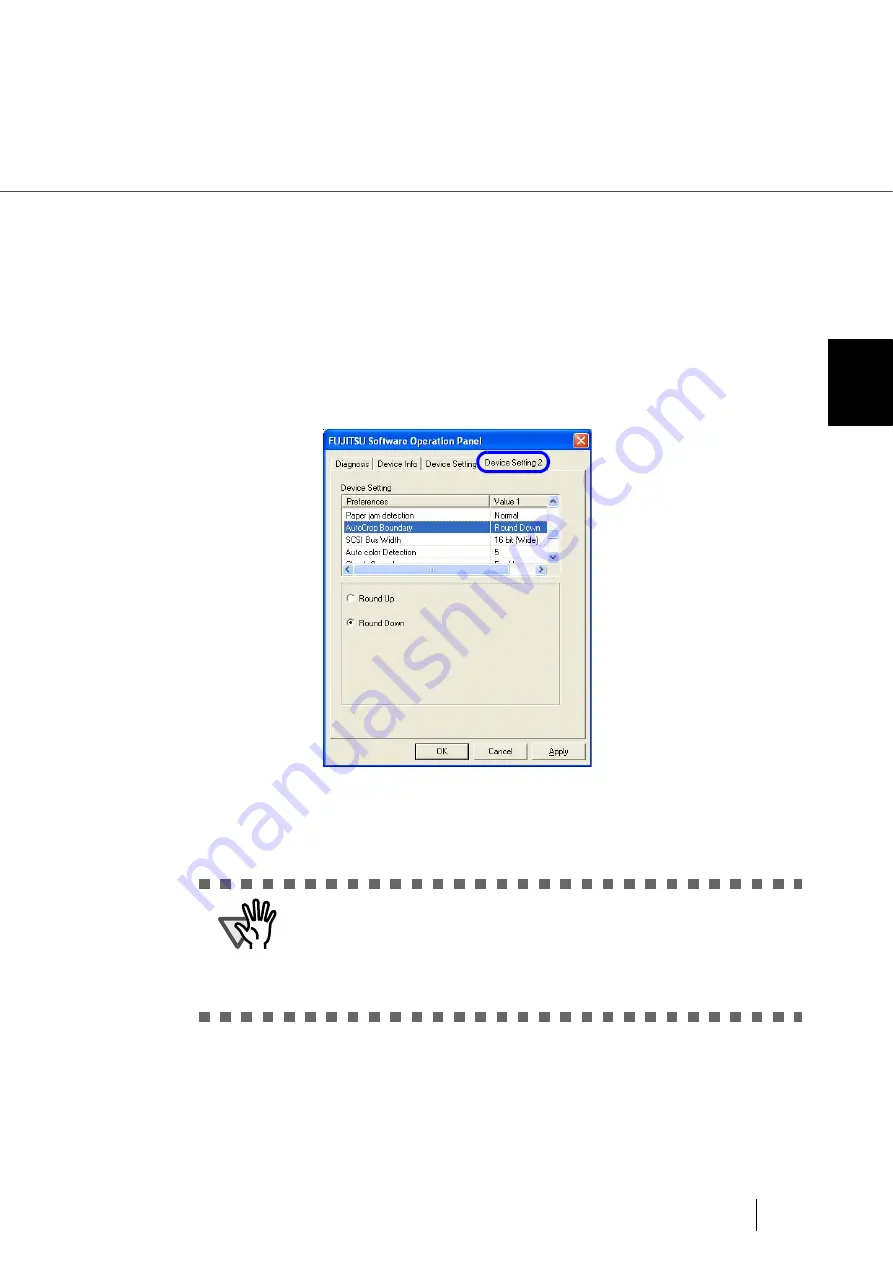
Select the “AutoCrop Boundary” setting on the [Device Setting 2] tab.
3.
Select “Round Up” if you want to prevent the output image from chipping,
and select ‘Round Down” if you want to delete unnecessary details.
ATTENTION
•
When the document is scanned with “Round Down” selected, the charac-
ters in the vicinity of the rear end of the document, if any, may be cut out.
•
Selecting “Round Up” can prevent data from chipping, but it may generate
black lines near the rear end.
•
For details on how to set the Automatic Paper Size Detection setting, refer
to
Summary of Contents for NSS8 and NSS12
Page 2: ......
Page 20: ...xviii ...
Page 114: ...94 3 9 Multi Image Output 6 Click the Scan button to scan the document ...
Page 118: ...98 3 10 Color monochrome Auto Detection ...
Page 134: ...114 4 5 Cleaning the Transport path and the sensors ...
Page 184: ...164 7 8 Scanning Mixed Documents ...
Page 214: ...194 8 17 Timeout for Manual Feeding ...
Page 225: ...205 10 3 Dimensions 10 SCANNER SPECIFICATIONS 10 3 Dimensions unit mm ...
Page 226: ...206 10 3 Dimensions ...
Page 229: ...IN 3 ...

