5
Load paper. See "Loading Paper".
6
Make sure that all the cables are connected to the printer.
7
Turn the printer on.
NOTE:
When you move the printer, do not tilt or turn it upside down.
Otherwise, the inside of the printer may be contaminated by toner, which can
cause damage to the printer or result in bad printing quality.
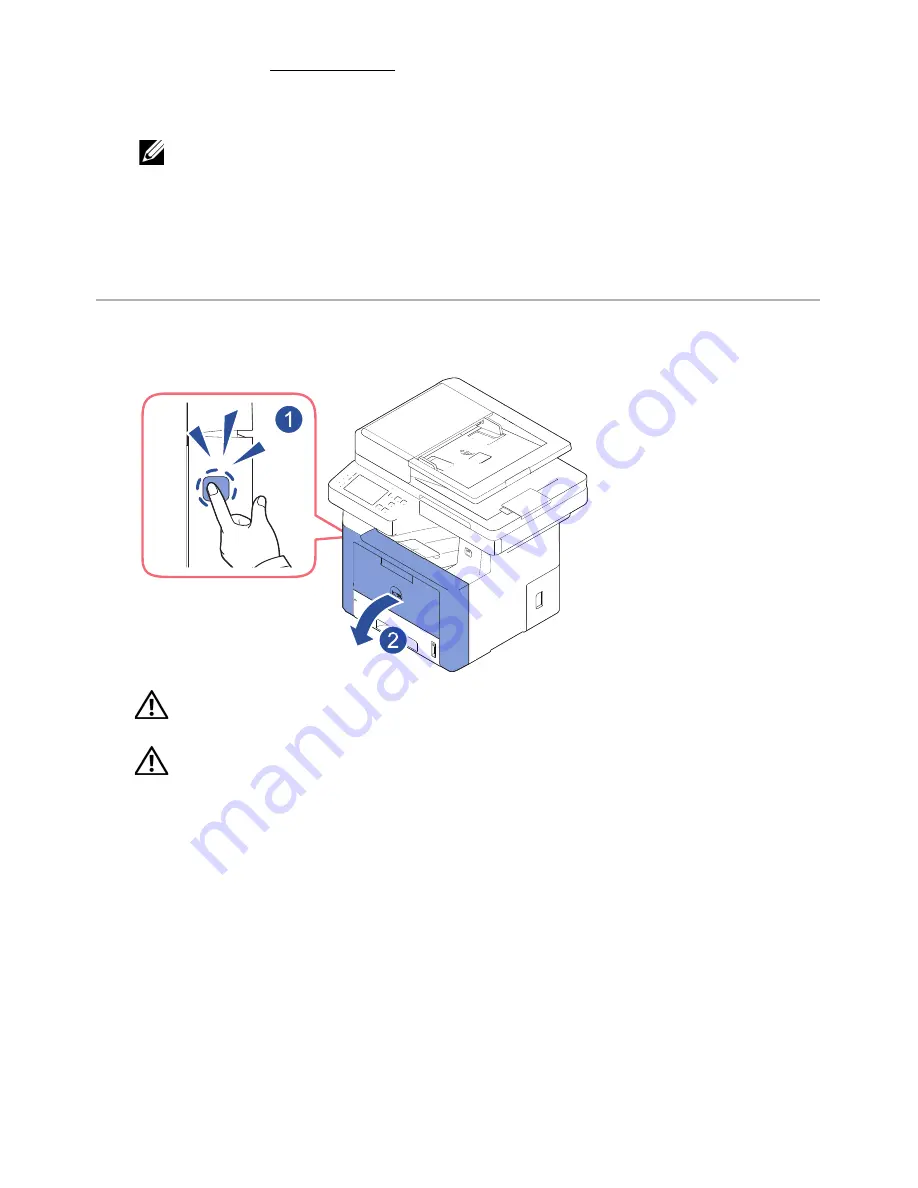
Installing the Toner Cartridge
1
Open the front cover.
CAUTION:
To prevent damage, do not expose the toner cartridge to light for
more than a few minutes.
CAUTION:
Do not touch the green underside of the toner cartridge. Use the
handle on the cartridge to avoid touching this area.
- 34
Summary of Contents for B2375dfw
Page 1: ...Dell B2375dfw Mono MFP Dell B2375dnf Mono MFP User s Guide ...
Page 215: ...3 Select Setup in New Printer area 4 Select Ethernet 214 ...
Page 225: ...4 Click New Printer 5 Choose Wireless 224 ...
Page 226: ...6 The software searches for printers 7 Set your printer name and click Next 225 ...
Page 229: ...4 Select New Printer 5 Choose Wireless 228 ...
Page 268: ...Mac Installing Software for Mac Printing Scanning Wireless network setup 267 ...
Page 348: ...Installing Accessories Installing Printer Accessories Installing an Optional Tray 2 347 ...
Page 350: ...3 Grasp the control board cover and open it 4 Connect the cable as below 349 ...
Page 351: ...5 Close the control board cover 6 Combine machine and optional tray 2 as below 350 ...
Page 359: ...USB memory managing 51 W watermarks printing 175 358 ...


