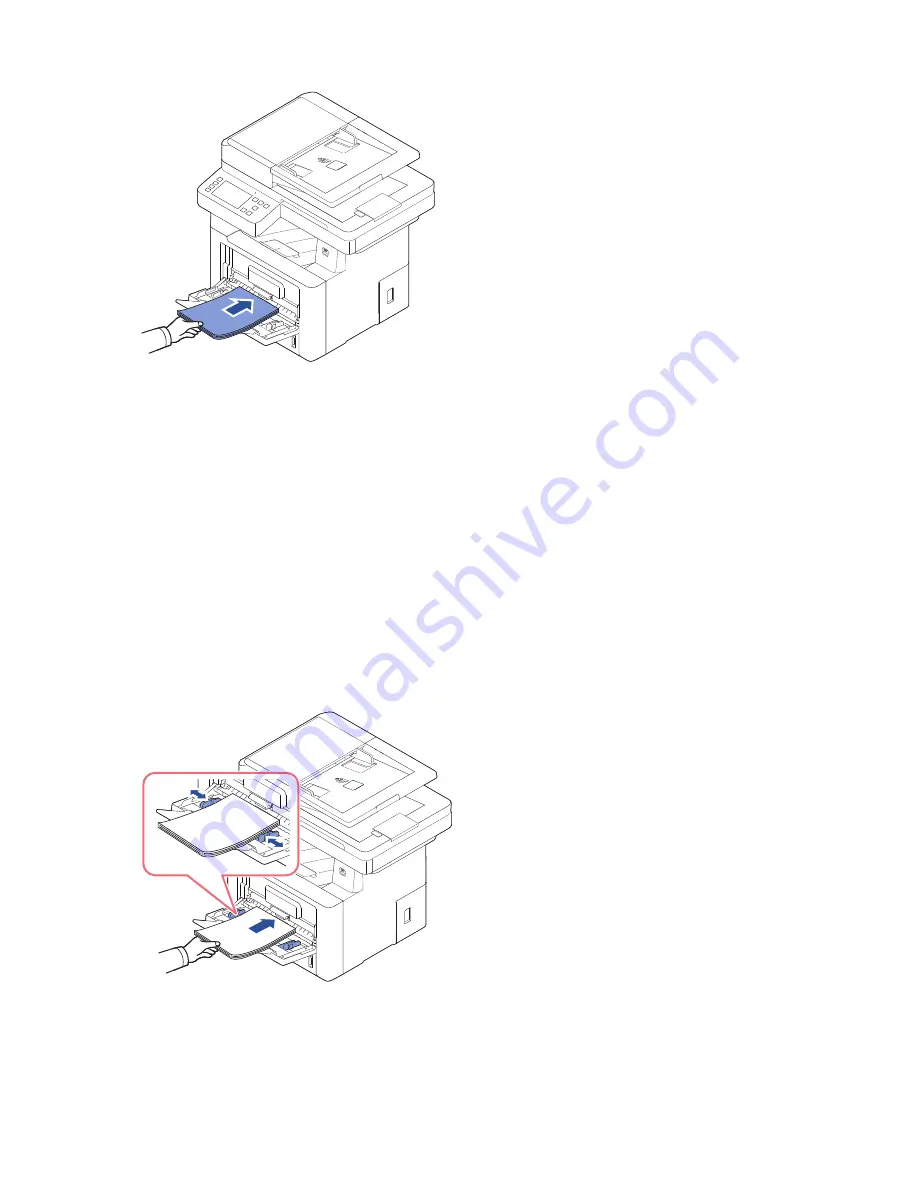
3
Load the print material
with the side to be printed on facing up
.
Depending on the paper type you are using, keep the following loading method:
•
Envelopes: load them with the flap side down and with the stamp area on the top
left side.
•
Transparencies: load them with the print side up and the top with the adhesive
strip entering the printer first.
•
Labels: load them with the print size up and the top short edge entering the
printer first.
•
Preprinted paper: load with the design face up, top edge toward the printer.
•
Card stock: load them with the print side up and the short edge entering the
printer first.
•
Pre printed paper: the printed side should be facing down with an uncurled edge
toward the printer.
4
Squeeze the width guide and adjust it to the width of the print material. Do not force
too much, or the paper will be bent, which will result in a paper jam or skew.
- 146
Summary of Contents for B2375dfw
Page 1: ...Dell B2375dfw Mono MFP Dell B2375dnf Mono MFP User s Guide ...
Page 215: ...3 Select Setup in New Printer area 4 Select Ethernet 214 ...
Page 225: ...4 Click New Printer 5 Choose Wireless 224 ...
Page 226: ...6 The software searches for printers 7 Set your printer name and click Next 225 ...
Page 229: ...4 Select New Printer 5 Choose Wireless 228 ...
Page 268: ...Mac Installing Software for Mac Printing Scanning Wireless network setup 267 ...
Page 348: ...Installing Accessories Installing Printer Accessories Installing an Optional Tray 2 347 ...
Page 350: ...3 Grasp the control board cover and open it 4 Connect the cable as below 349 ...
Page 351: ...5 Close the control board cover 6 Combine machine and optional tray 2 as below 350 ...
Page 359: ...USB memory managing 51 W watermarks printing 175 358 ...


