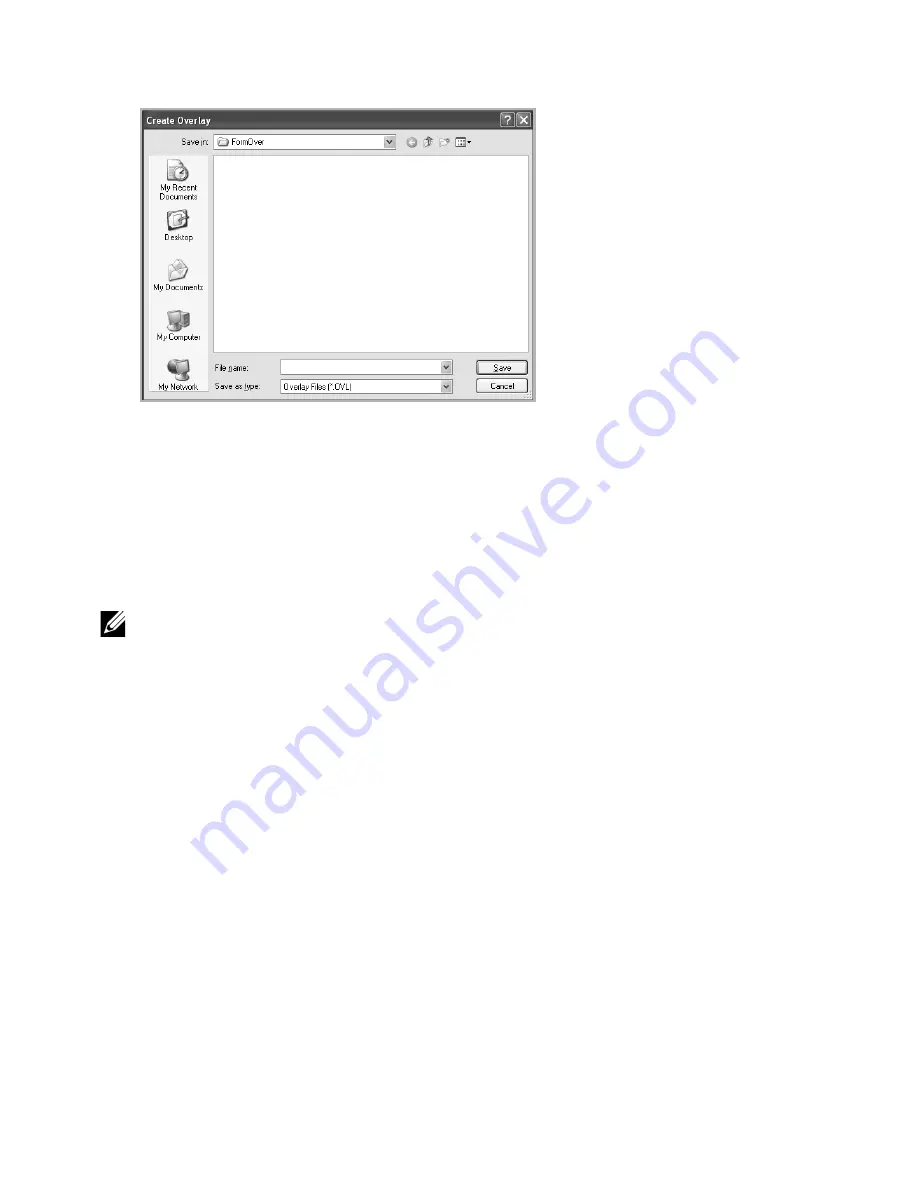
5
In the
Save As
window, type a name of up to eight characters in the
File name
box.
Select the destination path, if necessary. (The default is
C:\FormOver
).
6
Click
Save
. You can see the name in the
Overlay List
.
7
Click
OK
or
Yes
until you complete creating.
The file is not printed out; it is stored in your computer.
Using a Page Overlay
After an overlay has been created, it is ready to be printed with your document. To print an
overlay with a document:
NOTE:
The resolution of the overlay must be the same as the resolution of the
document that will print with the overlay.
1
Create or open the document you want to print.
2
When you change the print settings from your software application, access the printer
properties.
3
Click the
Advanced
tab.
4
Select the desired overlay from the
Text
drop-down list box.
- 179
Summary of Contents for B2375dfw
Page 1: ...Dell B2375dfw Mono MFP Dell B2375dnf Mono MFP User s Guide ...
Page 215: ...3 Select Setup in New Printer area 4 Select Ethernet 214 ...
Page 225: ...4 Click New Printer 5 Choose Wireless 224 ...
Page 226: ...6 The software searches for printers 7 Set your printer name and click Next 225 ...
Page 229: ...4 Select New Printer 5 Choose Wireless 228 ...
Page 268: ...Mac Installing Software for Mac Printing Scanning Wireless network setup 267 ...
Page 348: ...Installing Accessories Installing Printer Accessories Installing an Optional Tray 2 347 ...
Page 350: ...3 Grasp the control board cover and open it 4 Connect the cable as below 349 ...
Page 351: ...5 Close the control board cover 6 Combine machine and optional tray 2 as below 350 ...
Page 359: ...USB memory managing 51 W watermarks printing 175 358 ...


