Option
Description
Auto Report
A report with detailed information about the previous 50
communications operations, including time and dates. The
available options are
On
or
Off
.
Auto Reduction
Automatically reduces an incoming fax page to fit the size of the
paper loaded in the machine.
Discard Size
Discards a specific length from the end of the received fax.
Recieve Code
Initiates fax reception from an extension phone plugged into the
EXT socket on the back of the machine. If you pick up the
extension phone and hear fax tones, enter the code. It is preset to
*9* at the factory.
DRPD Mode
Enables a user to use a single telephone line to answer several
different telephone numbers. You can set the machine to
recognize different ring patterns for each number. This setting may
not be available depending on your country
Tray
You can select the tray to printing the receive fax.
Print Duplex
You can set the machine to print received faxes on both sides of
paper. The available options are
Off
,
Long Edge
, and
Short Edge
.
Fax Setup Wizard
Frequently used functions are gathered for users to set fax settings
easily.
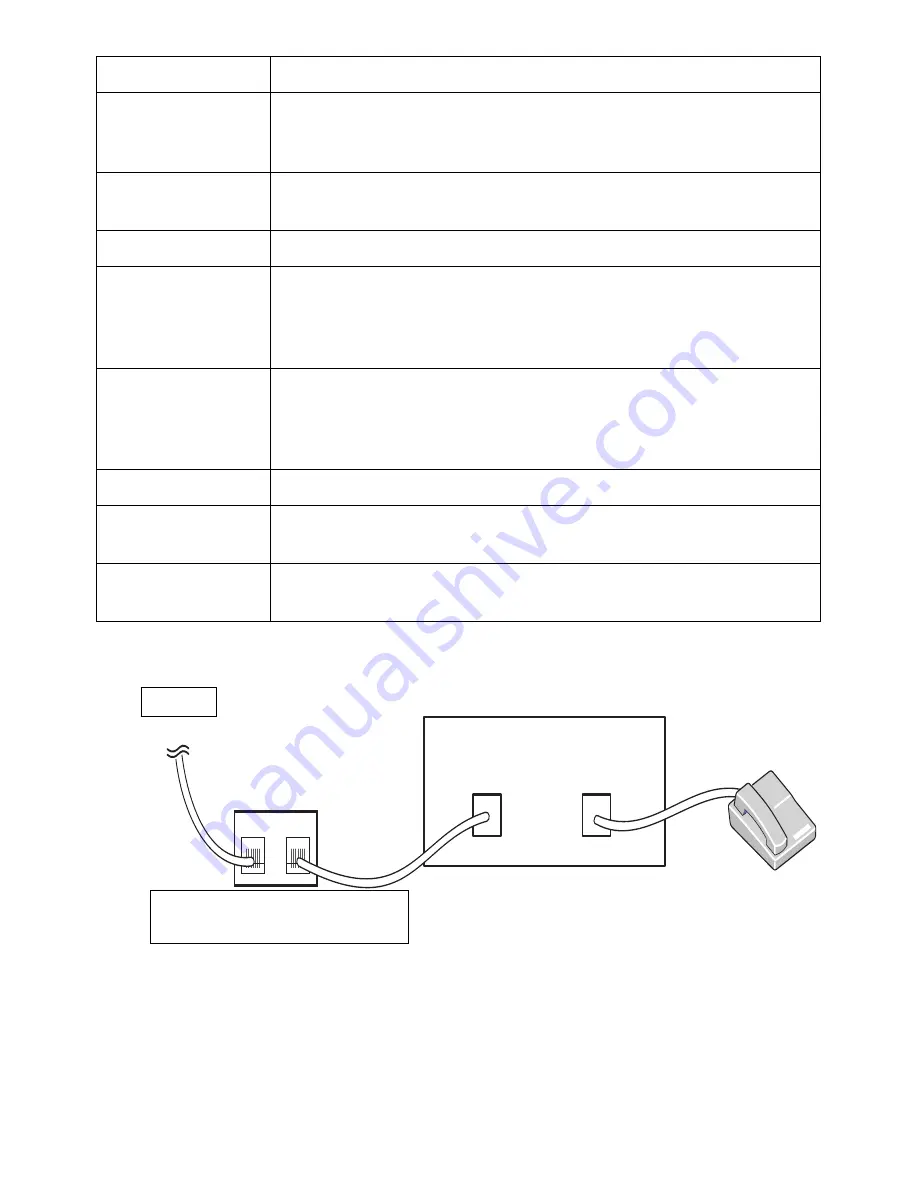
Using an Answering machine
Telephone Answering Device
Line
LINE
EXT
Line
Phone
Dell B2375dfw Mono MFP
Dell B2375dnf Mono MFP
Figure 1
You can connect a telephone answering device (TAD) directly to the back of your printer as
shown in Figure 1.
Set your printer to
Ans/Fax
mode and set the
Ring to Answer
to a digit greater than the
Rings to Answer setting for the TAD.
- 265
Summary of Contents for B2375dfw
Page 1: ...Dell B2375dfw Mono MFP Dell B2375dnf Mono MFP User s Guide ...
Page 215: ...3 Select Setup in New Printer area 4 Select Ethernet 214 ...
Page 225: ...4 Click New Printer 5 Choose Wireless 224 ...
Page 226: ...6 The software searches for printers 7 Set your printer name and click Next 225 ...
Page 229: ...4 Select New Printer 5 Choose Wireless 228 ...
Page 268: ...Mac Installing Software for Mac Printing Scanning Wireless network setup 267 ...
Page 348: ...Installing Accessories Installing Printer Accessories Installing an Optional Tray 2 347 ...
Page 350: ...3 Grasp the control board cover and open it 4 Connect the cable as below 349 ...
Page 351: ...5 Close the control board cover 6 Combine machine and optional tray 2 as below 350 ...
Page 359: ...USB memory managing 51 W watermarks printing 175 358 ...


