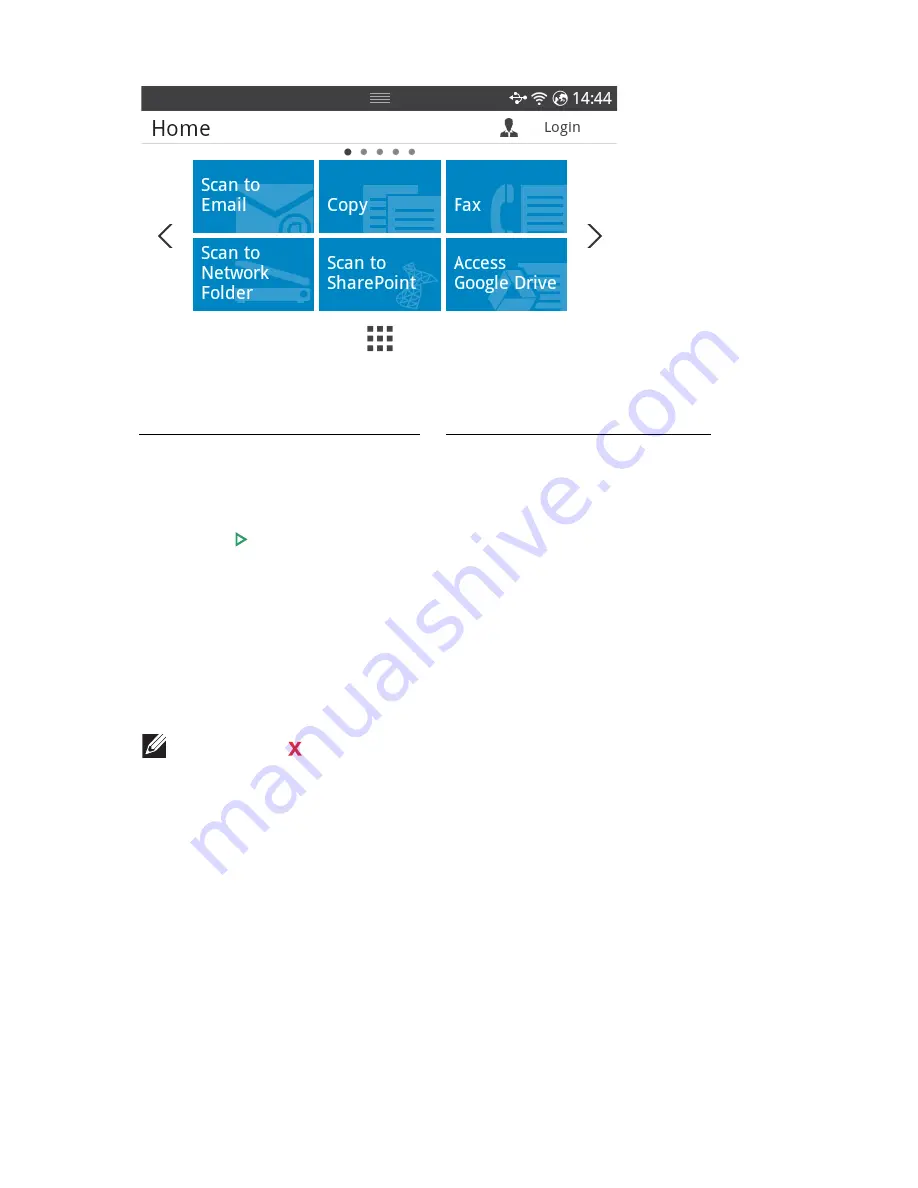
2
Press
Fax
from the home screen.
3
Press the
Direct Input
from the screen.
4
If necessary, adjust the document darkness and resolution to suit your fax needs. See
"Adjusting the Document Darkness" or "Adjusting the Document Quality"
5
Enter the remote fax speed dial number and holding when entering last number until
shows dial number.
ex) Speed dial number is “102”, enter the “10” and holding “2”.
6
Press
Start
( ) from the screen.
7
When the document is loaded from the document glass, the display shows
Another
Page?
on the screen after the document is scanned into the memory. If you have
additional pages, remove the scanned page and load the next page from the glass and
select
Yes
. Repeat as necessary.
After all of the pages are scanned, select
No
when the display shows
Another Page?
8
it dials the number then sends the fax when the printer establishes contact with the
receiving machine.
NOTE:
Press to cancel the fax job at any time while sending the fax.
- 258
Summary of Contents for B2375dfw
Page 1: ...Dell B2375dfw Mono MFP Dell B2375dnf Mono MFP User s Guide ...
Page 215: ...3 Select Setup in New Printer area 4 Select Ethernet 214 ...
Page 225: ...4 Click New Printer 5 Choose Wireless 224 ...
Page 226: ...6 The software searches for printers 7 Set your printer name and click Next 225 ...
Page 229: ...4 Select New Printer 5 Choose Wireless 228 ...
Page 268: ...Mac Installing Software for Mac Printing Scanning Wireless network setup 267 ...
Page 348: ...Installing Accessories Installing Printer Accessories Installing an Optional Tray 2 347 ...
Page 350: ...3 Grasp the control board cover and open it 4 Connect the cable as below 349 ...
Page 351: ...5 Close the control board cover 6 Combine machine and optional tray 2 as below 350 ...
Page 359: ...USB memory managing 51 W watermarks printing 175 358 ...


