11-13
Cisco Network Modules Hardware Installation Guide
OL-2485-20
Chapter 11 Connecting ATM Network Modules
ATM OC-3 Network Modules
Installing an SFP Module
Use the following procedure to install an SFP module:
Step 1
Attach an ESD-preventive wrist strap to your wrist and between yourself and an unpainted chassis
surface.
Step 2
Verify that you have the correct SFP module for your installation.
•
Check the part number and distance information on the SFP module label.
•
Alternatively, if the distance information is not on the label, use the
show contr pos x/y
command
to display the information after the SFP module is installed.
Step 3
Align the SFP module with the slot so that the label is facing away from the handle.
Step 4
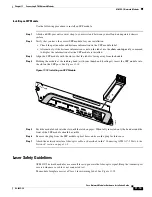
Holding the module at the latching band (with your thumb and forefinger), insert the SFP module into
the slot on the SFP port. See
Figure 11-18
.
Figure 11-18 Installing an SFP Module
Step 5
Push the module back into the slot until the latch engages. When fully inserted, only the band around the
front of the SFP module should be visible.
Step 6
Remove the plug from the SFP module optical bores and save the plug for future use.
Step 7
Attach the network interface fiber-optic cable, as described in the
“Connecting ATM OC-3 Ports to the
Network” section on page 11-9
.
Laser Safety Guidelines
ATM OC-3 network modules use a small laser to generate the fiber-optic signal. Keep the transmit port
covered whenever a cable is not connected to it.
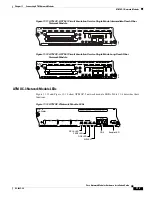
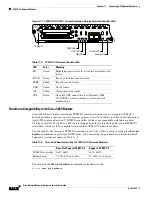
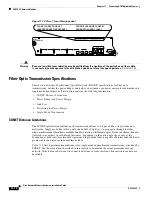
The module faceplate carries a Class 1 laser warning label. See
Figure 11-19
.
EN
ATM
NM-1A-OC3-POM
RXALM
ATM 0
TXCL
RXCL
RXCR
CLASS 1 LASER PRODUCT
PRODUCT LASER DE CLASSE1
LASERPRODUCT DER KLASSE 1
PRODUCTO LASER CLASE 1
135226

