Rehosting Work Plane-based and Face-based Elements and Components
When you rehost work plane-based or face-based elements and components, you can place them on any
host. For these elements, you have the placement options Place on Vertical Face, Place on Face, and Place
on Work Plane. Work plane-based elements include lines, beams, and family geometry. You can also rehost
work plane-based components (for example, masses).
Use the following procedure.
To rehost work plane-based and face-based elements and components
1
Select a work plane-based or face-based element or component.
2
Click Modify <element> tab
➤
Work Plane panel
➤
Pick New Host.
Alternatively, click Modify <element> tab
➤
Work Plane panel
➤
Edit Work Plane. On the Work
Plane dialog, click Pick a New Host. See
on page 317 for information
about other Work Plane dialog options.
3
On the Placement panel, select a placement option: Place on Vertical Face, Place on Face, or
Place on Work Plane.
Work Plane-based and Face-based Component Placement Options
on page 810 for descriptions
of these options.
4
Move the cursor to an appropriate host, and click to place the element or component.
Rehosting Level-based Components
Level-based components include furniture, site components, plumbing supplies, and so on. When you place
a level-based component on a host, it remains on the host's infinite plane. For example, when you place a
desk on a floor, and then drag the desk beyond the confines of the floor, the desk remains on the same plane
as the floor.
If the floor has 2 levels, such as a sunken floor, use this method to move the component from one part of
the floor to another.
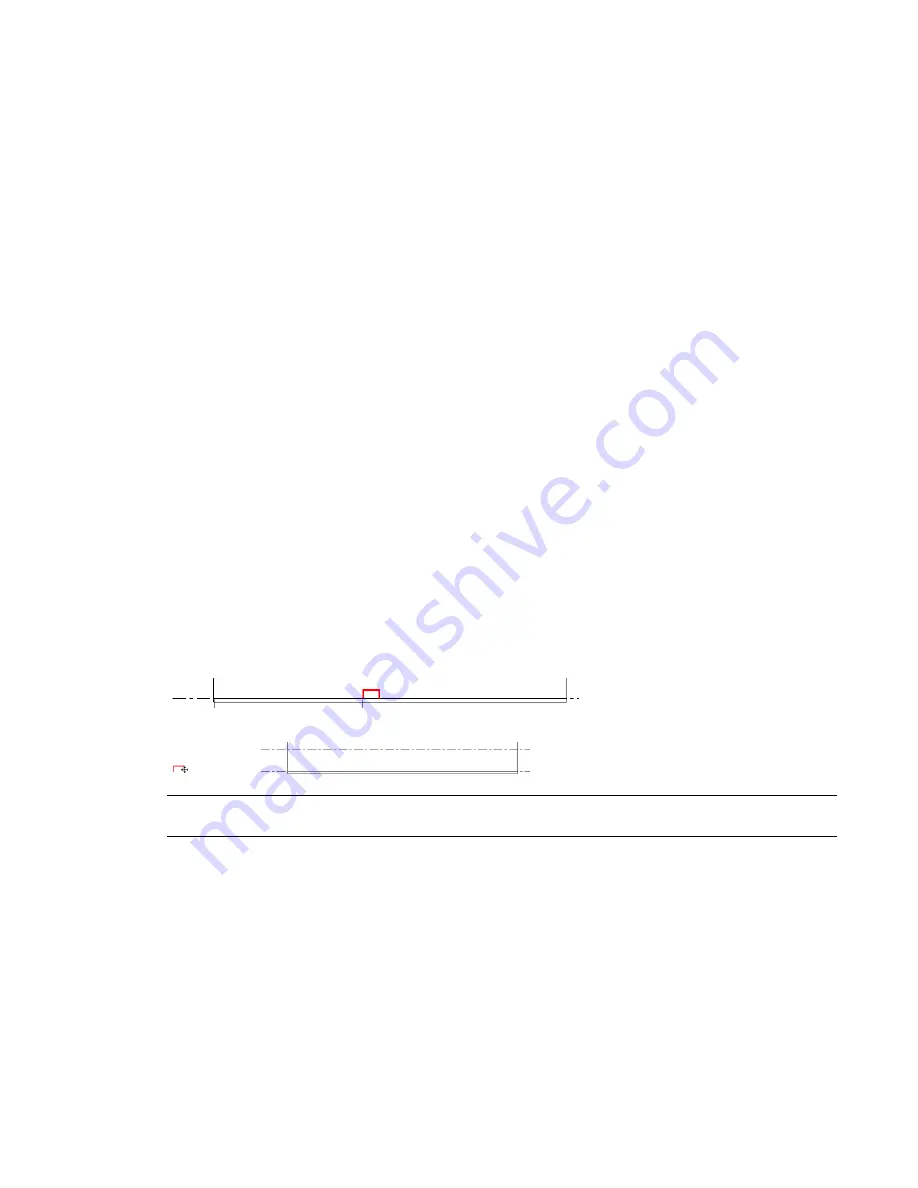
Selected component residing on floor host
Component dragged away from floor remains on same plane
NOTE
When rehosting level-based components, you may find it useful to work in hidden line mode in an elevation
view.
To rehost level-based components
1
Select a level-based component.
2
Click Modify Furniture
➤
Host panel
➤
Pick Host.
3
Click a floor, surface, or level.
For example, if you want to move a component from a floor on Level 2 to a floor on Level 5,
select the floor on Level 5. You could also select a level with no floor.
The component is moved to the selected level or floor.
812 | Chapter 13 Architectural Design
Summary of Contents for 256B1-05A761-1301 - AutoCAD Revit Structure Suite 2010
Page 1: ...Revit Architecture 2010 User s Guide March 2009 ...
Page 4: ......
Page 42: ...xlii ...
Page 84: ...42 ...
Page 126: ...84 ...
Page 166: ...124 ...
Page 229: ...Schedule Field Formatting Calculating Totals Specifying Schedule Properties 187 ...
Page 230: ...Schedule with Grid Lines Schedule with Grid Lines and an Outline 188 Chapter 5 Project Views ...
Page 304: ...262 ...
Page 427: ...Defining the first scale vector Defining the second scale vector Resizing Graphically 385 ...
Page 454: ...Before painting applying material to stairs 412 Chapter 8 Editing Elements ...
Page 456: ...414 ...
Page 486: ...444 ...
Page 674: ...632 ...
Page 809: ...Curtain wall Curtain Grid Curtain Walls Curtain Grids and Mullions 767 ...
Page 994: ...952 ...
Page 1016: ...974 ...
Page 1204: ...1162 ...
Page 1290: ...1248 ...
Page 1318: ...1276 ...
Page 1372: ...1330 ...
Page 1382: ...1340 ...
Page 1462: ...1420 ...
Page 1492: ...1450 ...


