


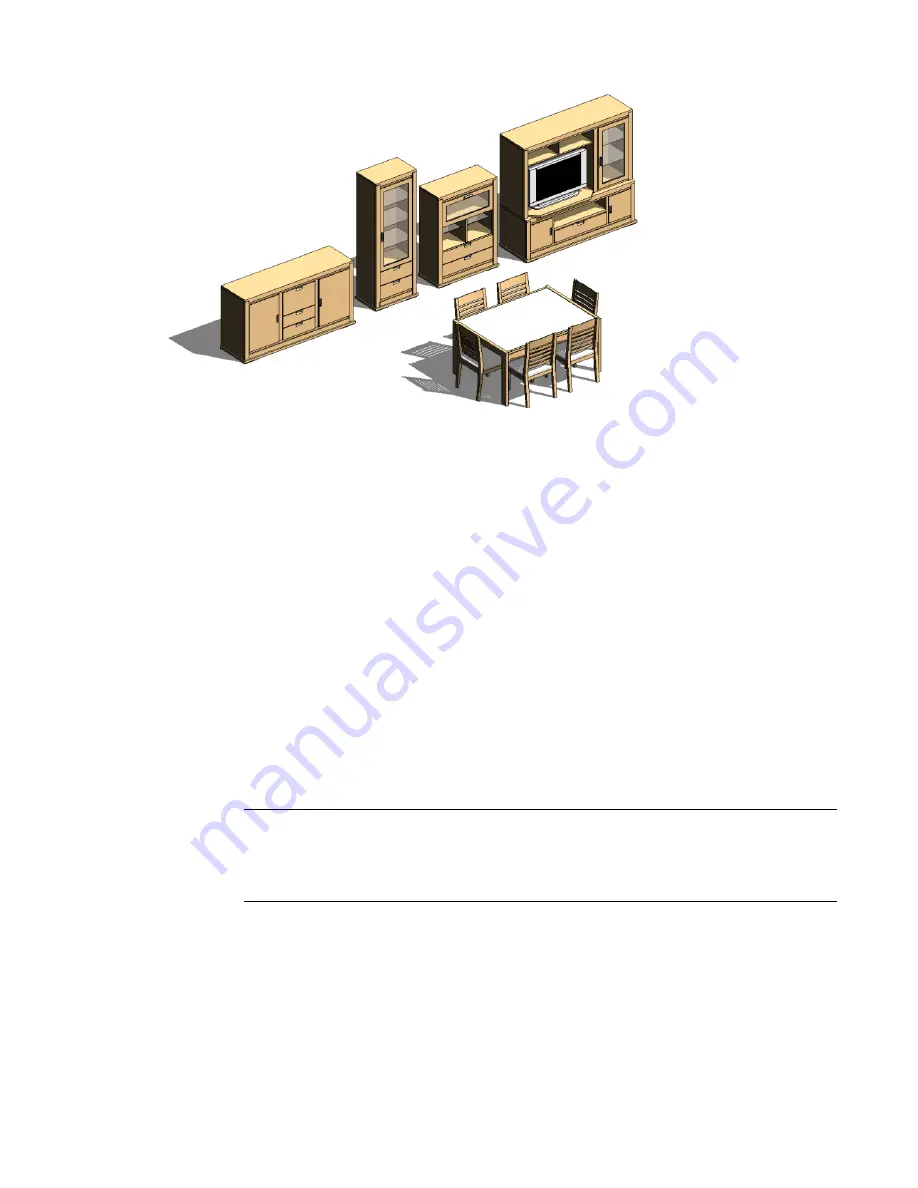
Several components are already defined. To create more, define them in the Family Editor. See
on page 418.
For information about moving a component from one host to another, see
on page 811.
To place a component
1
If necessary, load the component family.
For information about loading a family, see
on page 427.
2
Click Home tab
➤
Build panel
➤
Component drop-down
➤
Place a Component.
3
Click Place Component tab
➤
Element panel, and select a component from the Type Selector
drop-down.
4
Place the cursor in the drawing area where you want the component to appear.
5
If you are placing a work plane-based or face-based component, select Place on Vertical Face,
Place on Face, or Place on Work Plane from the Placement panel.
Work Plane-based and Face-based Component Placement Options
on page 810 for descriptions
of these options.
6
Press
Spacebar
to rotate the component through its different snap points to other elements.
7
Click to place the component.
NOTE
After you place a component, you can select it and then select the Moves With Nearby Elements
option. For example, if you place a bed next to a wall and then move the wall, the bed moves with
the wall. Revit Architecture determines which element the component is locked to; you do not have
explicit control. You can move the component independently of the element. See
on page 376.
Work Plane-based and Face-based Component Placement Options
Following are the options for placing work plane-based and face-based components:
■
Place on Vertical Face
(only available for some components)
810 | Chapter 13 Architectural Design
Summary of Contents for 256B1-05A761-1301 - AutoCAD Revit Structure Suite 2010
Page 1: ...Revit Architecture 2010 User s Guide March 2009 ...
Page 4: ......
Page 42: ...xlii ...
Page 84: ...42 ...
Page 126: ...84 ...
Page 166: ...124 ...
Page 229: ...Schedule Field Formatting Calculating Totals Specifying Schedule Properties 187 ...
Page 230: ...Schedule with Grid Lines Schedule with Grid Lines and an Outline 188 Chapter 5 Project Views ...
Page 304: ...262 ...
Page 427: ...Defining the first scale vector Defining the second scale vector Resizing Graphically 385 ...
Page 454: ...Before painting applying material to stairs 412 Chapter 8 Editing Elements ...
Page 456: ...414 ...
Page 486: ...444 ...
Page 674: ...632 ...
Page 809: ...Curtain wall Curtain Grid Curtain Walls Curtain Grids and Mullions 767 ...
Page 994: ...952 ...
Page 1016: ...974 ...
Page 1204: ...1162 ...
Page 1290: ...1248 ...
Page 1318: ...1276 ...
Page 1372: ...1330 ...
Page 1382: ...1340 ...
Page 1462: ...1420 ...
Page 1492: ...1450 ...


