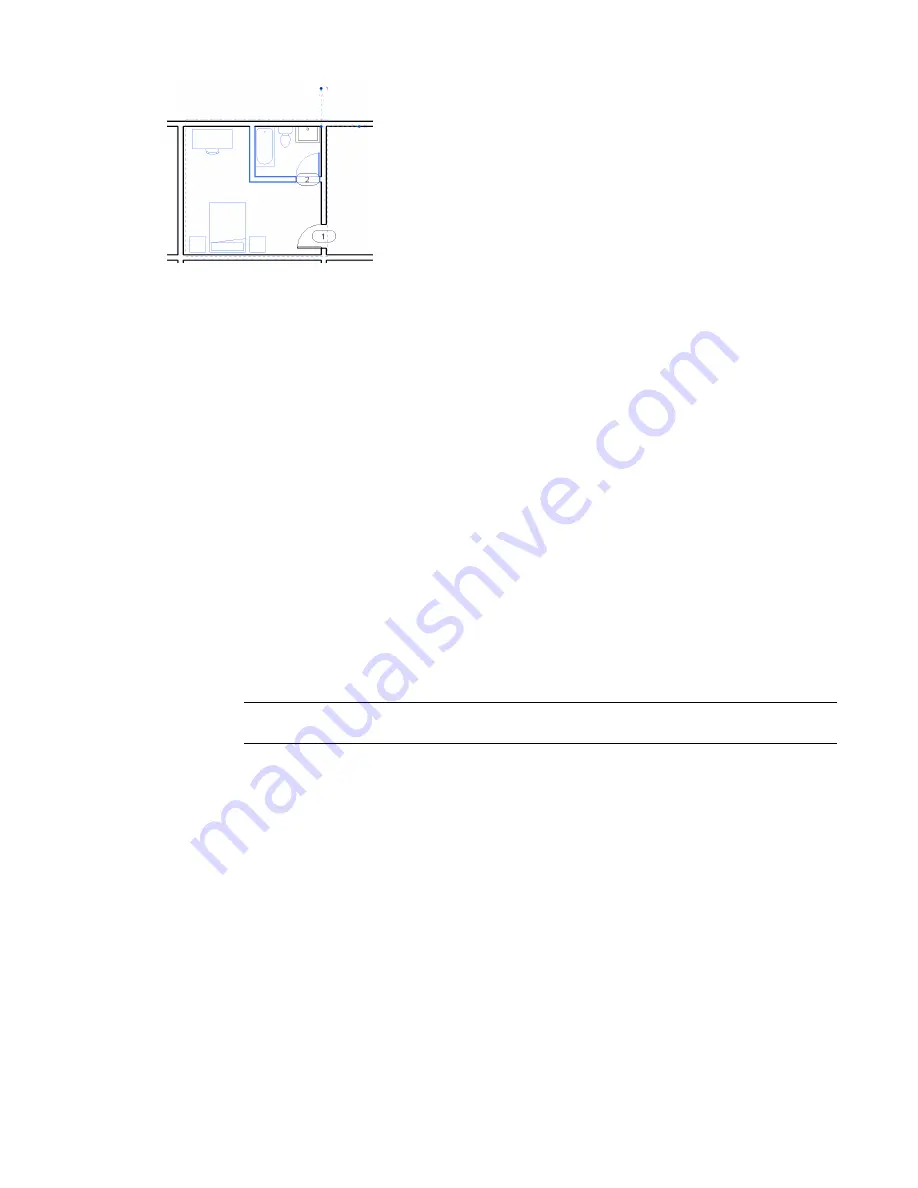
Modifying Groups
After you create or load a group, you can modify it. You can modify a group within a project (or family)
using the group editor, or you can edit the group externally.
The group editor allows you to add elements from the project view, place additional elements in the view
which are then automatically added to the group, remove elements, create attached detail groups (for model
groups), and view group properties. When you edit a group using the group editor, the background color of
the drawing area changes. The background color is ignored when you print from the group editor.
When you edit a group externally, the group opens as a Revit project file (RVT) or a Revit family file (RFA),
depending on the environment from which you open it.
Adding or Removing Elements in a Group
1
In the drawing area, select the group to modify. If the group to modify is nested, press
TAB
until
the group is highlighted, and click to select it.
2
Click Modify Model Groups tab or Modify Attached Detail Groups tab
➤
Group panel
➤
Edit
Group.
3
Click Edit Group panel
➤
Add, to add elements to the group, or click Edit Group panel
➤
Remove,
to remove elements from the group.
4
Select the elements to add or remove from the group.
NOTE
If you add a view-specific element to a model group (for example, a window tag), the
view-specific element is placed in the project view and not in the model group.
5
When you are finished, click Finish.
Excluding Elements from a Group Instance
Excluding elements from a group instance may be useful when, for example, you place a hotel unit group
defined with 4 bounding walls adjacent to a similar unit, and the walls overlap. You can exclude the
overlapping wall from the group instance. If the excluded wall is hosting any elements (for example, a wall
hosted tub or a door), Revit Architecture attempts to rehost those elements on the remaining wall.
You can exclude an element using any of the following methods:
■
Exclude an element from a group instance. The element remains in the group but is not visible in the
project view for that group instance. If the excluded element is hosting any elements, Revit Architecture
attempts to rehost those elements.
■
Move an element from a group instance to the project view. The element is visible in the project view,
and can be edited from the project view. The element is also excluded from the group instance.
360 | Chapter 8 Editing Elements
Summary of Contents for 256B1-05A761-1301 - AutoCAD Revit Structure Suite 2010
Page 1: ...Revit Architecture 2010 User s Guide March 2009 ...
Page 4: ......
Page 42: ...xlii ...
Page 84: ...42 ...
Page 126: ...84 ...
Page 166: ...124 ...
Page 229: ...Schedule Field Formatting Calculating Totals Specifying Schedule Properties 187 ...
Page 230: ...Schedule with Grid Lines Schedule with Grid Lines and an Outline 188 Chapter 5 Project Views ...
Page 304: ...262 ...
Page 427: ...Defining the first scale vector Defining the second scale vector Resizing Graphically 385 ...
Page 454: ...Before painting applying material to stairs 412 Chapter 8 Editing Elements ...
Page 456: ...414 ...
Page 486: ...444 ...
Page 674: ...632 ...
Page 809: ...Curtain wall Curtain Grid Curtain Walls Curtain Grids and Mullions 767 ...
Page 994: ...952 ...
Page 1016: ...974 ...
Page 1204: ...1162 ...
Page 1290: ...1248 ...
Page 1318: ...1276 ...
Page 1372: ...1330 ...
Page 1382: ...1340 ...
Page 1462: ...1420 ...
Page 1492: ...1450 ...


