Axis test
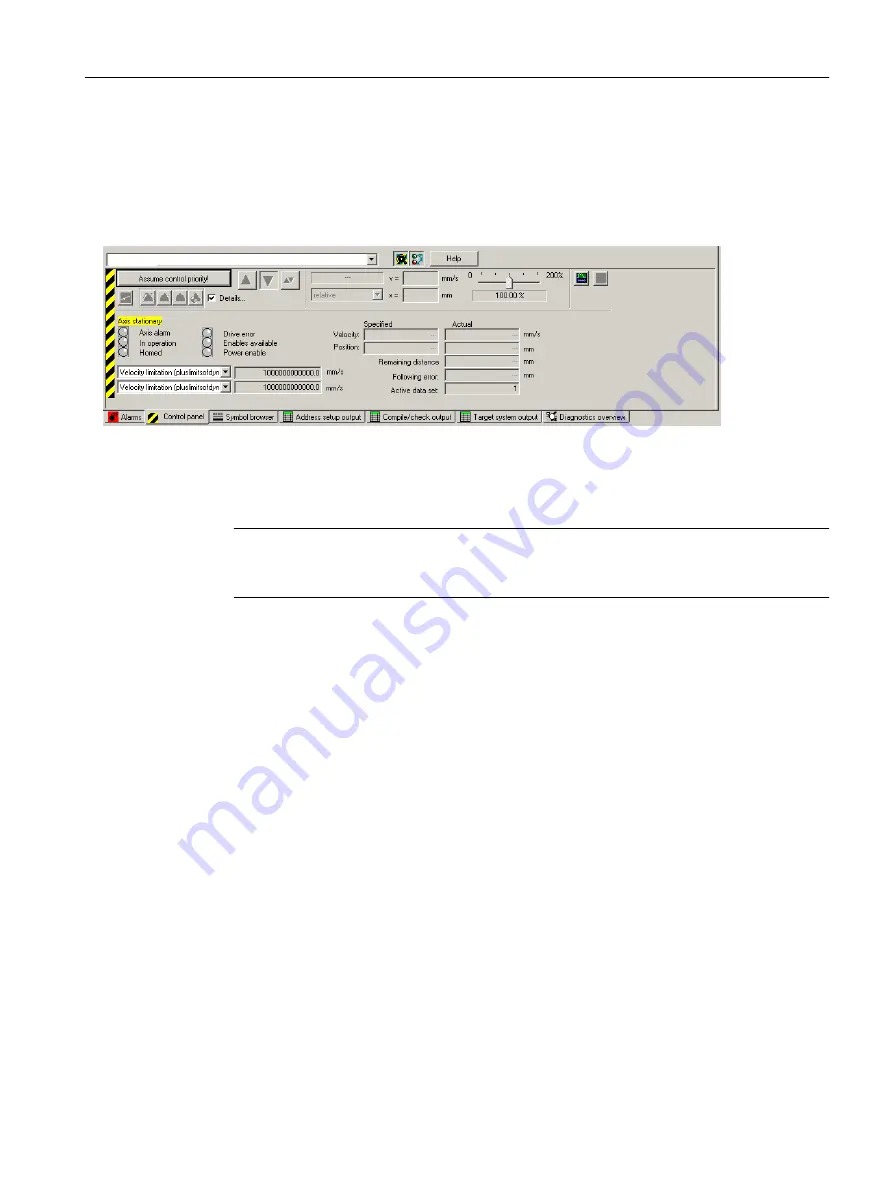
1. Open the AXES folder in the project navigator and click the "Control Panel" entry below the
axis (for example, Axis_1).
The axis control panel is displayed.
D455-Axis _ 1
Figure 7-50
Axis control panel
2. To display the control range and axis diagnostics, click the "Show/hide control range" and
"Show/hide diagnostics area" buttons.
3. Click "Assume control priority".
Note
In order to move the axis from the PG/PC, you must assume control priority. However, by
pressing the SPACER bar, you can stop the axis at any time.
4. The further procedure depends on the CPU status:
– Case 1: CPU in the STOP/STOPU state
If the CPU is in the STOP state, a message will appear, indicating that the CPU has
been put in the STOPU state.
A safety message appears in a further dialog box and must be accepted.
The activated Service function is then displayed via the LEDs (RUN flashes green at
2 Hz and SU/PF flashes yellow at 2 Hz).
– Case 2: CPU in the RUN state (as of SCOUT/Kernel V4.4)
Control priority can only be assumed if the axis is not in motion.
After accepting the safety message, a message is shown on the control panel that the
CPU is in the RUN state, that the user program is running, and further axes may be
moving (LED display: RUN).
If the control priority for a TO is active, commands for the TO from the user program are
rejected with an error code. Alarm 30009: reason 0x04 is output.
Commissioning (software)
7.7 Creating and testing axes
SIMOTION D4x5-2
Commissioning and Hardware Installation Manual, 03/2018, A5E33441636B
265


