F-6
A-61635 December 2010
Upgrading the
Service tool
1. On the PC running the
Kodak
Scan Station Pro 550 Administration, copy
KCPService_Installer.pkg
to a blank USB drive.
2. Log into the Scan Station Pro 550 in
Service
mode as previously described
in “Exporting job setups”.
3. Insert the USB drive into the Scan Station 550.
4. Click
Upgrade Scan Station Service Tool
from the Scan Station Service
Mode screen. The Scan Station will start the upgrade process.
5. When finished, remove the USB drive and click
Reboot
. The Startlist
dialog box will be displayed.
6. Select
KODAK Scan Station Pro 550
and click
Reboot
. The Scan Station
550 will reboot in normal operation mode, i.e. ready for scanning using any
defined job setups.
SharePoint
configuration
changes
Depending on the network configuration, in order to have the Scan Station Pro
550 communicate with SharePoint Servers, you may need to change
certificate and proxy options. For more information about the SharePoint
system destination output, see the
Kodak
Capture Pro Software on-line help
file for “Microsoft Office SharePoint Server 2007”.
Certificates
NOTE: This option is only needed if communication is on HTTPS channel
using certificates not signed by Trusted Root Authority.
1. Copy the certificates to a USB drive.
2. Log into the Scan Station Pro 550 in
Service
mode as previously described
in “Exporting job setups”.
3. Click
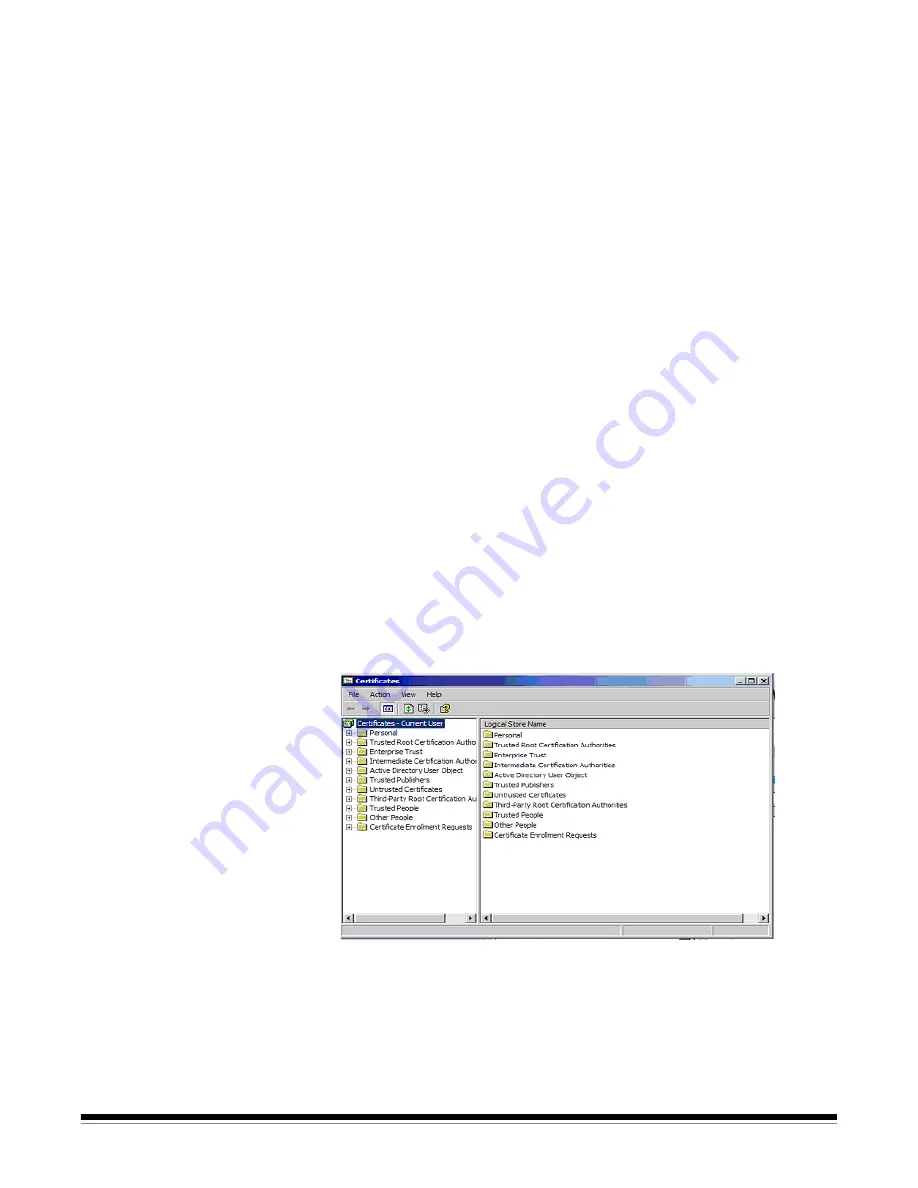
Manage Certificates
from the Scan Station Service Mode screen.
The Certificates dialog box will be displayed allowing you to import SSL
certificates.
4. Add the certificates to the “Trusted Root Certification Authority”.


