A-61635 December 2010
7-7
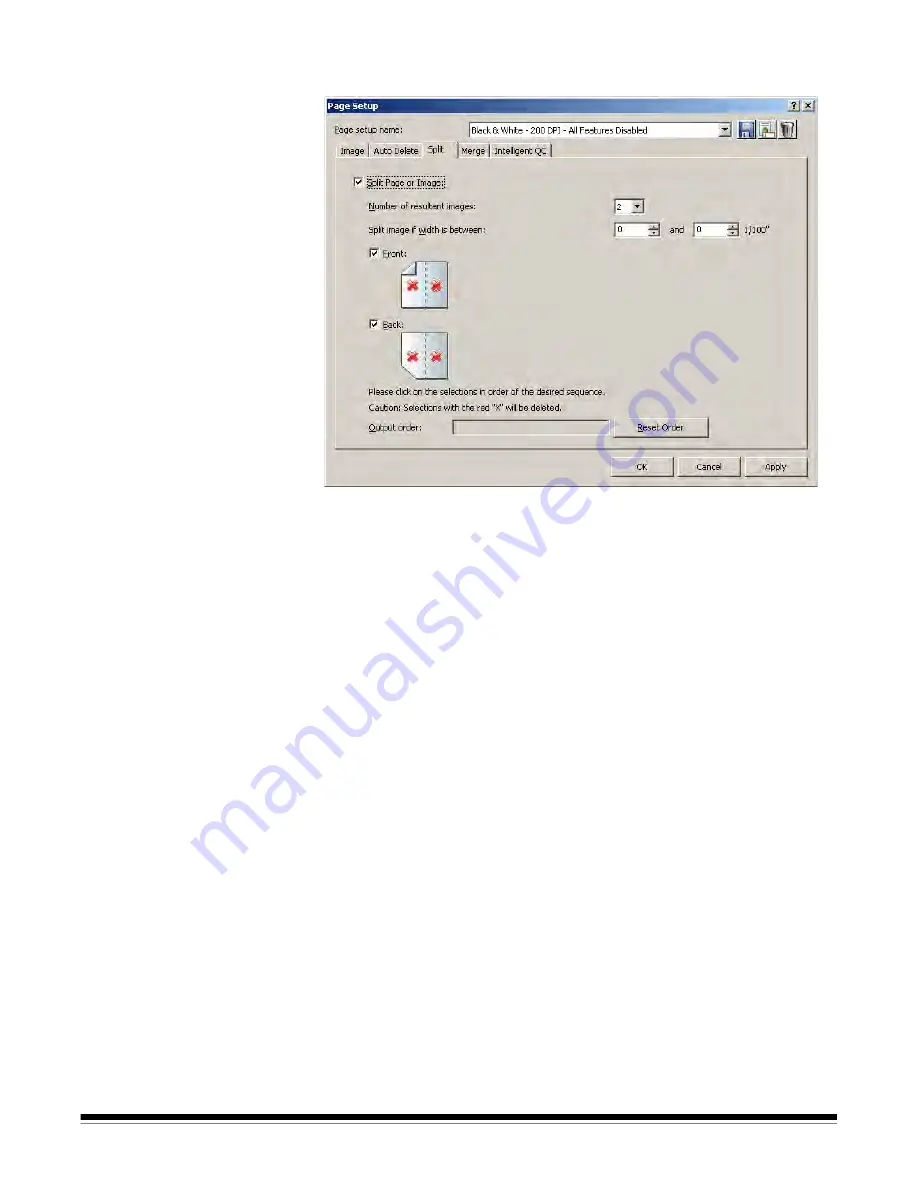
Splitting an image
To split images during scanner:
7. Click the
Split Page
or
Image
checkbox.
NOTE: The Merge and Split options cannot be active at the same time. To
disable the Merge option, open the Merge tab and uncheck the
Merge front and back into one single image
checkbox.
8. Choose from 2 to 12 images in the
Number of resultant images
drop-down
list.
9. Select a range of widths for the page or image from the
Split image if width
is between
field. If the page width falls within this range, it will be split. If
either the front or back side falls outside the range, neither side will be split.
10. Select
Front
and/or
Back
to
activate a split. A graphic will be displayed
showing your selection. For example, if you enable both checkboxes, the
icons will appear with a red "X" on each page.
Click on each image segment in the order you want the images to be
output. As you click on an image segment, the red "X" disappears.
Any image segment that is still marked with a red "X" will be deleted and
not sent to output. This option might be useful for the last page of a
pamphlet that is always blank.
NOTE: When using a simplex-only scanner, selecting both
Front
and
Back
will result in no split. Select
Front
only to cause a split.
11. If desired, click
Reset order
to delete the output order and start again.
12. Click
OK
to save your settings and close the Page Setup dialog box.


